Getting Ready for Gardening with a Greenhouse: Your Ultimate Guide!

Gardening enthusiasts often face the challenge of growing plants in unfavorable weather conditions or limited space. Thankfully, the solution lies in setting up a greenhouse—a controlled environment that allows you to extend your gardening season and cultivate a wide variety of plants. Outdoor Living Today offers a range of high-quality greenhouses that can enhance your gardening experience.

In this blog post, we will guide you through the essential steps to get ready for gardening with a greenhouse, with a special focus on incorporating Outdoor Living Today’s greenhouses into the process. Prepare to create an optimal environment for healthy and thriving plants with the help of Outdoor Living Today’s exceptional products.

1. Selecting the Right Greenhouse

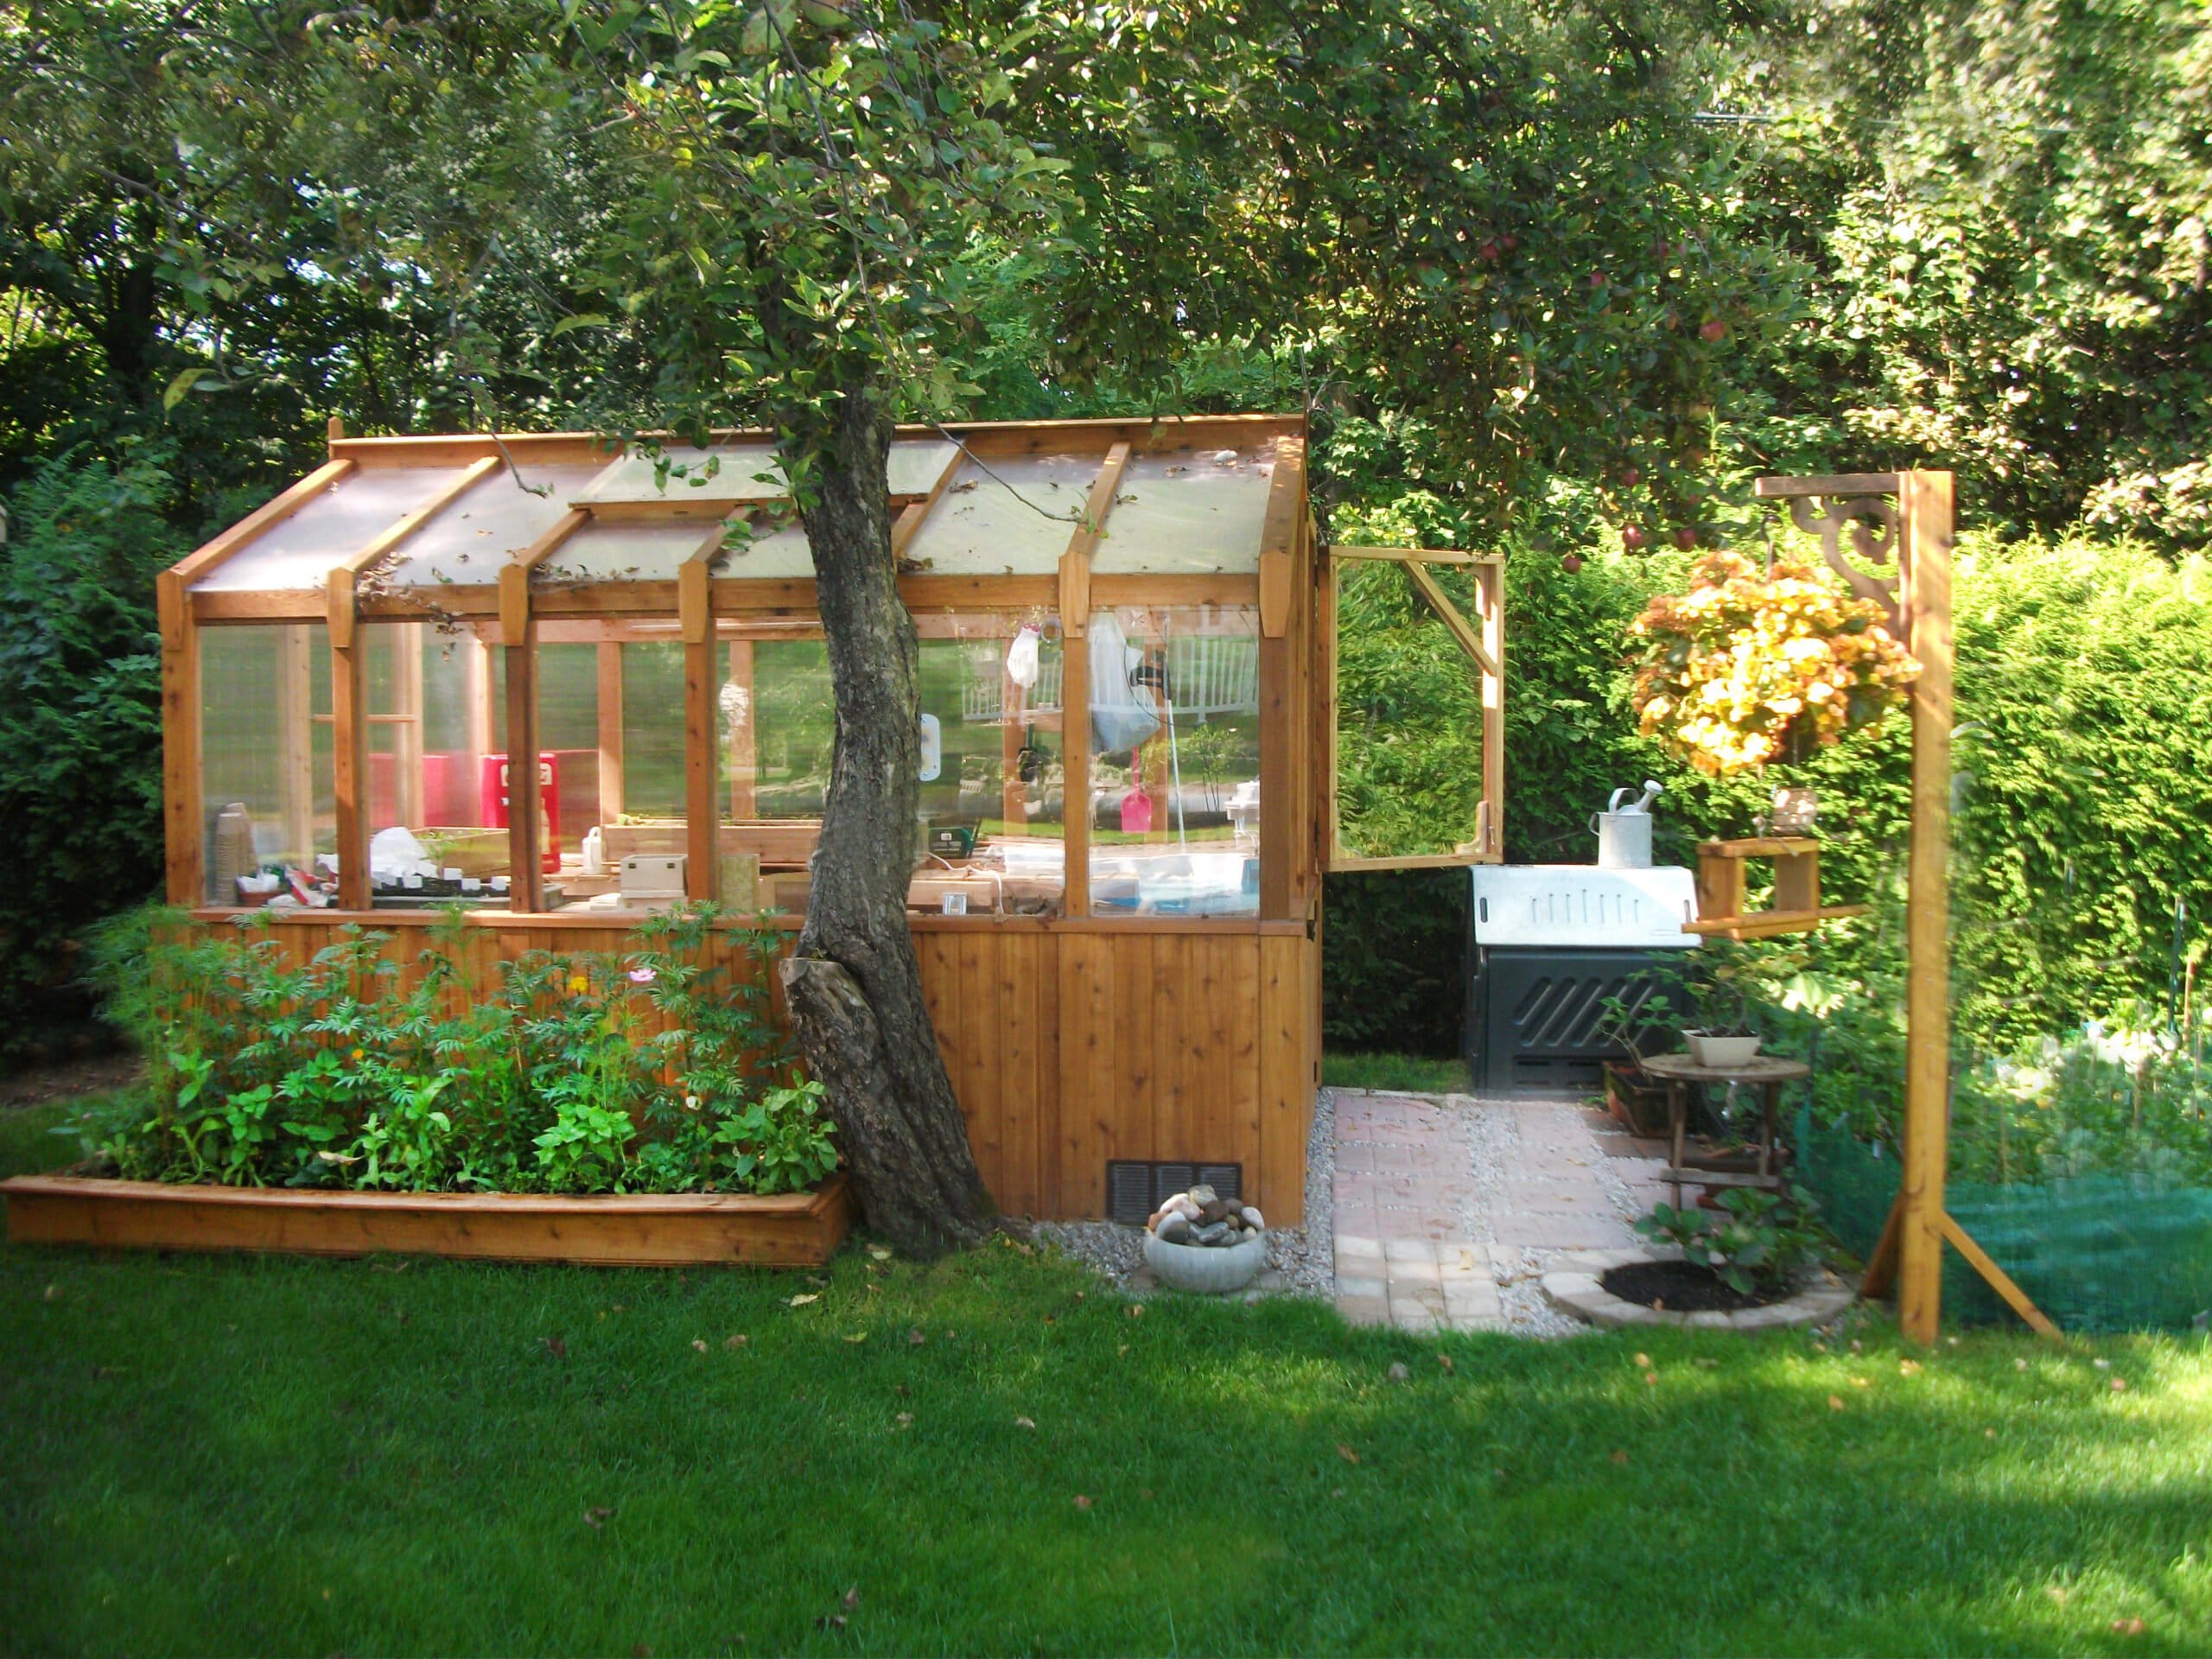
Choosing the perfect greenhouse from Outdoor Living Today’s selection is the first step. Consider the available space, budget, and the types of plants you wish to grow. Outdoor Living Today offers various sizes and styles to suit your needs from our 8×8, and 8×12 Cedar Greenhouses, to the less traditional, and more modern Sunshed Models which are available in 8×8, 8×12, 12×12, and 12×16 sizes.

2. Site Selection and Preparation

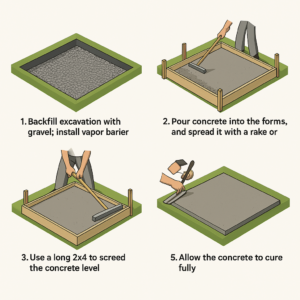
Identifying the ideal location for your Outdoor Living Today Greenhouse is crucial. Select a spot that receives maximum sunlight throughout the day, preferably facing south. Clear the area of any debris or obstacles that may hinder construction or plant growth. Ensure a level foundation and consider installing a weed barrier to prevent unwanted vegetation from encroaching on your greenhouse space.

3. Sustainability 

Western Red Cedar is a sustainable choice. It is harvested from responsibly managed forests in Canada and the United States, which means that the production process has a lower environmental impact than other materials. This is because the forests are carefully monitored and replanted, ensuring that the ecosystem is protected for future generations.

4. Climate Control and Ventilation

Maintaining optimal temperature and ventilation is vital for successful greenhouse gardening. Outdoor Living Today’s greenhouses are designed with ventilation features, such as adjustable roof vents, allowing you to regulate temperature and humidity levels.  Adequate airflow helps prevent disease, mold, and pests while ensuring optimal plant growth.

5. Irrigation and Water Management

A reliable watering system is essential to keep your plants adequately hydrated. Consider installing a drip irrigation system or misting nozzles to deliver consistent moisture. Regularly monitor water levels and adjust irrigation accordingly. Rainwater collection systems, such as rain barrel kits, also offer eco-friendly and cost-effective alternatives to conventional water sources. Proper drainage is equally important to prevent excess moisture, which can lead to root rot or fungal diseases for your plants.

6. Soil and Plant Selection

Choosing the right soil and plants is crucial for greenhouse gardening success. Ensure your Outdoor Living Today greenhouse has good-quality, well-draining soil enriched with organic matter. Conduct soil tests periodically to monitor nutrient levels and pH balance. Select plants suited to the greenhouse environment, considering temperature, humidity, and light requirements. Start seeds indoors and transplant them when they are ready. Alternatively, Outdoor Living Today’s greenhouses can accommodate young plants purchased from nurseries for faster results.

Conclusion

By incorporating Outdoor Living Today’s exceptional greenhouses into your gardening endeavors, you can elevate your greenhouse gardening experience. Follow the essential steps outlined in this guide to prepare for gardening with a greenhouse, while utilizing the features and benefits offered by Outdoor Living Today’s quality products. With careful planning, proper site selection, climate control, irrigation management, and thoughtful plant choices, your Outdoor Living Today greenhouse will become a haven for healthy and flourishing plants, providing you with year-round gardening enjoyment. Happy gardening with Outdoor Living Today!

Read More

The Benefits of Western Red Cedar: Why it’s Worth It 

When it comes to building materials, it can be tempting to opt for the cheapest option available. However, choosing a more expensive material like Western Red Cedar sourced from Canada and the United States can be a wise investment in the long run.

1. Durability

Western Red Cedar is known for its durability and resistance to rot and decay. This means that it will last much longer than cheaper alternatives like White Cedar or Chinese Fir, which may need to be replaced more frequently due to weathering and other forms of damage. Not only will this save you money on replacements, and repairs, but also reduces the environmental impact of constant resource extraction and processing over time.

2. Premium Appearance 

Western Red Cedar has an attractive, natural appearance that adds value and visual appeal to any project. The wood’s distinctive grain and warm color create a timeless aesthetic that cannot be replicated by cheaper alternatives. This makes it a popular choice for outdoor structures like decks, fences, and pergolas, as well as for indoor features like ceilings and accent walls.

3. Sustainability 

Western Red Cedar is a sustainable choice. It is harvested from responsibly managed forests in Canada and the United States, which means that the production process has a lower environmental impact than other materials. This is because the forests are carefully monitored and replanted, ensuring that the ecosystem is protected for future generations.

4. Economic Impact

 Lastly, let’s discuss the economic impact of your purchasing decision.

By choosing this material, you are supporting the local economies of both the United States and Canada, as well as helping to create and sustain good-paying middle-class jobs within the forestry industry.

In Canada, the forestry sector is a major contributor to the country’s economy, accounting for more than 200,000 jobs and generating billions of dollars in economic activity each year. Similarly, in the United States, the forestry industry supports over 2 million jobs and contributes over $300 billion annually to the country’s economy.

By choosing Western Red Cedar sourced from Canada and the United States, you support the livelihoods of those working in the forestry industry, including loggers, sawmill workers, and others involved in the supply chain.

This benefits individuals and their families and helps boost local economies and creates a ripple effect throughout the broader community.

Overall…

Choosing Western Red Cedar sourced from Canada and the United States is not only a wise investment in terms of durability, aesthetics, and sustainability but also a way to support the economies of both countries and create and sustain jobs within the forestry industry.

Sources:

Read More

Would you like to know how to build a playhouse? Building a playhouse and building a house are the same – it is just that a playhouse is on a slightly smaller scale. To make things simple, you can make the little house’s dimensions match the pre-cut lumber that you will be picking up from the home improvement store.

A plywood sheet is 4×8 feet and 2x4s in 8-ft lengths is perfect for a playhouse. So your little house will have a length of 8 feet with 4 foot walls and a roof. This will be a lot less math and minimal work, and your kids will love you for it!

Items You will Need

Shovel
Drill driver
Circular saw
4×4 pressure treated lumber
4×8- foot plywood sheets
2×4 lumber
Joist hangars
Pick
Speed square/rafter square
Landscaping cloth
Sandpaper

Lay the foundation: You will be keeping things simple, but it is still important to start off right. First, find a place in the yard where there is enough room for the playhouse, making sure that the ground is mostly flat already. Take your shovel and pick, break up the earth and making it level and compact. Make a weed barrier by laying down a sheet of landscaping cloth.

You may not want to build a playhouse directly on the ground. The moisture and earth will rot away the foundation of the playhouse just like it would a normal house.

Frame the floor: The next step is to set two pressure treated 4x4s (the 8-foot ones) on the foundation. Then cut four 4x4s of 4 feet each to fit between the 8-foot 4x4s. Attach the pieces together with joist hangars. This job is best done with pressure treated lumber because it is going directly on the ground, and that will ensure that it is protected from the elements as already mentioned.

You may want to have a cement foundation. You can look online or hire someone who knows more about that.

Frame the side walls: Make the bottom and top of each wall with two 8-foot 2x4s. Make the walls 4-feet high by cutting ten 2×4 studs and keep in mind that the width of the 8-footers need to be accounted for. You will need to make the studs 4 feet, taking away 1½ inches, which is a 2×4’s actual width, so 3 feet 10½ inches. Now, you can lay the lumber on the ground and screw the studs to the plates both on the bottom and top. Keep them 24 inches apart on each center.

There will be 5 studs on each wall. Next, drill a hole of 5/8th inches in the bottom plate in the open bay that is between each stud and drill another hole corresponding to the previous, in the foundation’s 8-foot lengths. As you make the walls stand up on the foundation, drive in a 5/8-inch sized bolt through each of the pre-drilled holes. To prevent the walls from falling outward or inward, secure a 2×4 between them temporarily.

Install the floor: The space between the walls should be perfect for a sheet of plywood, meaning it should be 8 feet in length and 4 feet across. Lay a sheet in the space and every foot or so, screw it into the foundation. While the walls are still open, this is the right time to install an indoor or outdoor carpet if you wish to.

Frame the walls: It is now time to frame the front and back walls. Build the end walls the same way that you did the side walls, but with the top and bottom plates at 4 feet. Each wall requires four 3-foot 10 ½ -inch studs, set so that bay in the square’s center is 2 feet wide. Drill 5/8 holes in the outer bays only and then stand the walls up and bolt them down. Next, screw the studs together where they meet at the structure’s corners and you can remove the temporary support.

Frame the roof: For this, 10 rafters (5 on each side) are required, so they match up with the studs you screwed on the side walls. Cut ten 2x4s to 2-feet 15/16 inches with an angle of 45 degrees on each end. To get the angles, mark them with a speed square/rafter square or use a miter saw.

Now match two rafters up, making a V and screw them through the angle. There should be 5 Vs in the end. Set the Vs on the side walls’ top plate so that they match the studs and screw them down. Finally, make a ridge beam by setting an 8-foot 2×4 the length of the roof in the rafters’ angle abs screw it down to each rafter.

Now, you have a completed playhouse skeleton, so the next steps are to skin the side walls, front and back walls and the roof with the plywood sheets. Once you have done that, sand down the rough edges so that the little ones do not get splinter in their skin. That can be unpleasant and ruin the day!

After that, you can add the finishing touches and give it the look you want. You can give it a rustic or polished finish – that is all up to you! You can get the kids involved by letting them help you paint the wood to protect it. If you can make it match your actual home, that could look pretty sharp! You can have loads of fun with your new playhouse.

Build a Playhouse

Read More

Do you want to know how to secure your shed? Many people assume that their shed does not need protection. After all, it is nothing more than a storage shack where you keep out-of-season items. But while that lawn mower that you have been storing in your shed for many years may not be of much value on its own, have you considered the accumulated worth of the other contents in your shed – gardening gear, power tools, bikes, electrical cord, portable lights, rope, and lots more.

Despite many valuable items such as these stored in them, sheds are rarely secured properly. Whether or not your shed is attached to your home, you should make sure that the same level of security is provided to it as the rest of your property.

Here are a few tips to help ensure that your shed is as safe and secure as the rest of your home and the surrounding property.

Minimize the Risk of Structural Weaknesses: When there are obvious loose slats and patches of rot, your old shed will be able to provide very minimal defense against thieves. The first thing you need to do is identify the problem areas in the shed. Use new panels to reinforce the internal structure and make sure that you fix loose slats as well.

Replace rotten doors and windows and also patch up holes that you see on your roof. Secondly, make sure that your shed is difficult to for criminals to access. Always keep fence openings closed and secure that are around your yard, use thorny plants as a deterrent, by planting them around the shed and if you have overgrown shrubs surrounding your shed, trim them regularly so that they cannot be used as hiding places.

Replace Old Locks: Because many homeowners do not give importance to the security of their sheds, they use old locks. If traditional security is your preferred option, you should replace the old fastener with the strongest hasp and staple you can find with coach bolts. Next, add a strong padlock – preferable one that is rust-resistant or weatherproof – and make sure that you use it each time you close your shed.

Always remember that the harder you make it for a thief to enter your shed, the less likely they will be to try intruding in the first place, because it increases their chances of getting caught. If you prefer a more high-tech option, you should consider investing in an electronic door lock.

Secure Window AC Units: If the window AC units in your shed are not properly secured, burglars looking for access can quickly and easily remove them. You can make sure that it is much more difficult to remove your AC unit by installing a support mechanism that attaches to the exterior wall of your shed.

Although it may take a little more work, you should make sure that you also add a support bracket that can be securely screwed into the wall. This will make it extremely tough for any burglar to move the AC. Once the bracket has been installed, you should also invest in a window security bar. These are affordable improvements that can effectively prevent potential intruders from opening the window above the unit.

Replace Old Hinges: When the hinges of your shed door are exposed and loose, it makes them easy for criminals to unscrew. When this happens, the first thing you should do is replace those old hinges with a set that comes with a non-removable pin. You should look for carriage screws or coach bolts to install the hinges as well, because these types of fasteners come with smooth heads and cannot be removed from the outside once they are screwed in. This will make your shed door stronger and more secure, deterring potential intruders from trying to break in.

Poor Lighting: If your shed is situated in a corner of your yard where it cannot be reached by the porch light, it will make it difficult to see what is going on during the night. The best solution is to invest in motion detector lighting and have it installed. No criminal wants the spotlight on them so this will keep them away for sure. Depending on the strength and range of your lighting, it may also help in deterring intruders from the rest of your property.

There are many effective ways to make sure that your garden shed is properly secured and the items inside are safe. While some are expensive, you will find many affordable and easy ways to secure this structure. They will ensure that potential criminals have a hard time accessing your shed and getting their hands on your hard-earned property.

You can make sure that the equipment, tools, and other items that you store in your shed are safe from the hands of burglars and thieves. So do not neglect your shed and find ways to ensure that it is secure at all times.

How To Secure Your Shed

Read More