Coffee Grounds in Your Garden

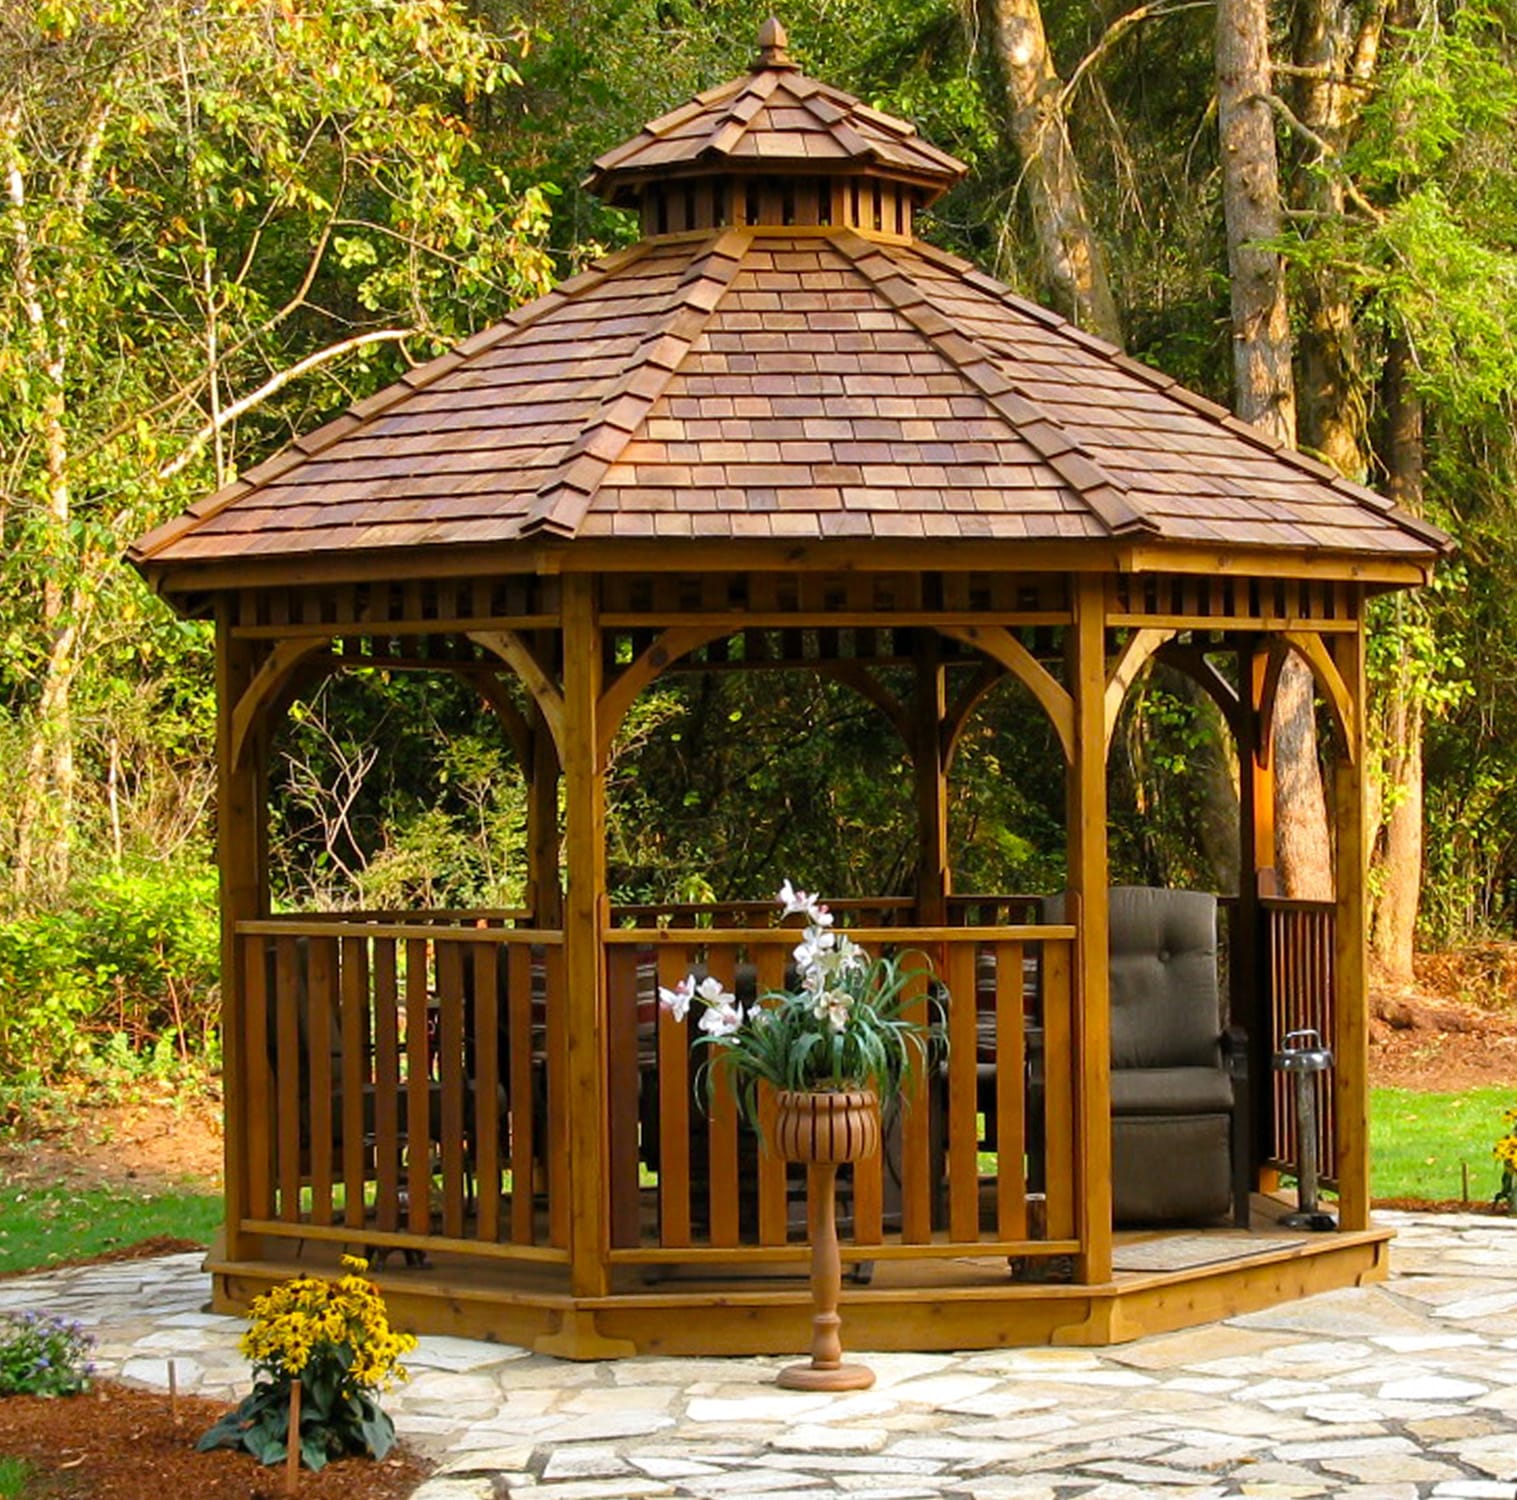
Your garden is your haven and refuge, a place to escape the humdrum of everyday life. A gazebo or pergola in the garden can make it look stunning and also offers a place to relax and enjoy the company of family and friends. Make sure your garden oasis stays vibrant and alive by using something that you would normally discard – coffee grounds in your garden!

Here are some amazing ways to use coffee grounds in your garden and give your garden a much-needed perk-me-up without resorting to chemicals.

Make Your Compost More Nutrient Rich

Coffee grounds are filled with garden-friendly nutrients and properties. They contain nitrogen, lighten and loosen soil, attract earthworms, and act as a deterrent against garden pests. In addition, coffee grounds have a pH anywhere from neutral to acidic and this can prove to be a boon for soils that are alkaline.

Fertilize Your Garden

As coffee grounds are rich in nitrogen, you can fertilize your vegetable patch with them. They are an excellent natural fertilizer that replenishes the lost nitrogen in the soil. Sometimes, coffee grounds also contain a high volume of carbon and this too can work wonders with the soil.

Give Acid-Loving Plants a Treat

If you grow tomatoes, azaleas, and rhododendrons, they will thrive on coffee grounds. These plants love acidic soil and when you feed them with a coffee ground solution, they will give a better yield. Just soak the coffee grounds in plenty of water and the following morning use the solution to water your acid-loving plants.

Show Some TLC to Roses

If you are a lover of roses, give your rose plants something to feel happy about. Feed them coffee grounds and watch them bloom in abundance. The neutral to acidic pH and nitrogen in the grounds are like a feast for roses.

Make Organic Mulch

Use coffee grounds as an organic mulch. They will prevent weeds from growing, help the soil retain moisture, and protect against soil erosion. Just make sure you put a fine layer of coffee grounds on the soil. If you do not, it will attract mold that could wreak havoc with your plants and garden.

Keep Tabby at Bay

While cats are not really pests, they can threaten the birds and other wildlife in your garden and also leave behind a stinking mess. If you want to deter cats from getting comfortable in your garden, putting coffee grounds on the soil is a good way to keep them at bay and prevent them from digging up the soil or eating plants that could be potentially dangerous for them.

Protect Your Plants from Fungi

Coffee grounds can protect your plants from fungal diseases, such as wilts and rots. According to some experts, coffee grounds have the ability to create their own type of fungus, which is extremely helpful to the common gardener. So, use the grounds in your garden and enjoy healthy and disease-free plants.

Alter the Color of Your Hydrangea

As weird as it may sound, coffee grounds have the ability to change the color of hydrangeas. If the soil is alkaline, you will get pink blooms. However, most gardeners yearn for and desire blue blooms, which only grow in acidic soil. Add coffee grounds to the soil and watch a miracle happen – a change in the color of your hydrangeas.

Boost the Yield of Carrots

Just like coffee stimulates you, the grounds can stimulate carrots to increase their yield. When you plant carrot seeds in your vegetable patch, mix dried coffee grounds with the seeds. Not only will the yield increase, you also will be able to protect the seedlings from pests.

Keep Nasty Pests as Bay

There is nothing more disturbing and frustrating than finding pests gnawing away at your plants after all the hard work you have put in. Instead of using chemicals to keep away that creepy crawlies from your garden, use coffee grounds. Just place the grounds around the plants that are favored by snails and slugs. You also can put the grounds around ant holes to prevent them from invading your garden.

That’s right, coffee grounds in your garden ward off bugs too!

Give Your Vermicomposting a Nutrient Boost

Gardeners who vermicompost claim adding coffee grounds can give the compost a nice dose of nitrogen and other soil-friendly nutrients. However, there is a lot of debate over this addition. Anecdotal evidence shows adding a few coffee grounds into the vermicomposting pit does not harm the worms. So go ahead and try it, give your compost an injection of nutrients like never before.

Can coffee grounds paint your house? No, sorry, they cannot do that.

Now you know of some weird but helpful ways to enrich your garden soil using coffee grounds. Use these tips so that the next time you are sitting in your gazebo or pergola, you will feel thrilled at the vibrantly colored blossoms thriving and flourishing around your yard.

Read More
improve your garden As soon as winter arrives, you should start thinking about your outdoor space and what you can do to improve your garden for better next year. This is the time to think about getting rid of old furniture and flower pots that have seen better days and what new plants and flowers will look best in your garden.Your outdoor space is an extension of your home, which is why you need to make sure that it looks picture-perfect. With the right tips, you can improve your garden and make sure that it looks breathtaking next year.Here are 10 things to do to improve your garden and give it a whole new look:

1. Decorate Your Boundaries

Now, the first thing to think about: how do your boundaries look? By looking out of your windows and considering what is out there, you can decide if your boundaries look good as they are or can be made to look more pleasing. If it is a boring old fence or wall, you can use imagination and give it a makeover with wood treatment or spraying it with some paint to give it a nice color.

2. Plan Your Garden Borders

This is another good time to start thinking about garden borders. Did you really think they looked good this summer or did you keep them around for sentimental reasons? If you are not sure, it is best to start anew and freshen up the soil and get in some new bulbs too. Look around for ideas on how to plant a garden border.

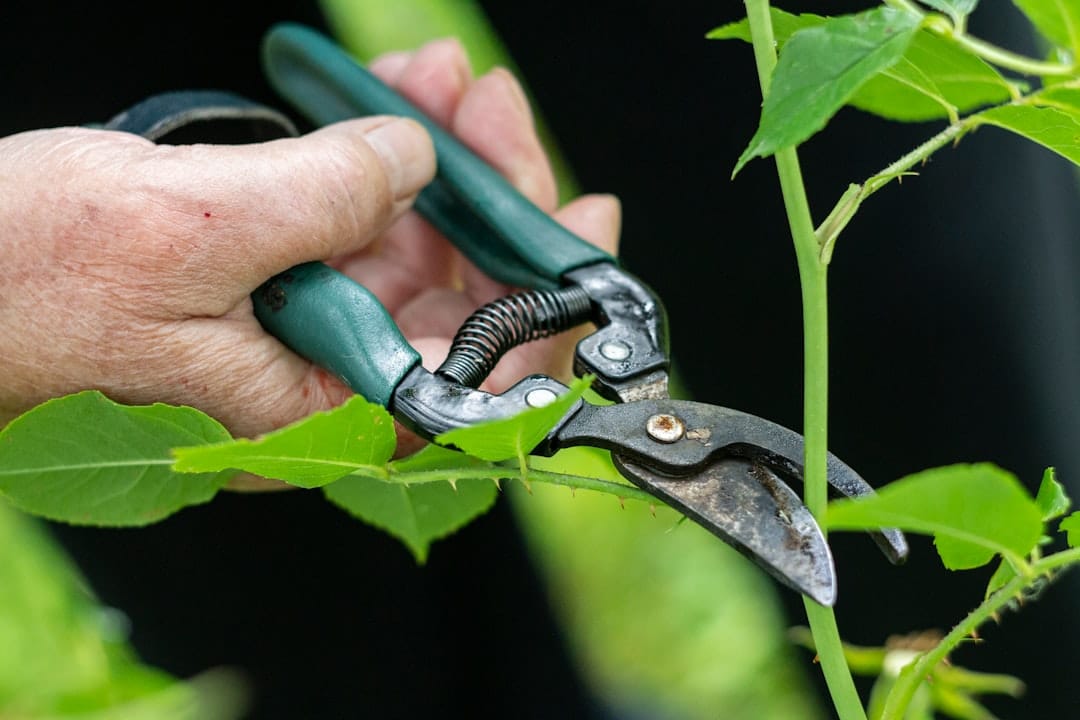
3. Prune Your Trees and Shrub

prune trees and shrubs You can create a new look for your garden without spending a fortune by pruning and training your trees and shrubs. Keep in mind that these plants should be compatible, so that the look you create has coherence. You should consider the options you have for seasonal changes such as color, leaf textures and shape, blossoming flowers as well as fruits and berries and then create the new look.

4. Choose Pots and Containers Carefully

Every garden needs pots and containers and make sure that you always choose big ones for yours. Plants need a lot of space for roots as well as water and wind stability. There are many options when it comes to pots and containers; you can go for galvanized ones or coopered wooden ones that have steel banks. Italian terracotta also looks great. High-quality pots and containers are worth the money you spend as they can last years.

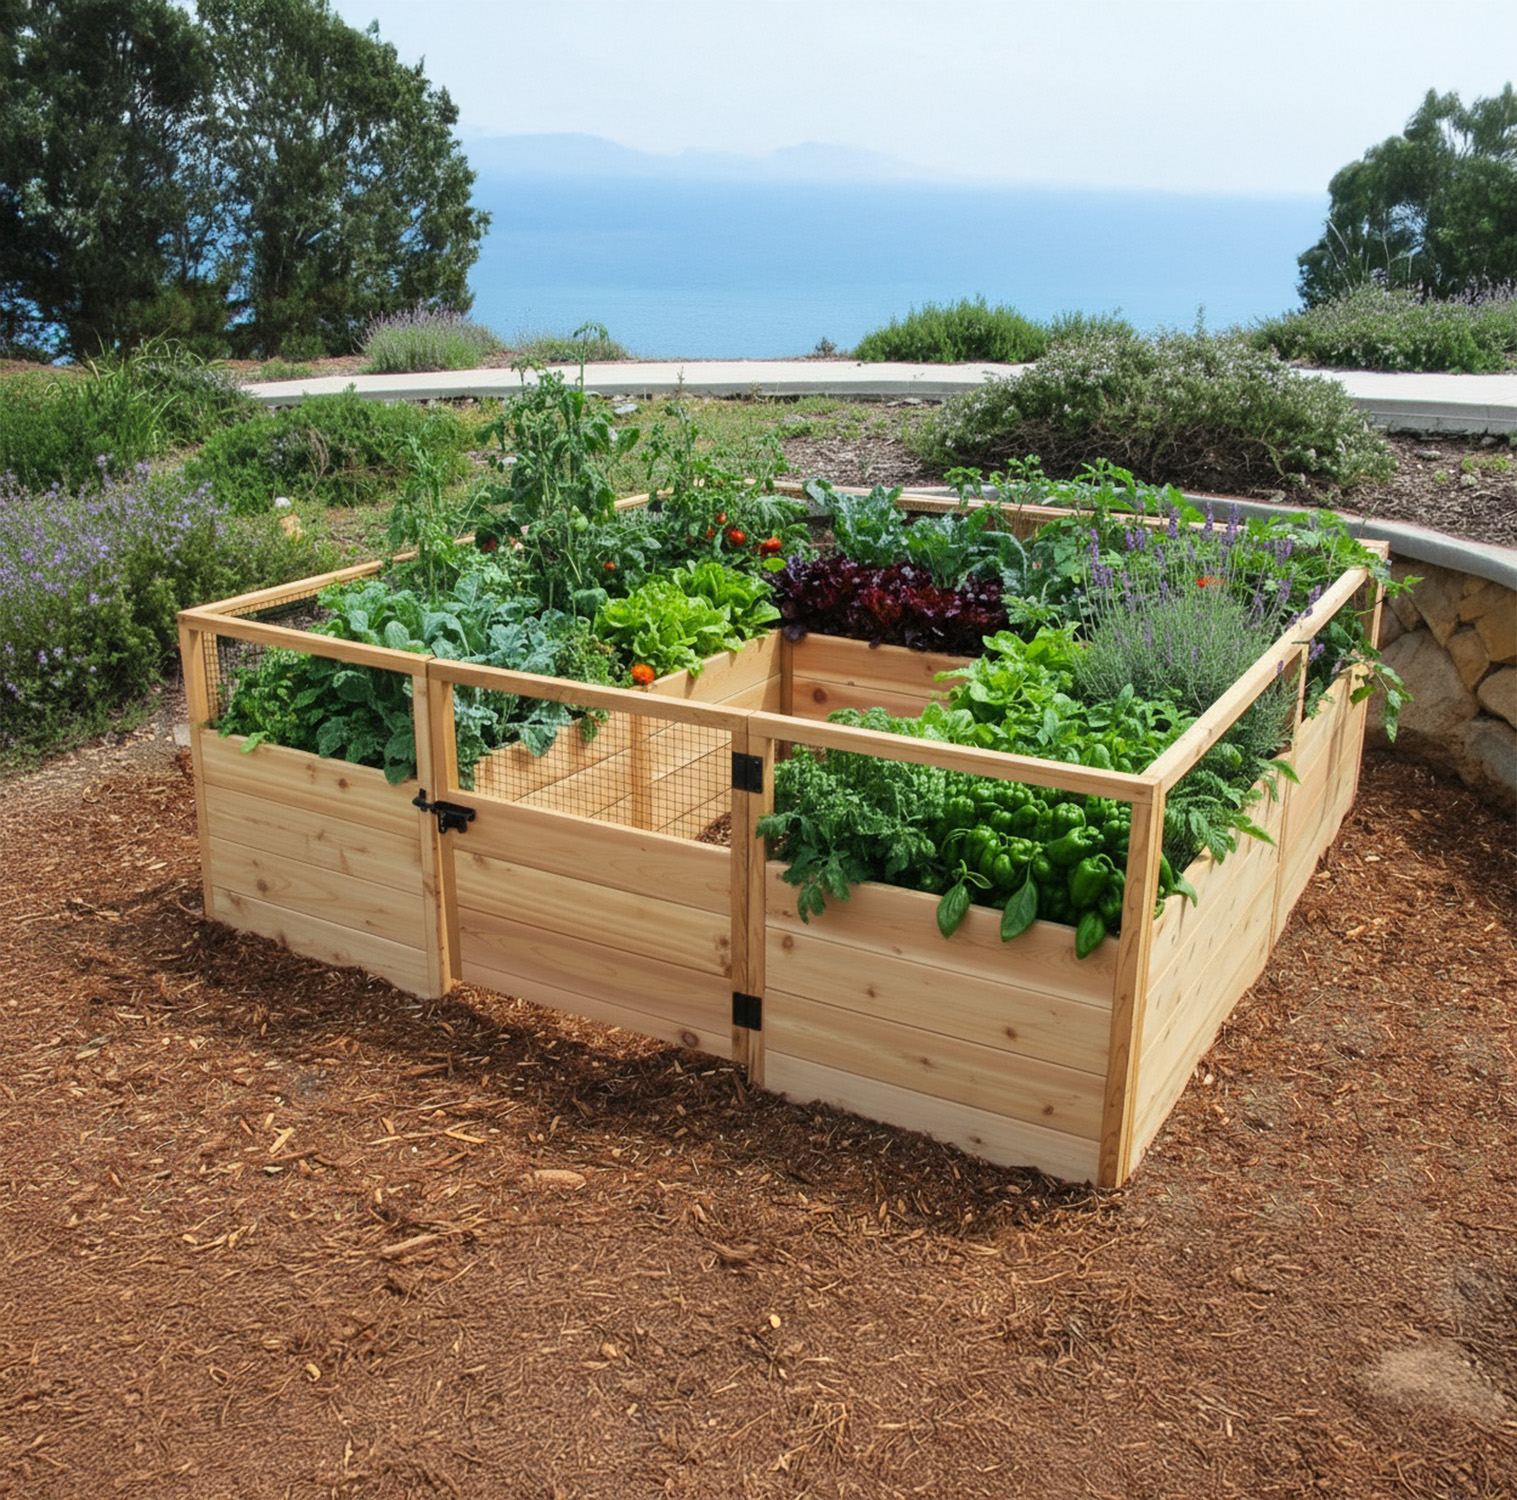
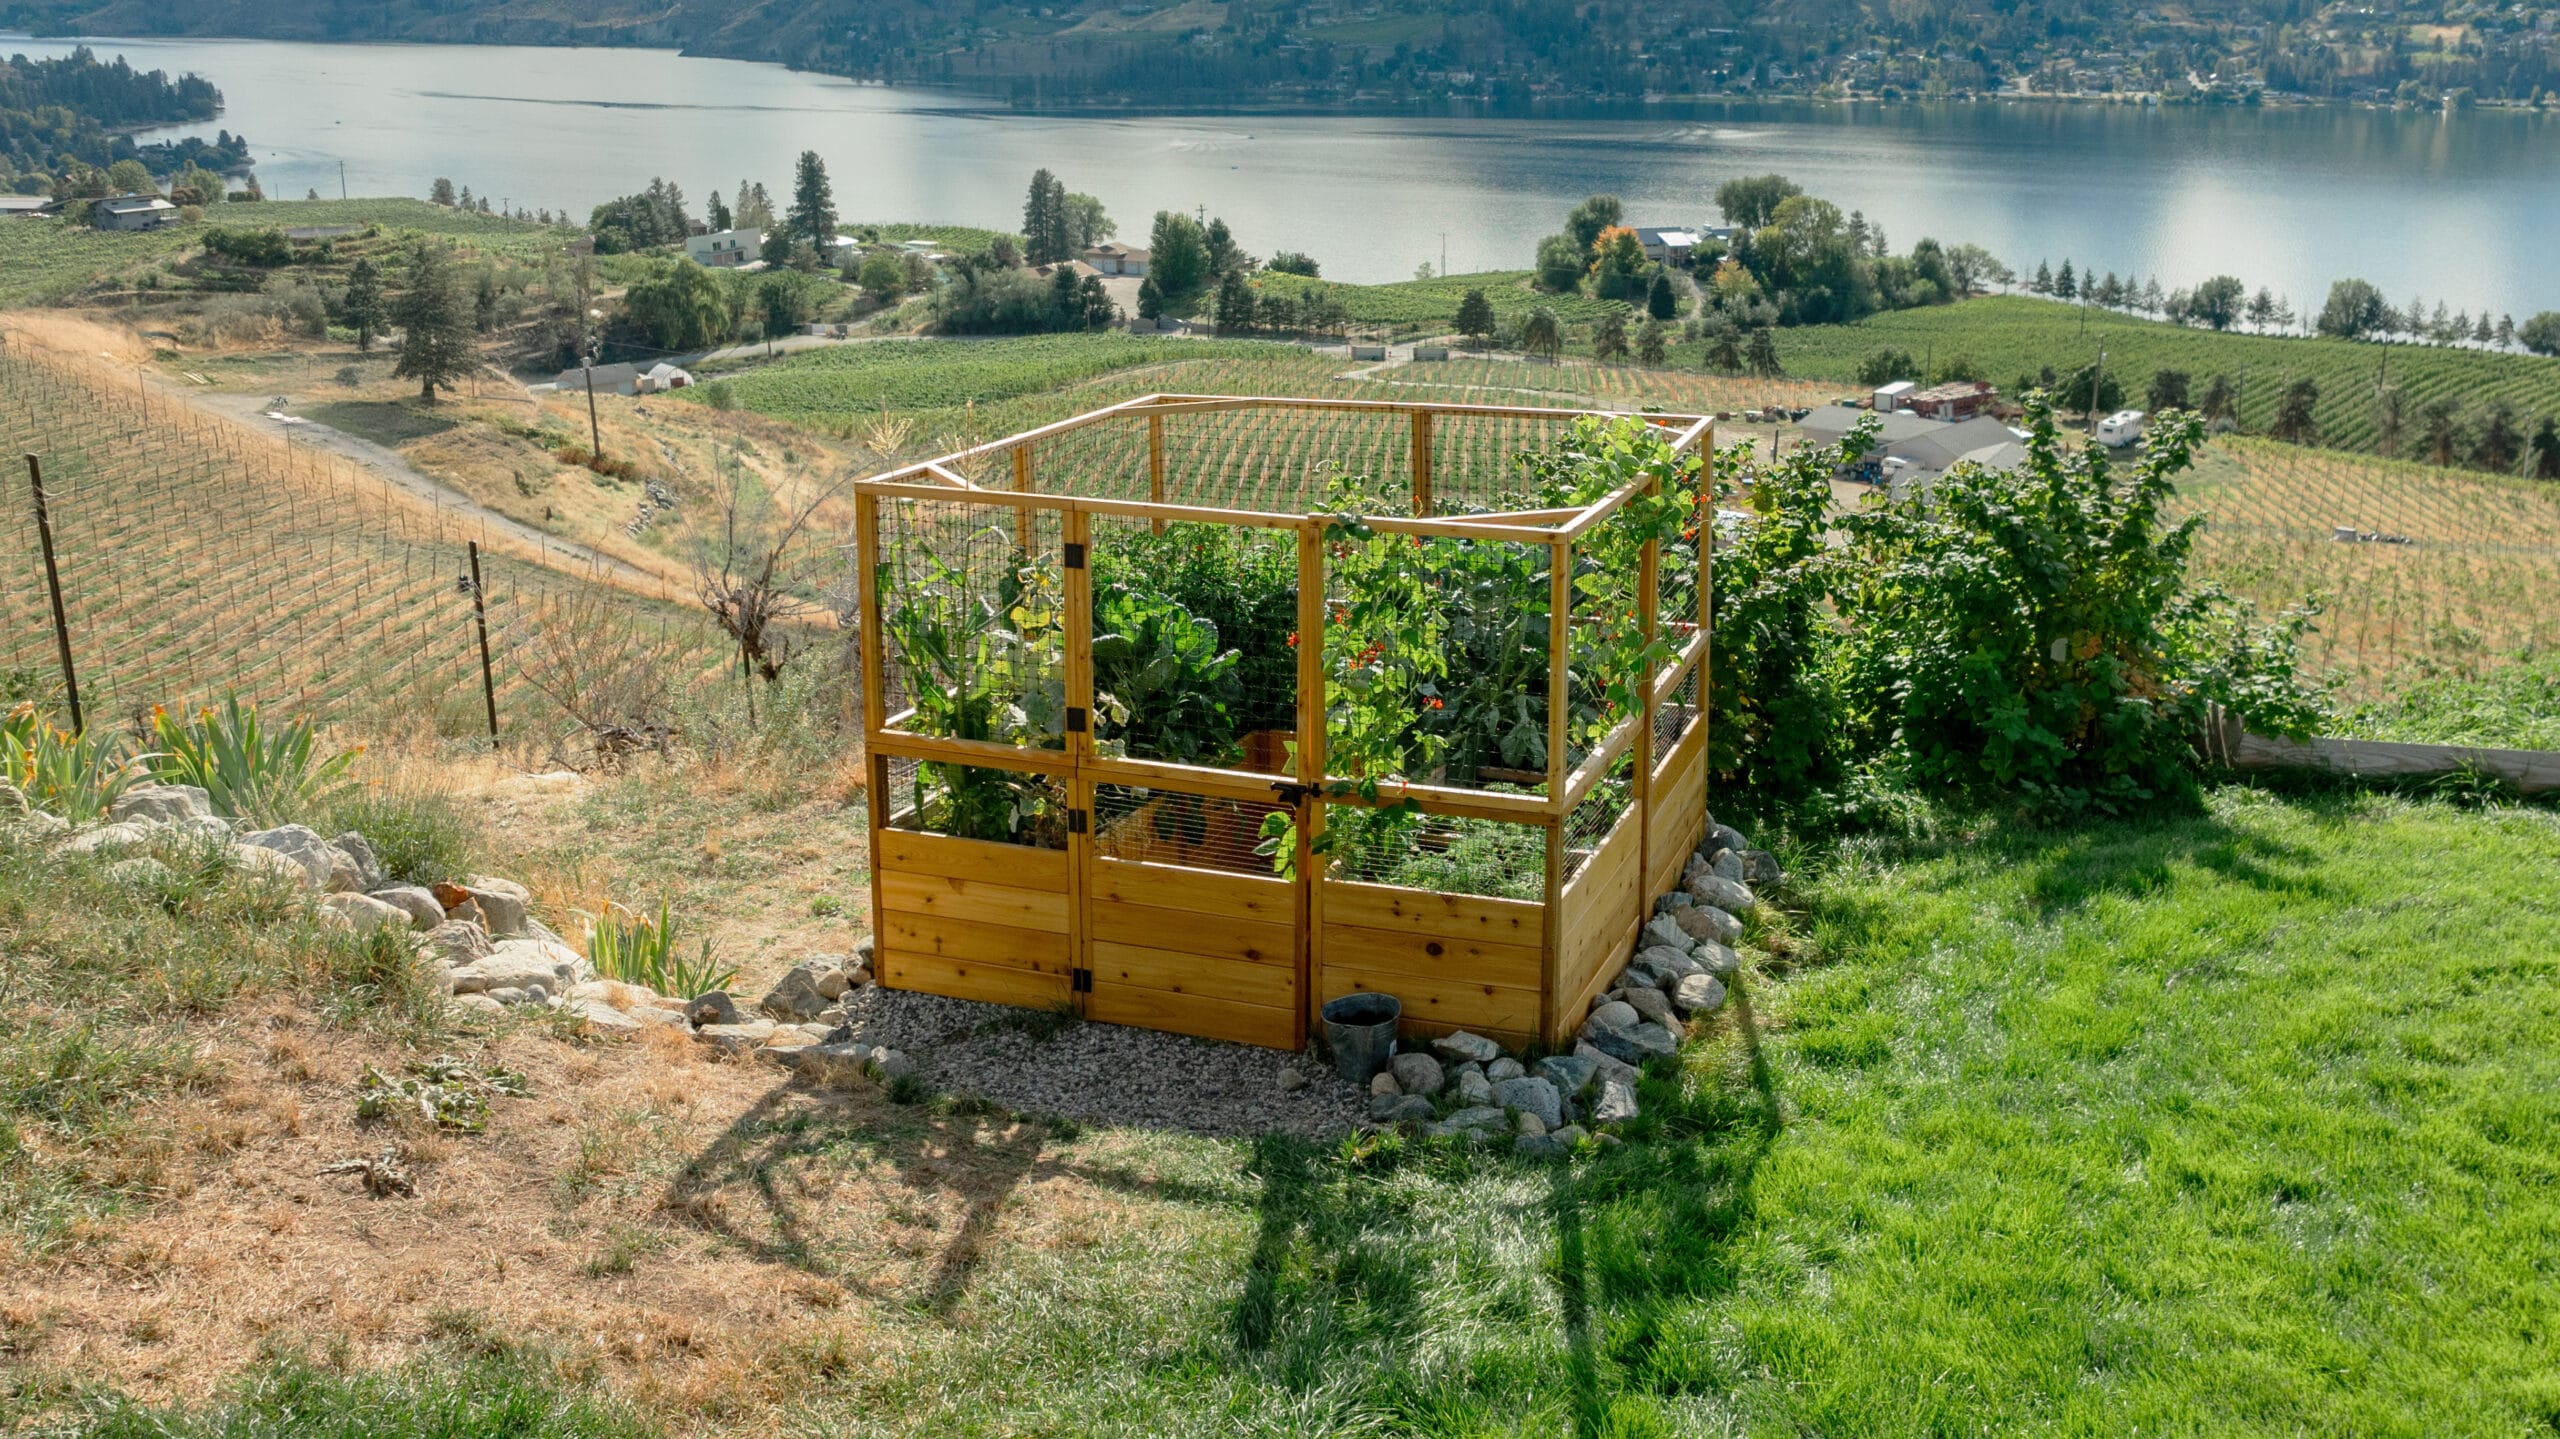
5. Make a Veggie or Herb Beds

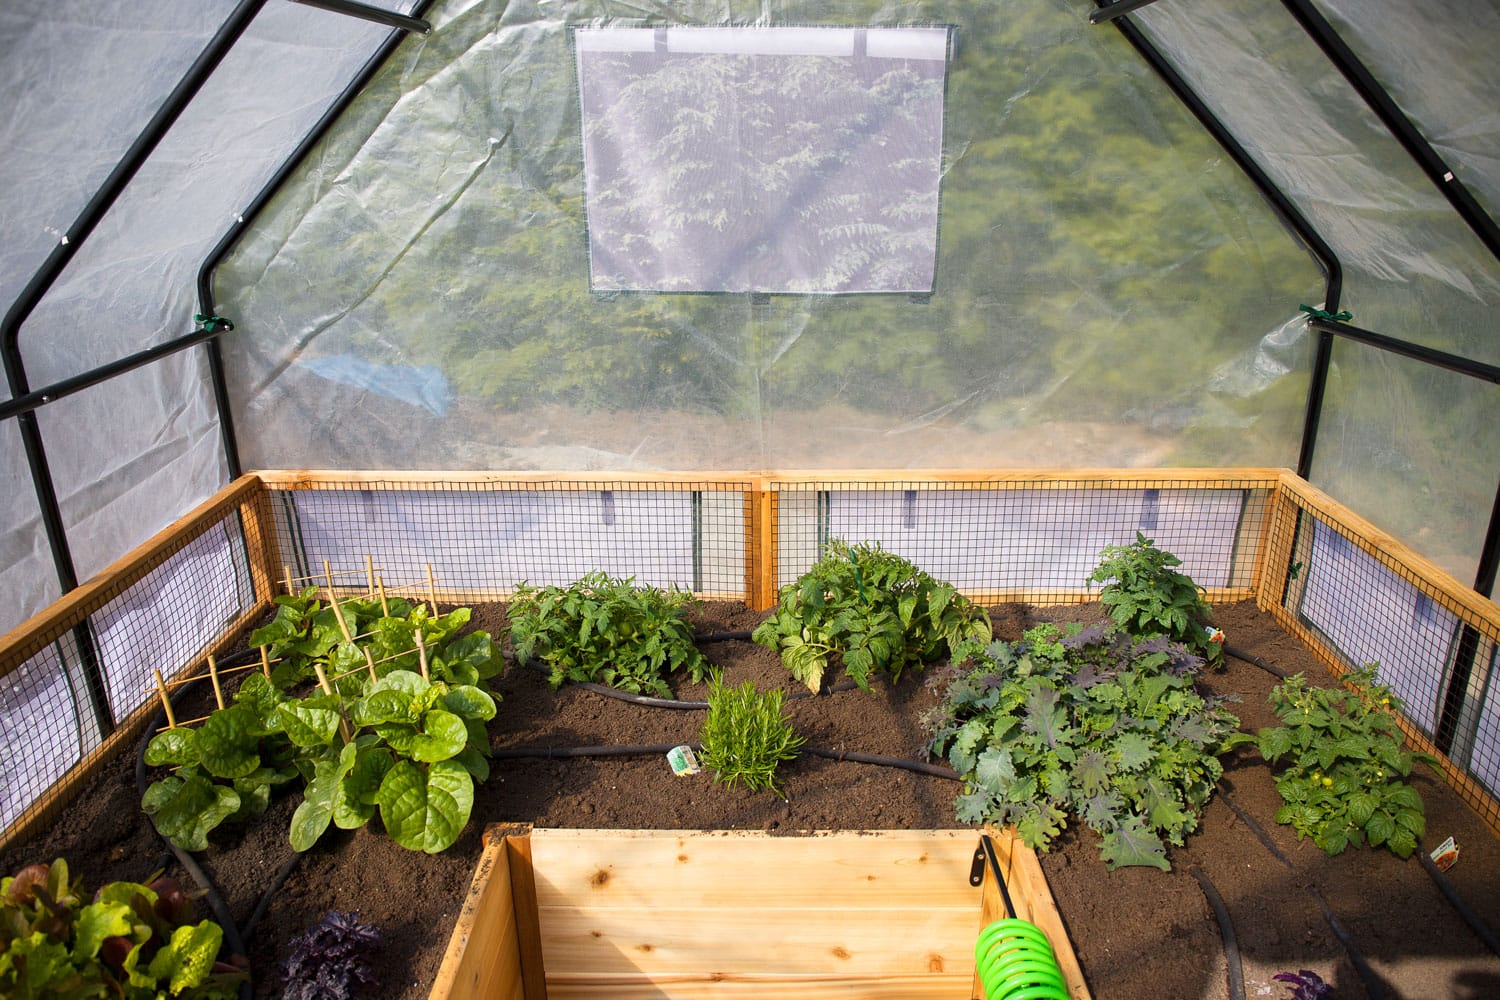
herb garden There is nothing like picking food from your own garden and it is quite easy to make veggie or herb table beds. They are also manageable and easy to move when you need to. Remember to use netting to protect your table beds. You may also consider building an outdoor kitchen. A pizza oven is a great option as it can also be used as a fireplace when you are not cooking.

6. Include Things for Wildlife

Birds, butterflies, squirrels, bees and other wildlife are always a part of gardens and there are many things on the market that will encourage these creatures to come to your garden. However, remember that there is nothing like a great design and clever planting to encourage wildlife. Birds, butterflies, bees, and other creatures, not only pretty up a garden, but also eliminate pests and do other good stuff for it.

7.Think About Surfaces

The surfaces in a garden play a role in how it looks, so it is important to think about them. It may be easy to get cheap concrete paving but getting good surface is important as it can alter the quality completely. Decking is a poignant option and you can also go for patterned concrete tiles or encaustic ones. Gravel is another top option, especially if you have uneven ground and want to avoid large amounts of leveling.

8. Create Beautiful Views

There are always parts of a garden that do not have a great view but you can create one by using a little imagination and creativity. Boundaries, as mentioned earlier, are connected to views. Do not try to block a bad view; it is a better idea to fade it out by using a few tricks. Consider a gauzy shrub like Genista aetnensis that can help soften and eliminate an ugly view or make a good one even more intense.

9.Add Structures

garden structure pergola A pergola or gazebo is a fantastic way to improve a garden and create a space where you can unwind after a long day. Such structures add beauty and purpose, so having one, even if it is not too big, is a great idea. Garden sheds too add a little something extra to a garden and you can find one at a DIY store, ready to be dressed up as you like.

10. Add a Pond or Fountain

Water is an essential in every garden and you need to make sure that you have it in your garden. A Japanese pond with stones of different sizes will look amazing. You can also make a little pool with an old washing-up bowl. Fountains add beauty while giving your garden the water, it always needs. It is important to make sure that your garden has water features, so think of a great way to get one that looks beautiful and works at the same time.It does not have to be a grueling task to improve your garden . A few simple ideas can help you obtain a wonderful garden that looks beautiful. With intelligent planning and a bit of creativity, you can have an outdoor space that you can be proud of.
Read More
outdoor storage shed An overcrowded garage can make it difficult to park the cars your family owns. Moreover, it becomes difficult to locate tools, gardening equipment, and other items all stored together in the garage. Instead, you can build a storage shed that will contain the space to neatly organize gardening equipment and yard tools which will also increase the value of the property.

Constructing the Frame of your Outdoor Storage Shed

The first step to building a garden shed is to construct the frame. For this begin by clearing and leveling the ground where the shed is going to be placed. Now place cinder blocks at the four corners, four feet from each other.Next cut 4×4 pressure treated posts to the desired lengths making sure to cut the ends at a 45° angle. Place the posts over the cinder blocks and ensure that they are level using a 4-foot level or any size of level for that matter.

Construct the Deck of Your DIY Storage Shed

Once the frame is in place you need to construct the deck of your DIY storage shed. This comprises pressure treated 2×6 pieces that are set vertically on the frame. They should be attached to the frame using a framing nailer. Begin by installing the two nine foot side pieces.Now, place the two four foot side pieces next to each other and mark of the joist locations at 16’ intervals. Now you can secure the end pieces.The next step is to cut the 2’ (’) into 6’ joists to the right lengths and nailing them to the frame. After the joists are secured, lay the 5/4’ decking on top and secure the decking to the joists using a screw gun.The first decking edge should overhang the deck frame by half an inch.diy storage shed

Building the Walls of Your Storage Shed

To build the walls of your storage shed, lay the wall pieces – the top plate, bottom plate, and studs and use a nail gun to secure the pieces together. Use this method to construct all the wall panels. Build two narrower wall panels for the wall which will have the door.

Nailing the Walls of your Outdoor Storage Shed

Now nail each wall panel to the decking as well as to the adjacent wall panel. To ensure that the walls form a square, you need to use a framing square. On the side of the shed that will have the door, build two narrower wall panels and strengthen them using 2x4s.

Strengthening the Framing

Once you have installed all the walls, you need to strengthen the framings. For this nail 2x4s across the walls at the top such that they will form a double top plate.

Exterior Siding for Your DIY Storage Shed

Once the wall frames are strengthened, you are ready to hand the exterior siding. Just hang the 4ˈx8ˈ OSB sheets on the outside of the storage shed to form the siding.

How to Build a Shed Roof

The next step is to add the roof to the shed. Cut 2×6 boards for the roof rafters and fix them to the headers. The roof rafters are attached using OSB cleats.Now add 1×6 strips on top of the rafters so that the rafters will be tied together and provide support to the corrugated roof. The roofing sheets should be nailed to the rafters using self sealing nails and washers that have been designed for this use.

Adding Shed Windows

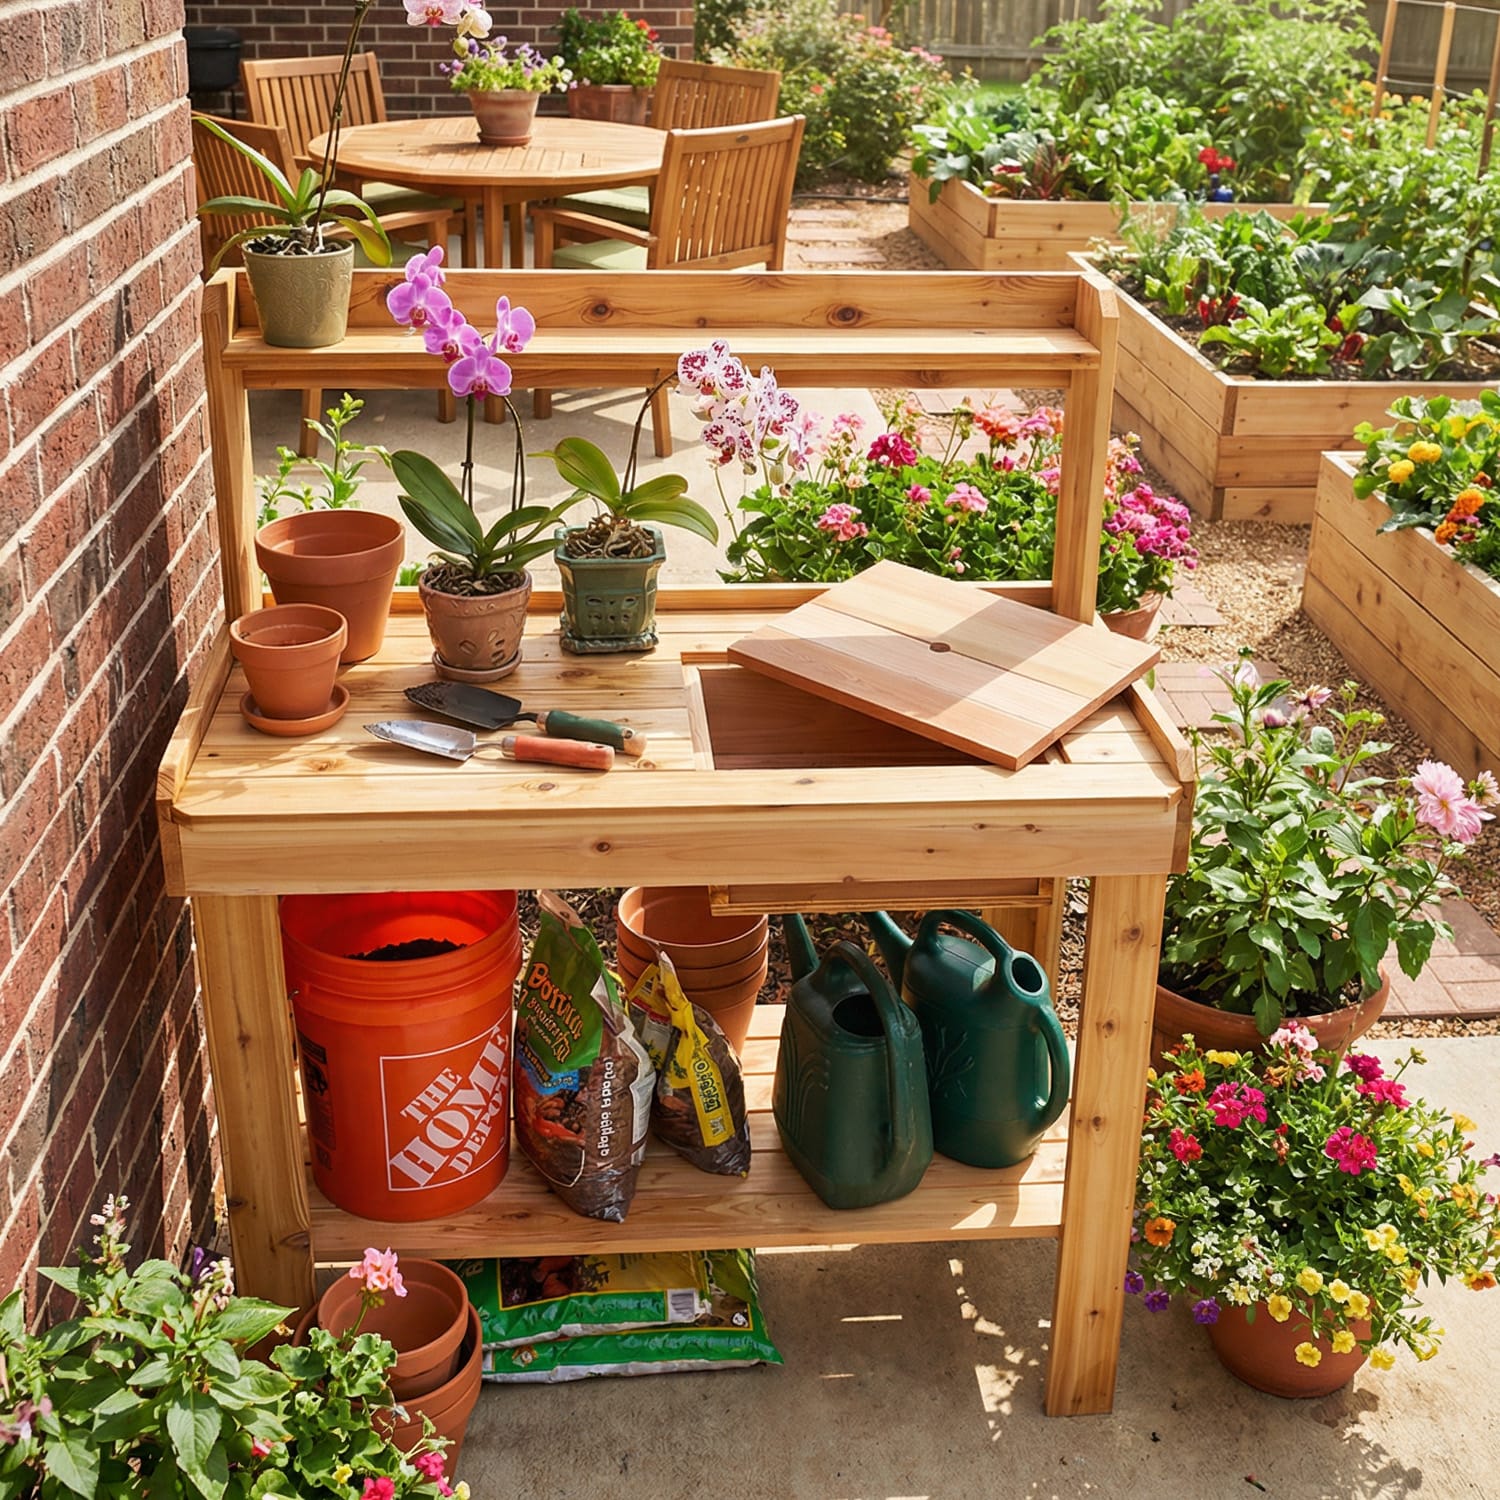
Now that the roof has been fixed, you can cut the walls to locate the shed windows and recessed storage boxes. When cutting the walls you need to make sure that the studs are not damaged.Now you can fix the doors for the windows and the main entrance as well as the storage cubbies you have cut out. You can also add a potting bench to your storage shed to make gardening easier.The doors should be made from 3.4’ plywood, while the doors for the storage cubbies can be made from 1.2’ plywood. Depending on your interest you can paint the interior of the shed in contrasting colors to mark the storage cubbies.

Vinyl Siding for Your Storage Shed

vinyl siding storage shed You are now ready to add vinyl siding to the exterior of the shed. Begin applying the siding from the edges with the decorative trim and work your way to the center.

Adding Ramp to the Outdoor Shed

The final touch for the garden shed can be ramp at the front entrance. This will enable you to easily move mowers and wheelbarrows into the shed.

DIY Storage Shed

A DIY storage shed is a fairly simple project that can help move a lot of essential yard tools and gardening equipment away from or outside of the garage.Apart from freeing up garage space, this shed will help you to properly organize and store all gardening supplies and tools in a single place that is easy to access from the garden.With a cutting saw, nailing gun, and the right types of wood, a diy storage shed should be easy to construct and you will have bragging rights over your neighbors for years.
Read More
DIY outdoor projects If you have an outdoor space and you don’t know what to do with it, we may have a few answers that will totally blow your mind. These amazing DIY outdoor projects don’t need a whole lot of time or money to set up, and the best part is that your outdoor space will be completely transformed.Here are ten of the best one-hour long DIY outdoor projects to turn your outdoor space into an area that is sure to impress.

DIY Indoor Vertical Garden

You don’t need acres of land to create a green space for your living area. If you have a bit of sun exposure and a little area to spare, you are good to go. In fact, why not use some everyday items as the starting point for your indoor vertical garden?If you have an old canvas shoe organizer, that will work perfectly to transform itself into a DIY indoor vertical herb garden. Hang it up in a place that receives some sunlight during the day and plant some of your favorite herbs like oregano, chives, rosemary, and so on.You can even add a rustic charm to your garden by installing a hydroponic watering system. A wooden pallet to create your vertical garden and grow plants like citronella, which works well to eliminate those pesky mosquitoes.

How to Get Rid of Mosquitoes

Speaking of pests, they can truly ruin an evening spent outdoors, especially those annoying mosquitoes we spoke about. If a vertical citronella garden doesn’t do it for you, why not try making your very own citronella candles to get rid of mosquitoes?How to Get Rid of Mosquitoes You could even take an empty wine bottle and transform it into a pest-busting torch. Of course, a simple way to get rid of bugs of all shapes and sizes is to plug in a table fan.

Play Music Outside

Your outdoor space is where you chill out, unwind, and relax. Maybe you have a pool to splash around, a Jacuzzi to laze around in, or a barbecue pit to cook some delicious treats. Either way, entertaining guests in your outdoor space would be incomplete without sterling music.You can choose to build audio components into an outdoor table or use Plex to stream music to your mobile phone. Don’t forget to hook your phone up to a set of outdoor or portable speakers to amplify the sound. And if that is not unique enough for you, you could even make a set of floating waterproof speakers!

DIY Outdoor Movie Theatre

Who needs Dolby Digital when you have a backyard? This DIY project will not take more than an hour to do and costs under $10.All you need is a portable projector screen, which you can use both outdoors and indoors and get ready for a movie experience unlike anything you have ever witnessed before!

Outdoor Yard Games for Adults and Kids

Love Jenga and other such addictive games? Now, you can use your outdoor space to set up life-size versions of some of your favorite games! Is there anything better? Outdoor Yard Games

DIY Outdoor Oven

You don’t have to make do with just your barbecue pit for an authentic outdoor cooking experience. A DIY outdoor oven can be handy and be used to whip up so many amazing treats.All you need is a metal bucket, a few terracotta pots and a little sand, and you have a reasonably priced tandoor, which you can use to make soft, fluffy flatbreads, and delicious naans. Some cardboard can even be used to make a solar oven which works just as well.

DIY Smoker

If you love meats with that wonderful smoky flavor, you don’t have to spend tons of cash to buy it. You can make it yourself! All you need is a few old flower pots. You could even turn your old grill into a cold smoker.

DIY Outdoor Canopy

You don’t need to make a large hole in your pocket to be able to afford a fancy outdoor canopy that is aesthetic and weather-resistant. All you need for your DIY outdoor canopy are four poles, a drop cloth and you are ready to go!The drop cloth is weather-proof and protects your guests from any sudden, unexpected weather. Setting up this canopy is quick, easy, and super cheap.

DIY Mason Jar Outdoor Lights

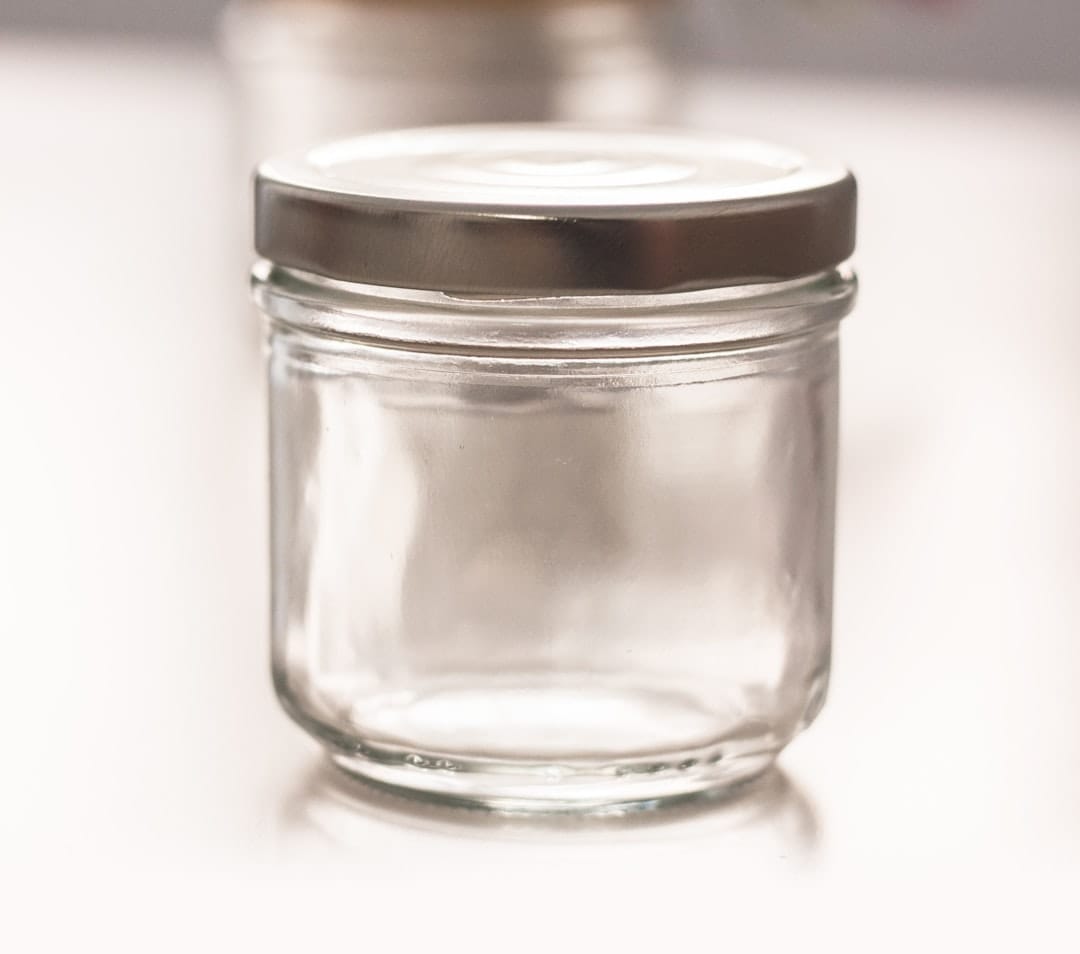
Nothing looks more beautiful than flickering amber lights in an outdoor area. Again, mood lighting doesn’t have to come to you at a premium. All you need for DIY mason jar outdoor lights are a few old mason jars, some battery-powered LED garden lights and you’re all set!

DIY Mini Fire Pit or Flaming Bowl

There’s nothing that draws attention more than a mini fire pit or a set of flaming rock bowls. These are eye-catching pieces that will invigorate pretty much any deck or patio.
Read More
She Shed Man caves are passé. The fairer sex now are getting their creative juices going to design their own personal spaces. Apparently the inside of the entire home was not enough!After all and furthermore, it’s not only the men who need the peace and quiet of a retreat. Fueled by the popular interest generated on Pinterest women all over are excited by the idea of a “she shed”. It’s the perfect place to get away from the drill of daily chores and family responsibilities.A little time out helps to recharge your batteries, clear your mind, and boost that motivation before getting back to the grind. Your backyard shed need not be a just old room that you generally use for storage anymore. “She sheds” are a fantastic reflection of your personality. Your imagination is the limit to create a place that defines you. There are endless ways to let out your girly decorating fantasies that you couldn’t fulfill in your house.It’s not about running away from anything, everyone needs time for themselves and women running a family hardly have any time or space of their own. The basic idea is that no one except you is allowed in. Some women find that having this little hideout helps them emotionally and gives them a sense of stability and control. It’s no surprise as it provides an opportunity to pursue their interests. It’s a fantastic thing in a world where so many compromises are made by women for the sake of family.

What You can do in Your She Shed/Ma-Am Cave

Use your imagination to convert it into your perfect getaway. If you are artistically inclined or you work from home or take up projects, you can use it as a place to focus and get into the zone. If you are a painter you can use it to make a gallery of sorts and house all your artwork as well as use it as a painting space. Stock it with books if you are a bookworm and escape into the literary world.Some people have chosen to use their backyard sheds as eateries and pubs. It’s also a fantastic place to just chill out with a cup of tea, or some wine if you prefer, and unwind. A rendezvous with your old girlfriends can be so much fun here. Some women just use it as a place to find peace, meditate on the questions of life, and find their old selves.What you use your shed for is totally your choice. The best part is that you have your retreat a stone’s throw away.She-Shed-conversion

Use Your Imagination

Always wanted to decorate your room in pink and lace but found it too girly for the tastes of your family? If you are a DIY aficionado then you will love doing up your shed. Freedom to decorate is completely unhindered. Paint it white for a Victorian look, personalize it with memories from your past, reuse and give new life to old unused furniture. This is this perfect opportunity to go green and recycle all those odd things lying around.Love gardening? Cover it with flowering creepers, put pots of flowers on the window sill, and make a nice walkway leading to it. Paint the walls, hang lanterns, and wind chimes, light it up with some soft golden lighting. The whole idea is to let yourself loose and create a blissful haven for yourself.Think your old shed is too worn out? Think again. Old sheds are brilliant chance to bring out that rustic look. All it needs is a little sprucing up. Install large windows and paint them white. Plant some bright tulips or the like around it. Build a sit-out and hang out some lamps. Have a bird bath. If you need any ideas, take inspiration from what other people have done but toss in some of your own ideas as well.

Getting Started

You are lucky if you already have a backyard shed. Now all you need to do is to set it up to your liking. Giving it a fresh coat of paint is what makes it come alive again. Decide what you would like to do with the space and have a wonderful time decorating it.You can always build your own backyard shed. There are a lot of DIY shed options available. Your shed need not be made only out of wood. Having a glamping tent is a sterling low cost alternative to the shed if your budget is tight.

Happy Times

These sheds make a magnificent place to host an outdoor party from. It provides the perfect ambiance for birthdays, anniversaries, and family gatherings.It’s a majestic place to enjoy your garden from as well too. Spend evenings here watching the rain with some biscuits and tea or just staring out of the window. Make it your own happy place. Sort of like those magical places we always read about. “She sheds” are not really meant as a response to man caves. It just fulfills a very real need for women to tune out of the stress of everyday life.
Read More
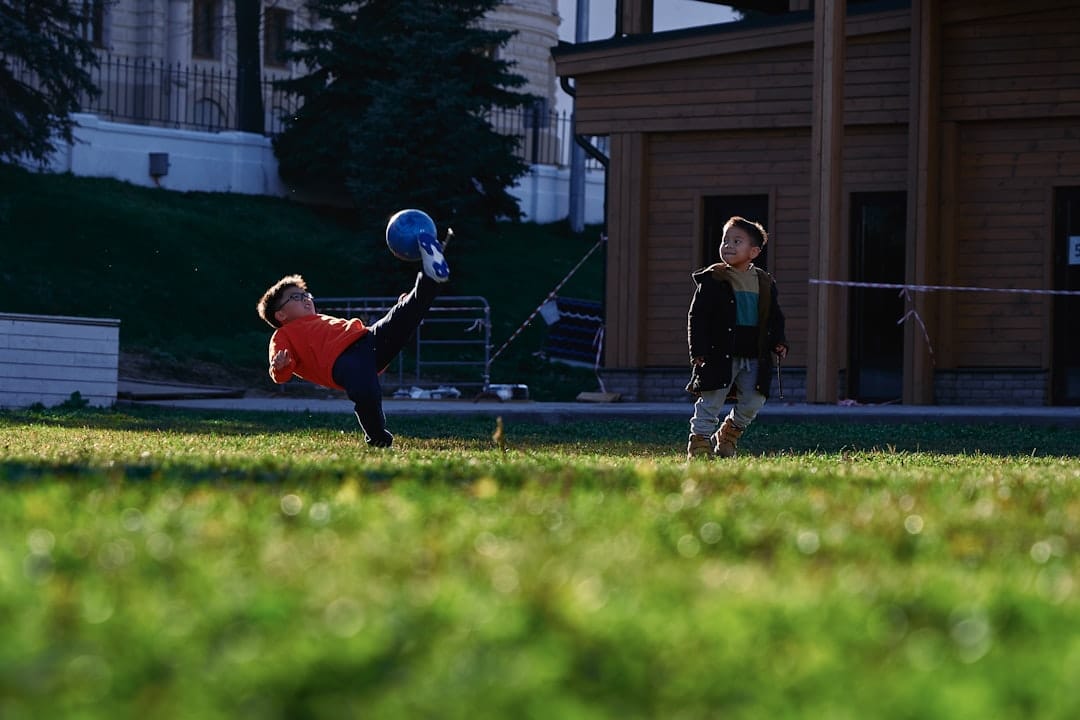
how-to-create-a-kid-friendly-backyardWhen you have kids, you want to ensure they spend sufficient time outdoors to exercise and expend surplus energy. Your backyard can turn into a thrilling and fun adventure for your kids if you incorporate the right elements. Of course, you can do this without disturbing your flowerbeds or landscaping. There are simple and affordable ways to make your backyard kid-friendly.

Jungle Exploration

Plant tall grasses and weeping trees in one corner of your backyard. Lay stepping stones to create a winding pathway through this “jungle” where kids can let their imagination run wild. You can even plant giant sunflowers and place a large boulder for your kids to climb on. This inviting and fun jungle will definitely get your kids outdoors, away from their computers and TVs.This can also create some hiding spots for dangerous critters so you keep the grass short and the plants to a minimum.

Scribbling Area

Screw a large outdoor chalkboard to your fence and you are done. That way, you can easily let the kids use the chalkboard to scribble and draw. If you’ve ever tried to remove chalk from cedar fencing, you know it can be a pain. This way, your fence will not be sullied with their artwork and the kids will still have a place to get their creativity out.

Bring the Beach to Your Backyard

It can be fun to recreate the beach in your backyard. Instead of going for the ubiquitous sandpit, dig a shallow undulating pit in your backyard. Cover it with landscaping plastic and then fill it with sand. Even out the sand and in the middle place bricks to make a bonfire in the evenings. It will be a place for the kids to roast their marshmallows in the evening while you sit on your bench and sip a glass of wine or some iced tea.

Haven for Creatures

haven-for-creaturesKids are fascinated with those colorful butterflies, bees, squirrels and birds. They can spend hours looking at them and laughing at their antics. So, make your garden creature-friendly by planting colorful flowers and hanging a birdfeed to a tree branch. You can easily use a terracotta flat-bottomed container and use jute ropes to hang it securely to a branch to create a homemade birdfeed. Then watch your kids improve their power of observation!

A Place to Rest and Recoup

After all the running around, exploration and playing, kids need a shaded area to catch their breath, sip a cool glass of lemonade and get their energy back. You can easily install a gazebo. No, you don’t have to spend a lot of money. Just press the button for a DIY gazebo kit. It is affordable and comes with precut pieces that you can join to erect the most beautiful cedar gazebo.If you like, you can even go in for a three-season or all-season DIY gazebo kit. This way, the gazebo can be used by your kids and you even when the weather outdoors is cold. Place outdoor comfortable outdoor furniture in the gazebo and a few potted plants and you will have a wonderful sanctuary to rest and rejuvenate.gazebo-kit

Bring Out the Beethoven in Your Kids

Music can make you feel happy and also let you be creative. Encourage this in your kids by creating a music wall in your backyard. Use a portion of your fence and fix pots, pans, xylophone, and wind chimes that kids can use to make sweet (and sometimes not so sweet) music.

A Marvelous Way to Push Kids to Eat their Veggies

All parents know what an ordeal it is to get kids to eat their vegetables. But this could be a thing of the past if you teach your kids to grow their own vegetables. Designate a patch in the garden for your kids to grow the veggies they like. Help them with the sowing, caring, and watering and watch the delight on their faces when they see first veggie appearing. Pick easy vegetables that require minimal care and maintenance and also ones that grow quickly.

Fun Splash Area

Forget those expensive splash pads that you get in stores. You can create your own for a fraction of the price. Lay out a tarpaulin in the middle of your backyard and wet it with the garden sprinkler and your splash pad is ready. Just be around to supervise the kids, so that they don’t fall and hurt themselves.

Swinging for the Skies

If you have kids, you definitely need to have a swing in your backyard. Use an old car tire to make a swing. It will upcycle the tire and also serve the purpose. Alternatively, you can saw off the legs of an old chair and use it to create a swing with armrests and backrest. Paint the chair in colorful oil paint to make it attractive and vibrant. Just make sure the swing is securely tied to tree branch and is sturdy enough to take the weight of your kids.These are some ways to make your backyard kid-friendly and these ideas quite inexpensive. So, even if you are on a tight budget, you can still get your kids moving and being physically active regardless of the weather outdoors. And off those machines!
Read More


Transform Your Outdoor Living Space with a Cedar Gazebo

BBQ Shelter Grill Gazebo Western Red Cedar Outdoor Living Today Banner 2

Looking to enhance your outdoor space and add usable square footage to your home? A cedar gazebo is a beautiful and functional way to upgrade your backyard. Whether you’re entertaining guests, relaxing solo, or creating a year-round retreat, gazebos offer endless possibilities.

What Is a Gazebo?

A gazebo is a freestanding outdoor structure with a roof and open sides, typically built in a garden or backyard. Common gazebo shapes include octagonal, hexagonal, rectangular, and square. Some gazebos have half-walls or screens between the support posts, while others are fully enclosed and built for all-season use.

Western Red Cedar gazebos are particularly popular due to their natural resistance to rot, insects, and decay, making them ideal for outdoor use in various climates.

4 Creative Ways to Use Your Backyard Gazebo

Western Red Cedar Gazebo Outdoor Living Today 3

1. Outdoor Relaxation Retreat

Create a cozy outdoor nook by adding lounge chairs, cushions, and a small table. Use your cedar gazebo as a private escape to enjoy a good book, sip iced tea, or just unwind in nature.

2. Backyard Entertaining Hub

Host BBQs, birthday parties, or summer dinners under the shade of your gazebo. Add string lights or lanterns for ambiance. Gazebos near pools make perfect shaded lounging spots to keep an eye on kids while chatting with guests.

3. Fitness & Wellness Zone

Practice yoga, stretch, or meditate in your gazebo. Surrounded by greenery and away from indoor distractions, it becomes an ideal space for mental and physical well-being.

4. Hot Tub Enclosure

Install a gazebo around your hot tub to provide year-round privacy and protection from the elements. A cedar structure enhances the spa experience while blending seamlessly into the landscape.

Why Choose a Cedar Gazebo?

Western Red Cedar Gazebo Outdoor Living Today 8

When shopping for a gazebo, material matters. Western Red Cedar is one of the most popular choices thanks to its:

  • Durability: Naturally resists rot and decay

  • Pest resistance: Cedar’s aroma deters insects

  • Aesthetic appeal: Warm tones and beautiful grain patterns

  • Workability: Lightweight and easy to assemble

Cedar also gives your backyard a timeless, upscale look that integrates beautifully into natural surroundings.

How to Get a Cedar Gazebo for Your Yard

You have a few options for adding a gazebo to your property:

1. DIY Build from Scratch

Purchase raw lumber and design your own gazebo. This option requires carpentry experience, planning, and access to tools.

2. Hire a Professional

Work with a contractor to custom-build your gazebo. This offers more flexibility in design but comes with a higher cost.

3. Purchase a Gazebo Kit

The easiest and most popular option for homeowners is buying a pre-cut or panelized gazebo kit. Outdoor Living Today offers high-quality Western Red Cedar gazebo kits that come with all the required hardware, instructions, and pre-cut pieces.

Gazebo kits allow for faster assembly and fewer design headaches, and they come in a variety of sizes and styles to suit your space and lifestyle.

Expand Your Outdoor Living Today

Adding a gazebo to your backyard isn’t just about aesthetics—it’s about lifestyle. It provides a beautiful, functional space to enjoy nature, host guests, or simply relax. Whether you’re investing in a hot tub enclosure or creating your personal garden retreat, a cedar gazebo kit makes the process simple, stylish, and satisfying.

Explore Western Red Cedar gazebo kits at OutdoorLivingToday.com and transform your yard into the outdoor oasis you deserve.

Read More

Lawn Care Tips for a Healthier, Greener Backyard

Western Red Cedar Raised Garden Bed With Deer Proof Fence Outdoor Living Today scaled

A lush, healthy lawn doesn’t need to rely on harsh chemicals. With eco-friendly lawn care practices gaining popularity, homeowners across North America are learning how to grow green lawns using sustainable methods that benefit both their yards and the environment. Here’s how you can care for your lawn organically year-round, from mowing and watering to aerating and fertilizing.


🌱 Why Eco-Friendly Lawn Care Matters

Historically, lawn care has involved heavy use of chemical pesticides and fertilizers. But overuse led to environmental harm and eventual legislation. Today, more homeowners are turning to organic lawn care practices—reducing chemical use while improving soil health, biodiversity, and water retention.

With the right care, your lawn can naturally resist pests and weeds without synthetic treatments. Start by embracing best practices that prioritize soil health, proper mowing, and sustainable watering methods.


💧 Watering Wisely

  • Summer Watering Tips: In hotter months, water deeply but infrequently to encourage strong root systems. Overwatering leads to shallow roots and rotting.

  • New Lawns: Newly seeded lawns need consistent moisture. Consider a sprinkler system or soaker hose to maintain even hydration.

  • Invest in Irrigation: Drip irrigation or programmable systems help reduce water waste and ensure consistent coverage.


🌾 Aerate for Healthy Soil

IMG 8838 Edit Edit scaled

  • When to Aerate: Aerate your lawn during the growing season (spring through fall) when soil is moist—either after a rain or a good watering.

  • Why Aeration Helps: Loosening compacted soil allows roots to breathe and water/nutrients to penetrate deeper. It also prevents thatch buildup and promotes microbial activity.


🌿 Organic Fertilizing and Feeding

  • Use Natural Fertilizers: Apply compost, worm castings, or organic fertilizer blends based on your soil’s needs.

  • Leave the Clippings: Grasscycling—leaving clippings on the lawn—returns nitrogen to the soil naturally.

  • Know Your Seasons:

    • Spring & Summer: Use nitrogen-rich fertilizers to promote growth.

    • Fall: Apply a lower-nitrogen blend to strengthen roots.

Pro Tip: Water within 2–3 days of fertilizing if it doesn’t rain to help nutrients absorb properly.


✂️ Mowing Best Practices

  • Mow by Season:

    • Spring: Expect rapid growth; mow more frequently.

    • Summer: Once a week is often ideal.

    • Fall: Bi-weekly mowing may suffice.

    • Winter: Avoid mowing in cold climates—let the grass rest.

  • Keep It Sharp: Dull mower blades tear grass, leading to browning.

  • Compost the Clippings: Turn them into rich organic matter for your garden or reuse directly on the lawn.


🌾 Weed Control Without Chemicals

penthouse olt cedar 5

  • pH Matters: Test your soil—acidic soil can encourage weed growth.

  • Preventive Measures: A healthy, thick lawn shades out weed seeds naturally.

  • Manual Weeding: Pull weeds by hand or use a weed popper tool.

  • Organic Herbicides: Use vinegar-based solutions or corn gluten meal as a natural pre-emergent.


🌤 Seasonal Lawn Care Schedule

  • Spring: Aerate, fertilize, begin mowing. Watch for new weed growth.

  • Summer: Water early morning or evening; adjust mowing frequency. Spot treat any weed issues.

  • Autumn: Fertilize with root-boosting blends, rake leaves, and mow lower in final weeks.

  • Winter: Rest your lawn. Avoid walking on frozen turf to prevent damage.


🌍 Build a Sustainable Lawn

Lawn care doesn’t need to rely on chemicals. By focusing on soil health, watering smartly, and sticking to an eco-conscious lawn care routine, you’ll cultivate a resilient lawn that looks good—and does good for the environment. Whether you’re a beginner or a lawn care enthusiast, going organic is better for you, your pets, and your planet.

Read More

Transform Your Backyard on a Budget

Space Master 12x16 SM1216 Outdoor Living Today western red cedar Product Image 7

You don’t need a fancy deck, grand cedar gazebo, or in-ground pool to enjoy your backyard. With a little creativity, you can create a fun, relaxing, and entertaining outdoor space your guests and family will love.


1. Hang Solar Lamps from Trees

Bartley BZ1012 650x469 1 300x300 1 300x300 1

Repurpose an old chandelier using solar lights and hang it from a tree branch. No wiring or electrical work needed—just beautiful ambient lighting that charges during the day and glows at night.


2. DIY Bird Nesting Station

Fill a suet feeder with 4–8″ scraps of yarn. Birds will use them to build colorful nests. This simple project attracts local wildlife and offers a fun nature-watching opportunity.


3. Wind Chimes from Old Keys

Craft soothing wind chimes using old keys, acrylic paint, string, and a piece of driftwood. Paint the keys in bright colors, then string and hang them close together so they chime in the breeze.


4. Splash Pad Using a Tarp

Turn a clean tarp into a backyard splash pad. Add a sprinkler or hopscotch mat and let the water do the rest! Kids can slip, slide, and stay cool while you relax nearby with your feet in the water.


5. Kickball Croquet with Pool Noodles

Cut pool noodles in half to form arches, secure them to the lawn with garden stakes, and play a game of croquet—kickball style! Great for backyard parties and family fun.


6. Build a Backyard Movie Theatre

All you need is a projector, DVD player, speakers, and a screen (like a sheet or blank wall). Set up lawn chairs or picnic blankets, make some popcorn, and enjoy movie night under the stars.

Pro Tip: Use a surge protector and outdoor extension cord for power. Don’t forget mosquito repellant or citronella candles!


7. Backyard Scrabble

Make a giant 5-foot Scrabble board with concrete tiles and custom wooden letter pieces. Use adhesive vinyl letters and lacquer to waterproof your tiles. It’s a great family game that gets everyone outdoors and thinking.


Final Thoughts

These budget-friendly backyard projects are perfect for summer weekends, birthday parties, or spontaneous get-togethers. Whether you’re looking for kid-friendly backyard games, relaxing outdoor vibes, or ways to enjoy nature, these ideas bring joy without breaking the bank.


Outdoor Living Today offers everything you need to create your perfect backyard—from cedar sheds to family-friendly accessories. Explore our collection and bring your DIY dreams to life!

Read More

Backyard Play Area Ideas for Kids: How to Clear Space & Create a Fun Outdoor Retreat

lcp66box

Creating a dedicated play space in your backyard doesn’t just offer your kids a safe place to explore — it supports their mental and physical development while giving them the joy of nature. With a few creative changes and smart backyard shed storage, you can transform even the most cluttered yard into a functional play area for children.

Why Natural Outdoor Play Matters

Research shows that kids thrive in outdoor environments rich with natural elements — trees, flowers, insects, and open air. In fact, White and Stoecklin found that if given the chance, children would design play spaces brimming with natural features like ponds, plants, and wildlife. As a parent, you can bring this vision to life right in your backyard.


Step 1: Clear & Clean the Backyard

Remove Overgrown Bushes and Trees

Start by trimming or removing any overgrown shrubs and low-hanging tree branches. An open lawn makes a better canvas for a safe, imaginative play zone. You can replant with colorful flowers and maintain trimmed grass to create an inviting, open space.

Eliminate Rotting Plants and Weeds

Clear away any decaying plant matter and aggressive weeds. Not only does this create more usable space, but it also improves safety and aesthetics — two things kids (and their parents) appreciate.

Declutter the Odds and Ends

Old toys, broken bikes, garden tools, and unused lawn equipment often clutter backyards. Store what you still need in a shed or garage, donate working items, and toss the junk. You’ll reclaim valuable space for your kids to roam.


Step 2: Use Space-Saving Backyard Furniture

Opt for Foldable Furniture

Replace bulky wooden seating with foldable outdoor furniture. Lightweight plastic or collapsible options are ideal — easy to move and even easier to store in a shed when not in use. This keeps your backyard flexible and play-ready.


Step 3: Involve Your Kids in the Design

69 test scaled

Children are full of creativity. Let them help brainstorm how the play area should look. Whether it’s a flower garden, a mini wildlife pond, or just a cozy sandbox — your kids’ ideas will make the space feel like their own.


Step 4: Add a Shed for Storage and Play

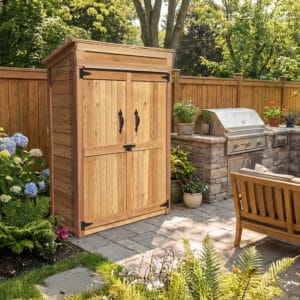
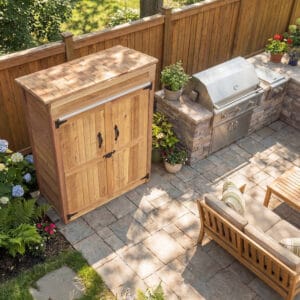
Install a backyard shed to serve as both a storage unit and a part-time clubhouse. Opt for something practical like a Western Red Cedar shed — naturally beautiful and durable. Store seasonal furniture, tools, or even create a reading nook or board game station inside.

➡️ Explore cedar sheds at Outdoor Living Today


Step 5: Build Multi-Level Fun

Add depth and wonder to your yard with multi-level flower beds, stair-step planters, or seating platforms. Children love different vantage points and textures, so steps and platforms invite exploration and imaginative play.


Step 6: Install Kid-Friendly Play Features

Water and Sand Elements

Set up a sandbox, water table, or mini pond. Kids love tactile experiences — and these features keep them entertained without screens.

Add Play Equipment

Install a small swing, seesaw, or slide in a clear and safe area. Use natural barriers like flower beds or bushes to define the play zone.


Final Thought: Outdoor Play > Screen Time

OLT a father mother kid in an octogon shaped cedar g 95bbd808 4bbb 4844 b64f b671698e98d4

A well-designed backyard encourages kids to engage with nature and each other. With a few simple changes, you can create a playful sanctuary that your kids will love — and maybe even get them to forget about their tablets for a while.

Read More