How to Build a Level Base for Your Shed: Step-by-Step Guide

If you’re building a garden or storage shed, the single most important step is preparing a solid, level base. Even if your yard looks flat, assuming it’s level can lead to major headaches down the road. From wobbly workbenches to crooked walls, an uneven foundation impacts everything that comes after.
In this guide, we’ll walk you through how to create a strong shed foundation using crushed stone and pressure-treated wood.
Why Leveling Matters
A level base ensures your shed walls, doors, and especially roof panels align properly during assembly. Many DIYers discover too late that an off-kilter base causes misaligned screw holes, unstable framing, and frustrating gaps during roof installation.
And beyond aesthetics, if you plan to install a workbench, shelving, or any equipment, you’ll need it sitting perfectly level—not tilted like a funhouse.
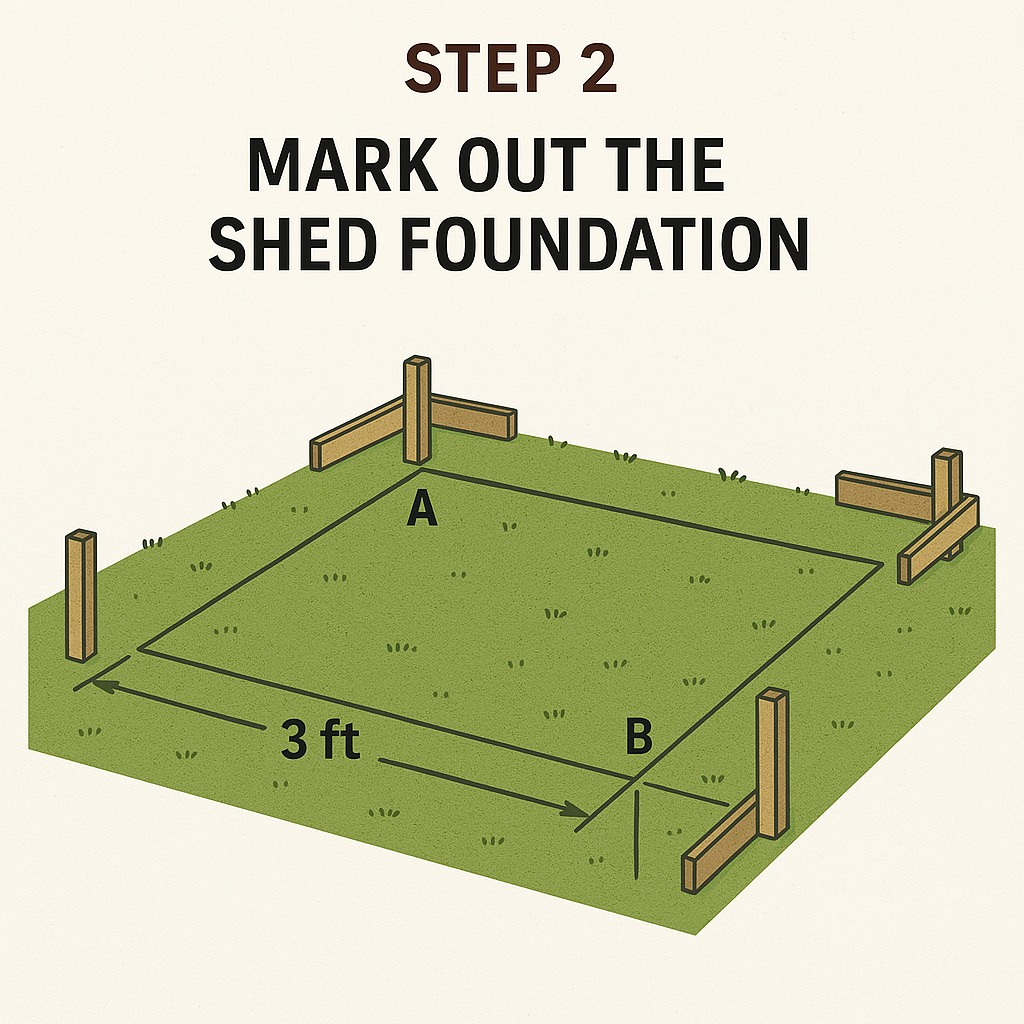
Step 1: Mark and Measure Your Shed Footprint

Start by choosing your shed’s final position. Consider:
Sun exposure
Drainage
Obstruction of views or light
Use four wooden stakes to mark out a slightly larger footprint than the shed base. This ensures enough room for installation and airflow.
Step 2: Identify Your High Corner
Use a long 2×4 and spirit level to determine which corner of your base is the highest point. Tap the stake in until it’s 4-6” above ground. This will be your reference height for the other corners.
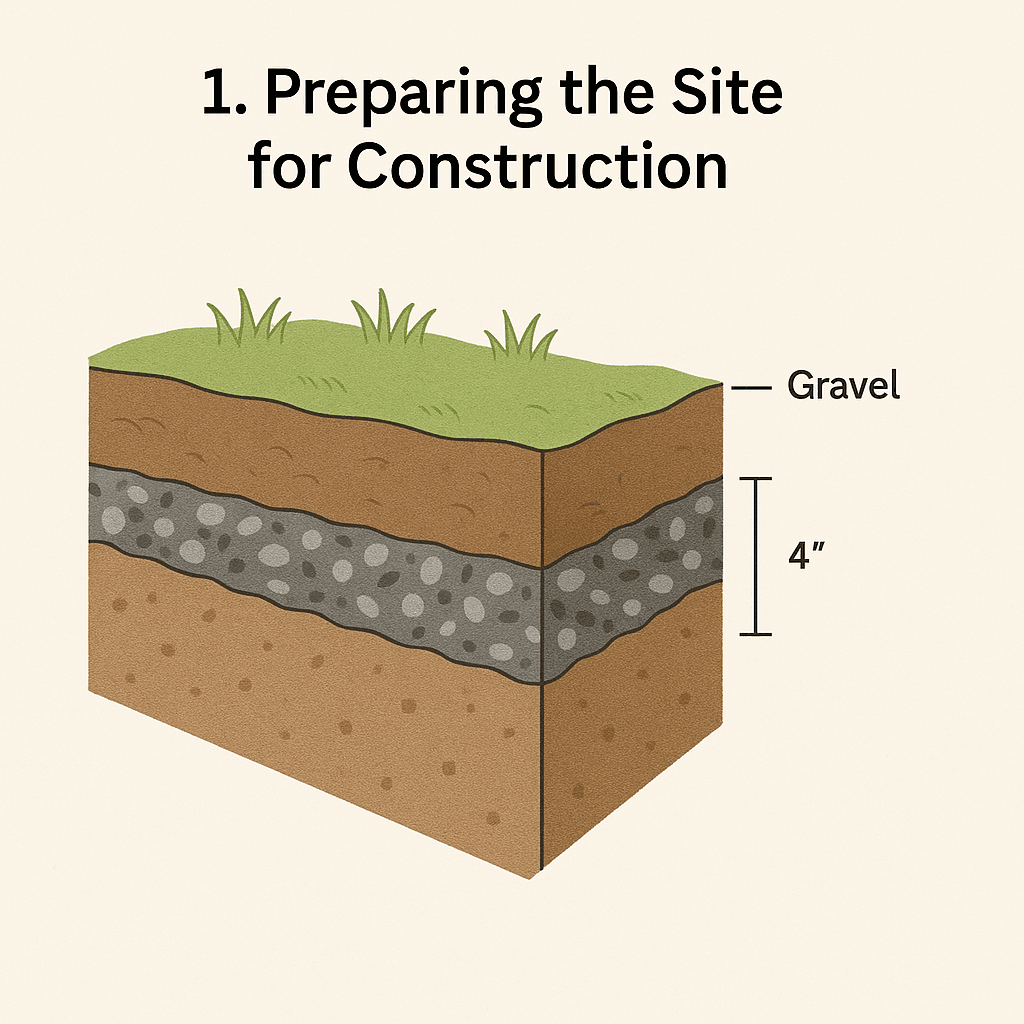
Measure down from this point to determine how much soil needs to be excavated from the remaining corners to make the base level. Strip turf and excavate to 3″ depth minimum (ideally 3″ to 5″).
Step 3: Add and Compact Crushed Stone
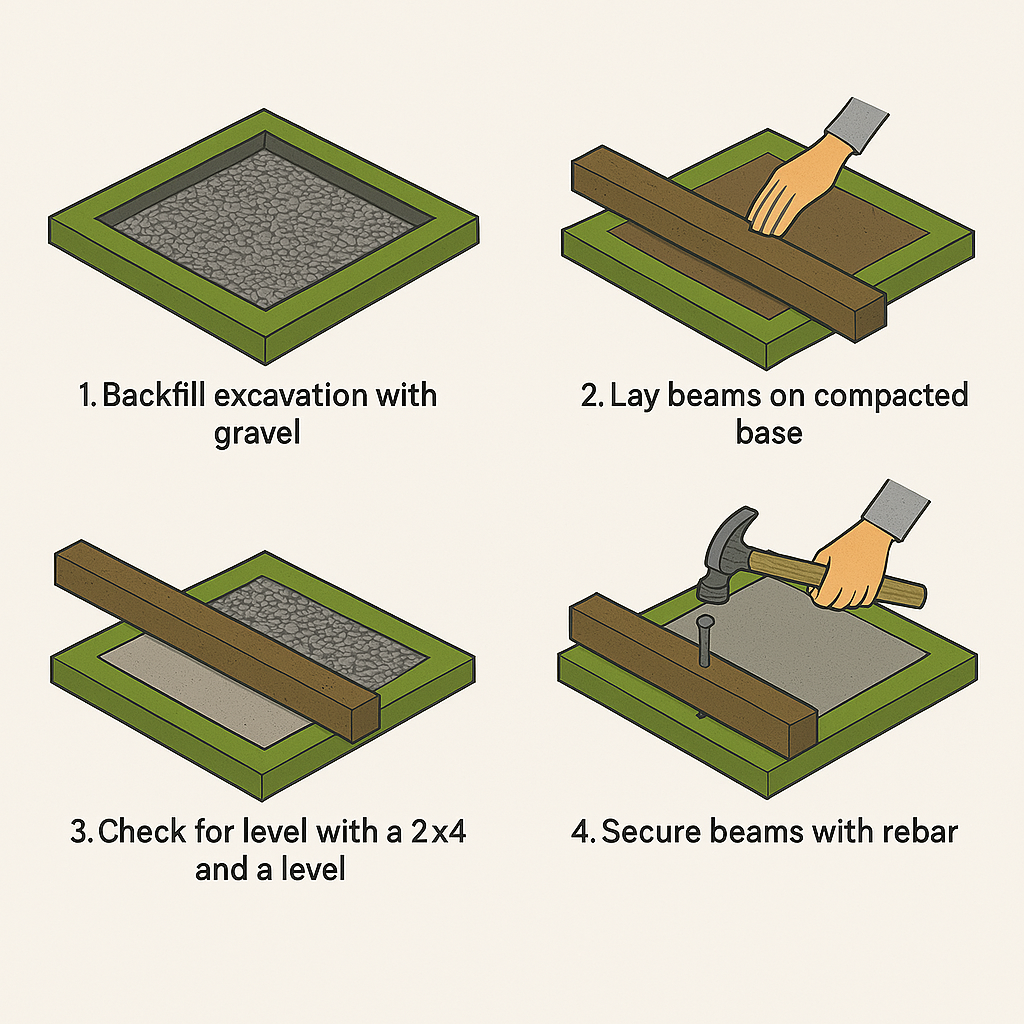
Lay down a weed barrier, then spread crushed aggregate (crushed stone with fine dust). Rake it as level as possible.
To compact it:
Rent a vibrating plate compactor or
Use a 25 lb hand tamper to pound the stone flat
Keep checking your levels between corners using your 2×4 and spirit level. Add or remove stone as needed until the entire base is flat and compact.
Step 4: Add Pressure-Treated Wood Timbers

Lay 4×4 pressure-treated timbers perpendicular to your planned shed floor joists. These elevate the shed for better air circulation and help prevent water damage. Ensure the wood sits flush and level across the stone base.
Tip: Use stainless steel or aluminum fasteners to prevent staining or corrosion.
Step 5: Maintain Dryness for Longevity
Moisture is the main cause of wood decay. Crushed stone allows water to drain, and elevating your shed with pressure-treated wood adds another layer of protection. Together, they dramatically extend the life of your shed.
Summary
Building a proper shed foundation takes time, but it prevents costly errors and repairs later. A few key tools and steps ensure a long-lasting, stable base:
Mark your site carefully
Level it out thoroughly
Compact crushed stone
Add pressure-treated support timbers
With these steps, you’ll have a rock-solid base for whatever you build on top—from garden sheds to backyard studios.


