How to Be a Smart and Successful Backyard DIYer

man in yellow shirt and blue denim jeans jumping on brown wooden railings under blue and

DIY backyard projects can be incredibly satisfying — but only if you follow through. Too often, ambitious remodels stall out halfway, leaving a patchwork of unfinished ideas. Whether you’re building a shed, laying out a garden, or planning a complete outdoor makeover, it takes more than enthusiasm to finish strong.

Here’s a step-by-step guide to help you become a smarter, more effective backyard DIYer — so your projects don’t just start with promise but finish with pride.


🧭 Step 1: Evaluate Your Outdoor Space

Before lifting a shovel, take time to assess your yard:

  • Measure your available space

  • Consider how the space will be shared

  • Think about zoning areas — e.g., play zone, BBQ zone, lounge area, or garden space

Start by identifying your top backyard priorities — is it entertaining, relaxing, gardening, or something else?

Planning a structure? Consider one of our DIY shed kits or pergolas as a functional anchor.


🏛 Step 2: Know Your Local Rules & Limits

seven construction workers standing on white field

Before sketching out your dream design, check:

  • Local zoning and building codes

  • Homeowner association (HOA) guidelines

  • Permit requirements for structures like sheds, decks, or gazebos

Knowing your boundaries early on will save you time, stress, and potential fines.


💸 Step 3: Set a Realistic Budget

The average backyard remodel in the U.S. can exceed $10,000, but as a DIYer you’ll save on labor. However, materials and tools still add up — especially if you’re building large structures or installing lighting or irrigation.

Tips:

  • Break your project into phases

  • Get estimates for materials early

  • Add a 10–15% buffer for unexpected costs

Need inspiration? Our DIY garden beds and accessories are great, budget-friendly additions.


🧱 Step 4: Design with Simplicity in Mind

Match your backyard design to the architecture of your home for visual harmony. Avoid adding too many complex elements at once. Focus on a few core features like:

  • A fire pit

  • A gazebo

  • A child’s play zone

  • A raised bed garden

You can always expand later — but overcomplicating the first round often leads to burnout.


📅 Step 5: Plan It, Then Work It

Create a detailed project plan:

  • Set target completion dates for each phase

  • Stock up on all required tools and materials before starting

  • Commit to 3–5 hours per week or allocate full weekends to stay on track

Not sure what tools you need? Check out our Top 10 DIY Tools for Backyard Projects guide.


🌿 Step 6: Simplify Your Landscaping

Western Red Cedar Raised Garden Bed With Deer Proof Fence Outdoor Living Today scaled

Low-maintenance doesn’t have to mean boring. Choose hardy perennials, shrubs, and native plants that require less upkeep and water.

Enhance the space with:

  • Potted plants in decorative containers

  • Climbing vines on trellises

  • Groundcover to reduce weeding

Want low-fuss solutions? Our urban raised beds help organize space and reduce digging.


🧰 Step 7: Know When to Call a Pro

DIY doesn’t have to mean do everything alone. Be smart about when to bring in help for:

  • Electrical wiring

  • Plumbing for outdoor kitchens or showers

  • Complex carpentry or landscaping

Hiring a professional for a consultation — even just an hour — can help you avoid costly mistakes and stay on schedule.


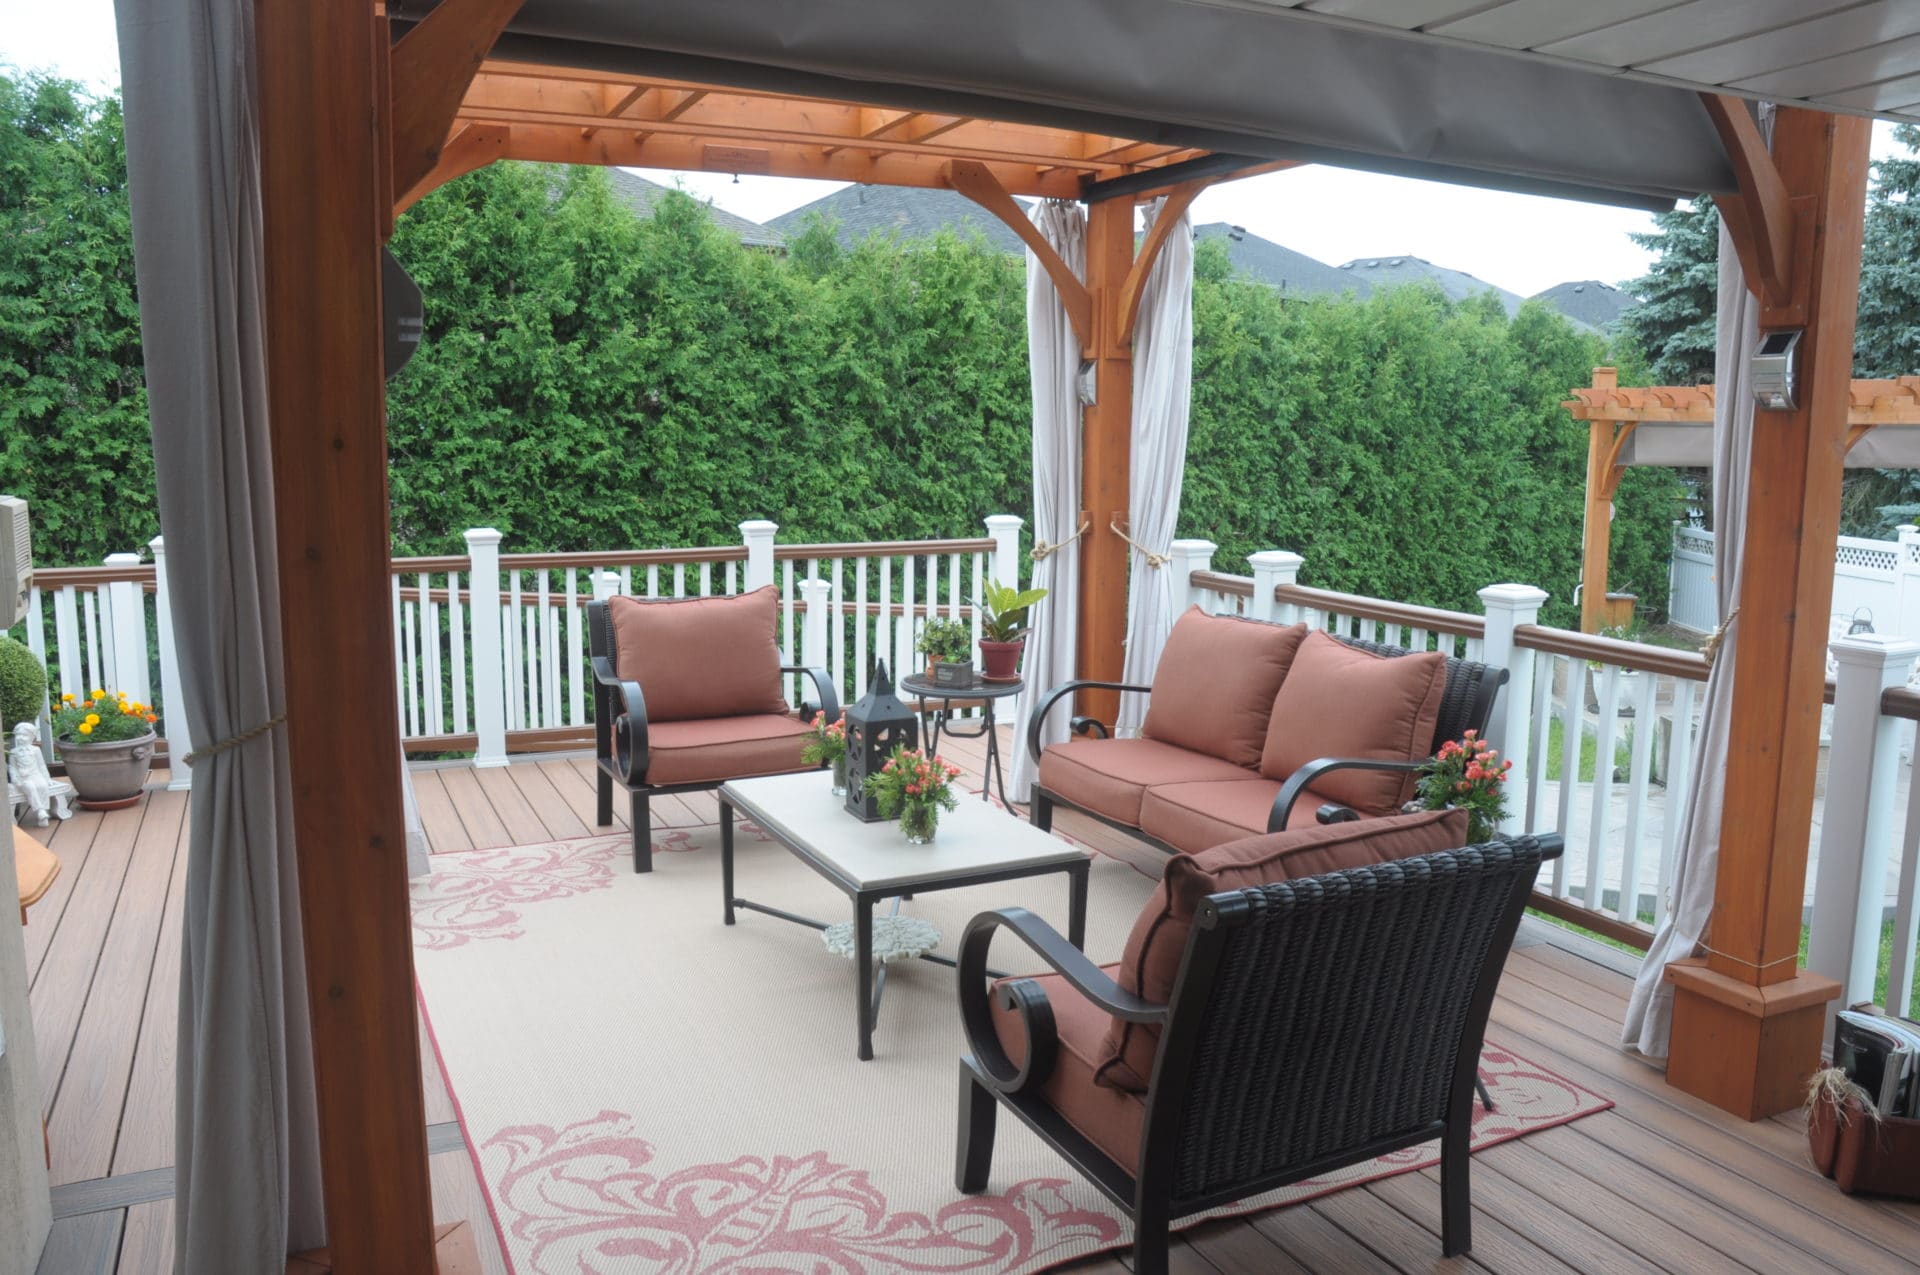
🪑 Step 8: Add Outdoor Furniture & Accessories

Once your layout and landscaping are done, complete your backyard with:

  • Comfortable seating and tables

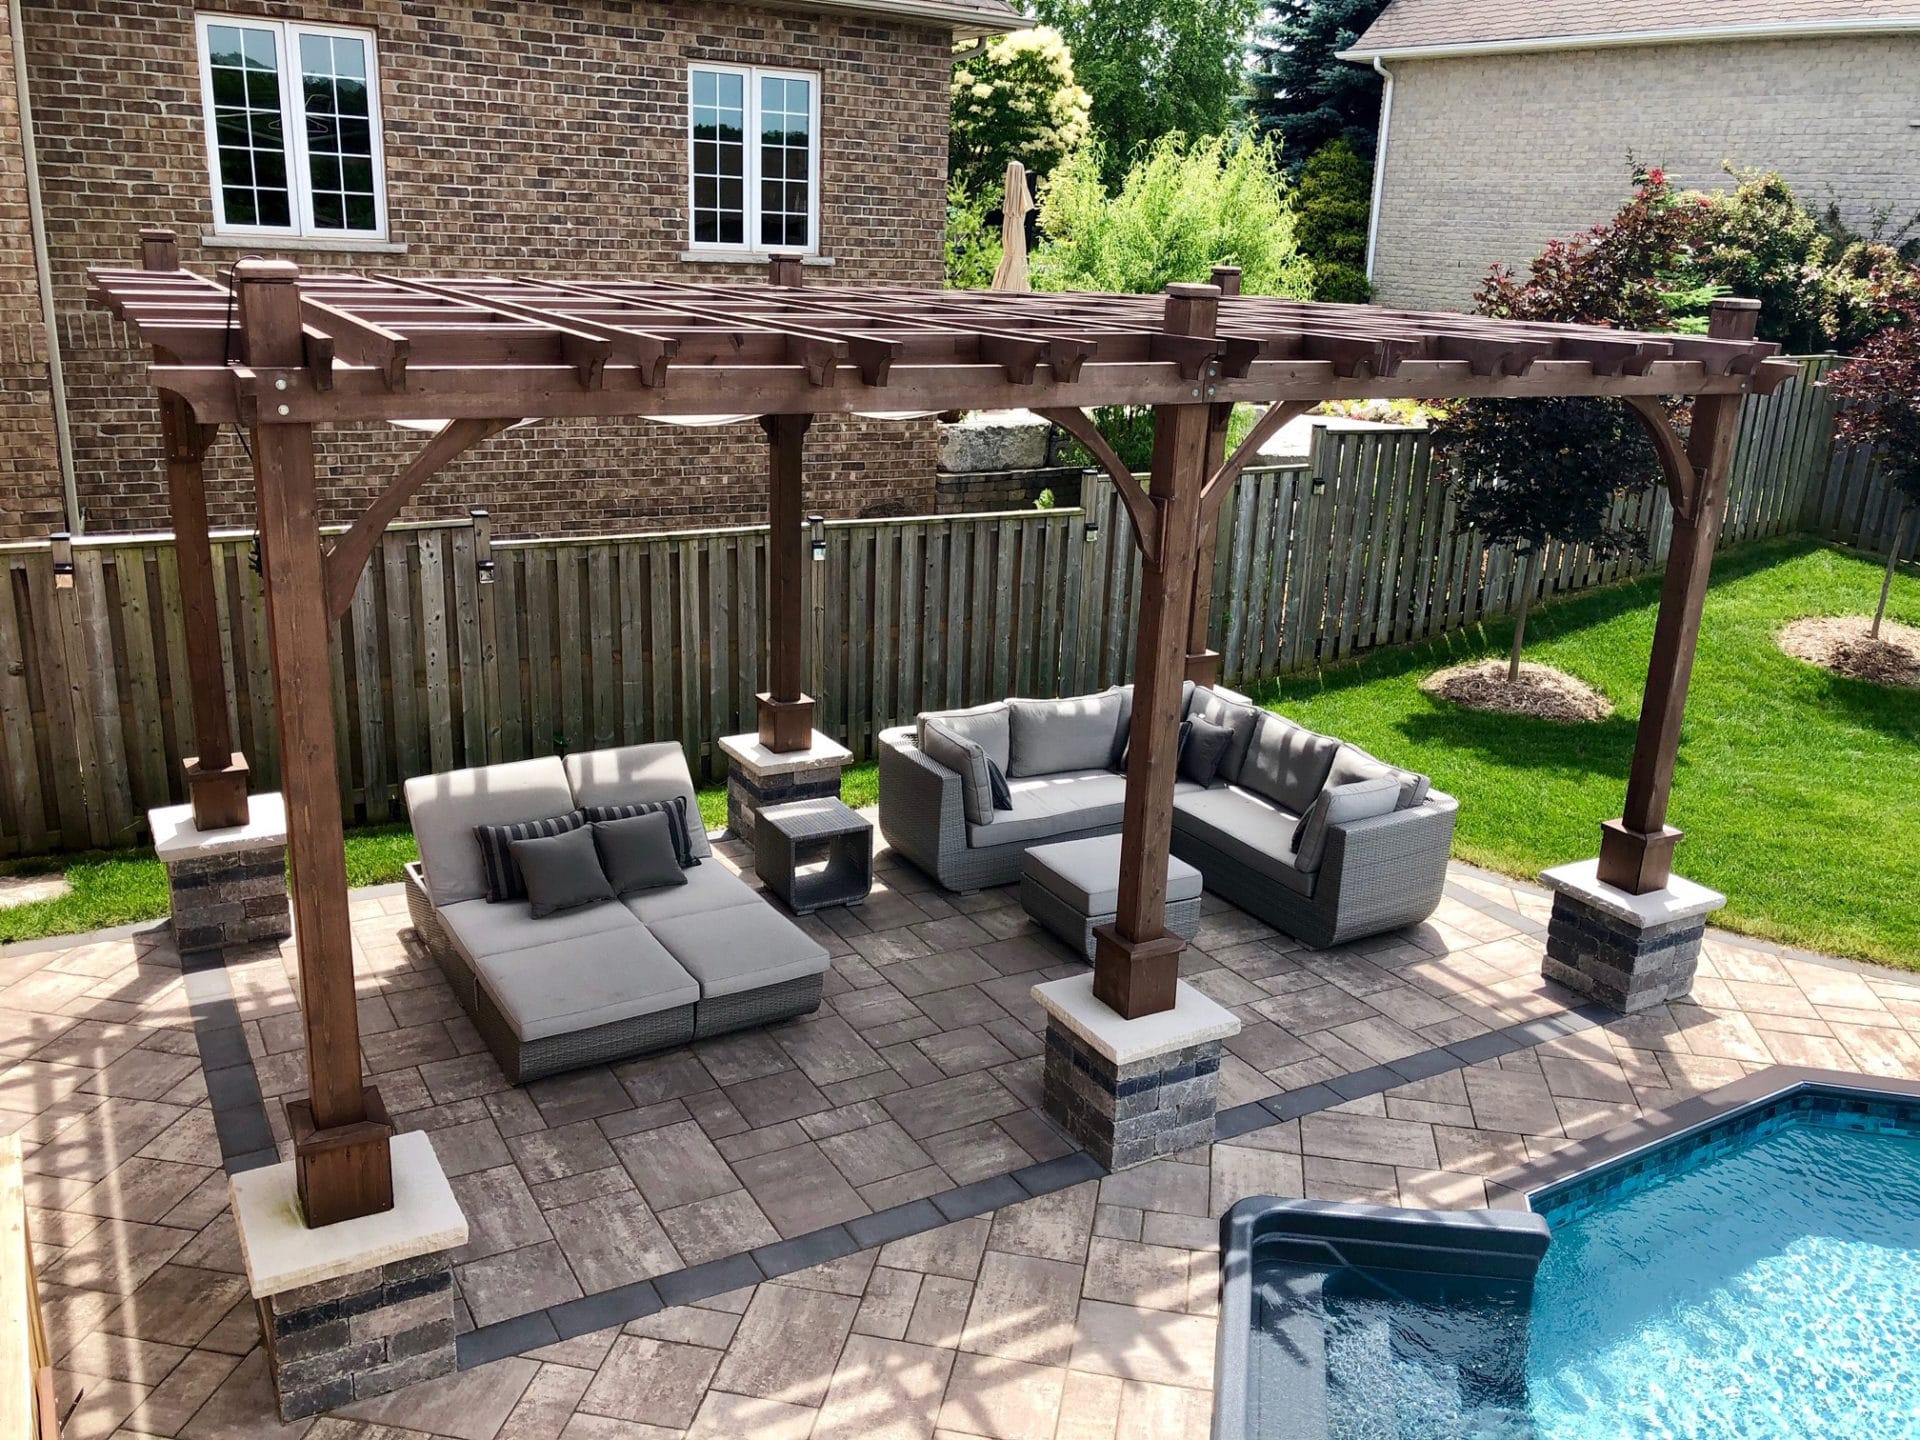
  • A shaded structure like a cedar pergola

  • Decorative elements like lighting, rugs, and cushions

This is where your space becomes truly livable.


Ready to Start Your Backyard DIY Journey?

J.Hansen 1 scaled 1

By planning thoroughly and staying organized, your backyard transformation doesn’t have to drag on for months. Be realistic with your time and budget, call in help when needed, and most importantly — enjoy the process.

Want the easiest way to get started? Check out our collection of DIY-ready outdoor kits:

Everything is pre-cut, pre-drilled, and built to last — so you can focus on creating something beautiful.

Read More

10 Must-Have Tools for Building Your Own Outdoor Structure

black pruning shears beside green gloves

Planning to build a DIY shed, playhouse, gazebo, or pergola? One of the smartest ways to ensure a smooth, stress-free experience (and avoid frustration with your spouse or your sanity) is to start with the right tools.

From cutting and fastening to leveling and measuring, here are the top 10 essential tools that will help you complete your outdoor structure confidently and safely.


🛠 10. Utility Knife

A retractable utility knife with a locking mechanism and replaceable blade is perfect for:

  • Opening shipping boxes

  • Cutting strapping

  • Trimming material during setup

Just be sure to keep it out of reach of children — the blades are extremely sharp.


🧰 9. Multi-Tool (with Pliers, Screwdrivers & Knife)

Think of this as your DIY pocket assistant. A good multi-tool combines pliers, screwdrivers, a knife, and sometimes a file into a compact unit — ideal for small fixes or adjustments on the fly.

Bonus: It fits right in your tool belt for quick access during setup.


🔧 8. Wood Clamps

One-handed bar clamps are incredibly helpful when working solo. They:

  • Hold panels or boards in place

  • Allow one-handed tightening and releasing

  • Help with alignment during screw installation

Perfect for holding roof panels, pergola beams, or wall frames in position during assembly.


🔨 7. Hammer

If you need to buy one, opt for a 16-ounce straight claw hammer. It’s:

  • Lightweight

  • Easy to control

  • Great for basic framing or tapping parts into place

Pair it with one of our DIY shed kits for a simple, satisfying weekend project.


📏 6. Level

Arguably the most important tool in your outdoor structure build. A proper level ensures:

  • Your foundation is flat and square

  • Rooflines and panels align properly

While apps work in a pinch, we recommend a 3–4 foot metal level that also doubles as a straight edge.


🪚 5. Saw (Hand, Circular, or Miter)

Choose your saw based on the precision required:

  • Hand or circular saw for rough cuts and basic trimming

  • Miter saw (ideally 12″ compound) for angles, rafters, and clean crosscuts

A miter saw is safer and more accurate when working with cedar pergolas or trim work.


📐 4. Tape Measure

You’ll use your tape measure dozens of times during a single build. Look for:

  • 12–16 ft length

  • ¾” wide for stability

  • Smooth locking mechanism

You can’t build it right if you don’t measure it right.


🧵 3. Tool Belt

A tool belt may feel bulky at first, but trust us — not having to walk back and forth to grab a screwdriver or screw will save you major time (and annoyance). It keeps everything from fasteners to pencils right at your fingertips.


📱 2. Smartphone

Yes, it’s a legit DIY tool:

  • Watch step-by-step assembly videos

  • Use calculator or level apps

  • Look up measurements or framing angles

  • Text your partner when you’re “this close” to being done!


🔋 1. Cordless Drill (With Extra Battery)

If you buy one power tool — make it a cordless drill:

  • Choose a 12V compact model for ease of use

  • Get one with 2 batteries so you’re never stuck waiting on a charge

  • Look for a drill bit accessory kit for flexibility

Most OLT structures — like sheds, gazebos, and playhouses — are designed for easy cordless drill assembly.


CGH OLT

Build with Confidence

Having the right tools on hand makes a world of difference. You’ll work faster, more safely, and enjoy the process a whole lot more.

Want a DIY project that’s already cut, labeled, and ready to assemble? Explore our wide selection of Western Red Cedar kits — perfect for weekend warriors and first-time builders alike.

Read More

8 Reasons to Start Your Own DIY Backyard Project

OLT RB88 Cedar OLT 6

Looking for a way to make your backyard more personal, functional, and unforgettable? A DIY backyard project is a rewarding, budget-friendly way to transform your outdoor space — and it comes with far more benefits than just curb appeal.

Whether you’re building a garden oasis, crafting your own furniture, or setting up a cedar shed, here are 8 compelling reasons why doing it yourself is worth it.


💰 1. It’s More Affordable Than Hiring a Pro

Hiring a landscaper or contractor can get expensive fast. With a DIY approach:

  • You save on labor costs.

  • You can repurpose materials you already have.

  • You control your budget every step of the way.

You don’t need a big wallet — just a weekend, some tools, and a little sweat equity.

Looking for affordable, premium-quality kits? Explore our shed and pergola kits that are perfect for DIYers.


🎨 2. Unleash Your Creativity

SSGS812 2 Western Red Cedar Outdoor Living Today

Not feeling inspired by cookie-cutter landscaping? A DIY project lets you tap into your creative side:

  • Use unique materials like reclaimed wood or vintage planters.

  • Paint, stain, or decorate however you like.

  • Create something that truly expresses your personality.

Your backyard becomes your canvas, and the possibilities are endless.


🪴 3. Reflect Your Personal Style

Do you love rustic charm or prefer a sleek, modern vibe? A DIY backyard lets you showcase your taste, whether that’s:

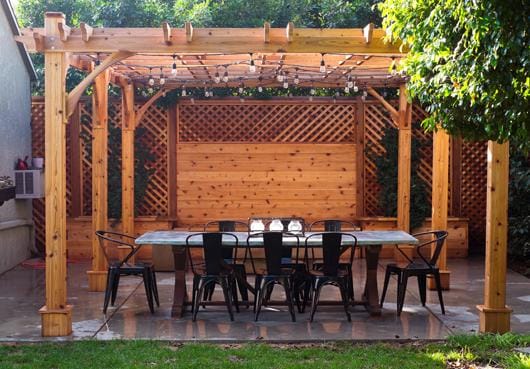
  • Crisscross trellises with fairy lights

  • Giant planters filled with wildflowers

  • A minimalist seating zone with a fire pit

Whatever your vibe, your outdoor space can mirror your indoor aesthetic — or take on a completely new identity.


🌟 4. Stand Out With a Unique Space

When you build it yourself, no one else will have a backyard like yours. DIY projects allow you to break from the mold and create something one-of-a-kind — not a landscaper’s template they’ve used 50 times before.

From custom-built seating to repurposed stone walkways, your yard becomes a conversation piece.


👨‍👩‍👧‍👦 5. Great for Family Bonding

OLT Mother and daughter gardening in a cedar greenhous b272f406 c5e9 464b a37e 1d9b8971775a

DIY projects are a fantastic way to spend quality time with the family. Kids can help with simple tasks like:

  • Weeding or raking

  • Painting planters

  • Designing signs or decorations

For a bigger adventure, consider building a treehouse, raised bed garden, or playhouse together. It’s a memorable way to create something as a team.


🗣 6. A Natural Conversation Starter

Entertaining guests in your yard? Imagine their reactions when you say, “I built this myself.” From design choices to clever material reuse, people love hearing about DIY journeys — and you’ll have a great story to tell.

Tip: Incorporate a theme — like a cottage garden, boho patio, or movie-inspired corner — to make it even more memorable.


🌿 7. A Stress-Relieving Hobby

DIY backyard projects, like gardening or woodworking, are excellent ways to de-stress. The rhythm of physical work and the satisfaction of tangible results are therapeutic. You’ll focus your energy, unplug from screens, and unwind.

And when Monday rolls around? You’ll return to your week with a clear mind and a sense of accomplishment.


🏡 8. You’ll Be Proud of What You Created

Nothing beats the feeling of standing in a space you brought to life with your own hands. From idea to execution, you’ll know every detail reflects your vision and effort. Plus, a well-done project adds to your home’s long-term value.

Whether it’s a shed, a garden nook, or a complete backyard makeover, your DIY effort is something to admire — and show off.


Ready to Get Started?

Redesigning your backyard doesn’t have to be expensive or intimidating. With a little effort and inspiration, you can create a personal retreat that’s uniquely yours.

Start with our beginner-friendly DIY shed kits, raised garden beds, or cedar pergolas — all crafted for easy assembly and long-term durability.

Read More

10 Creative Ways to Use Your Gazebo Year-Round
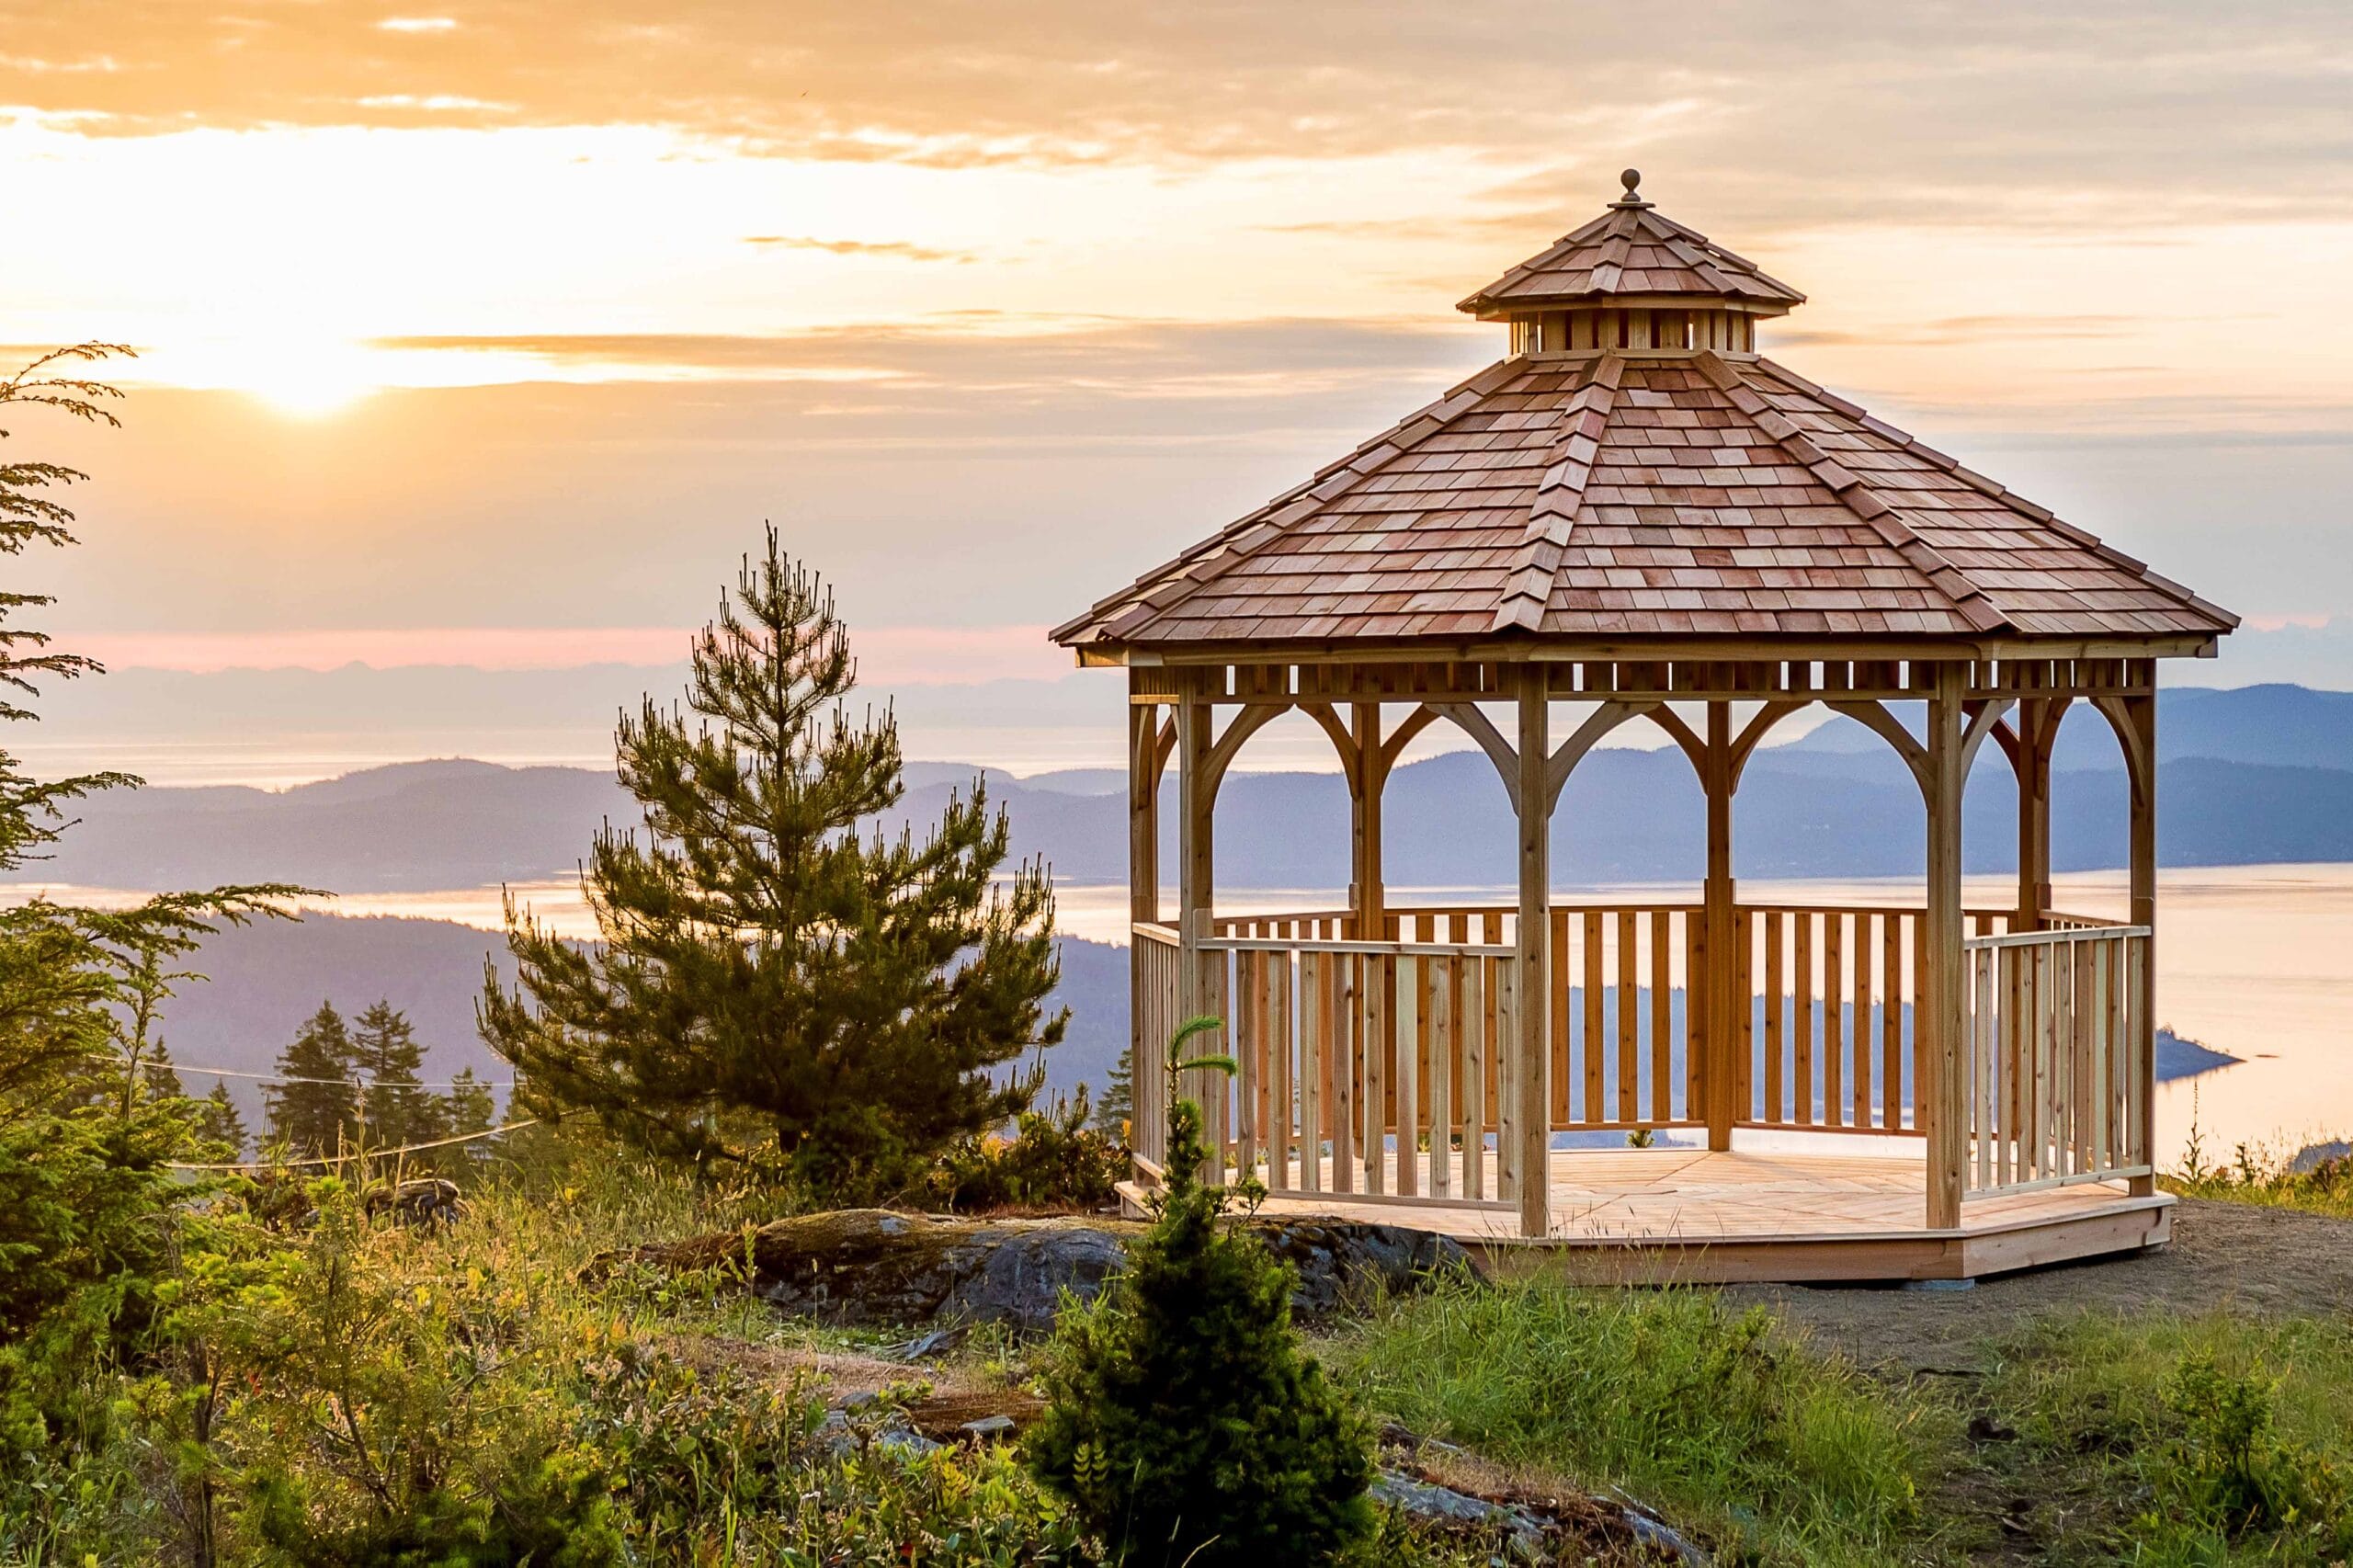
gaz 12 scaled

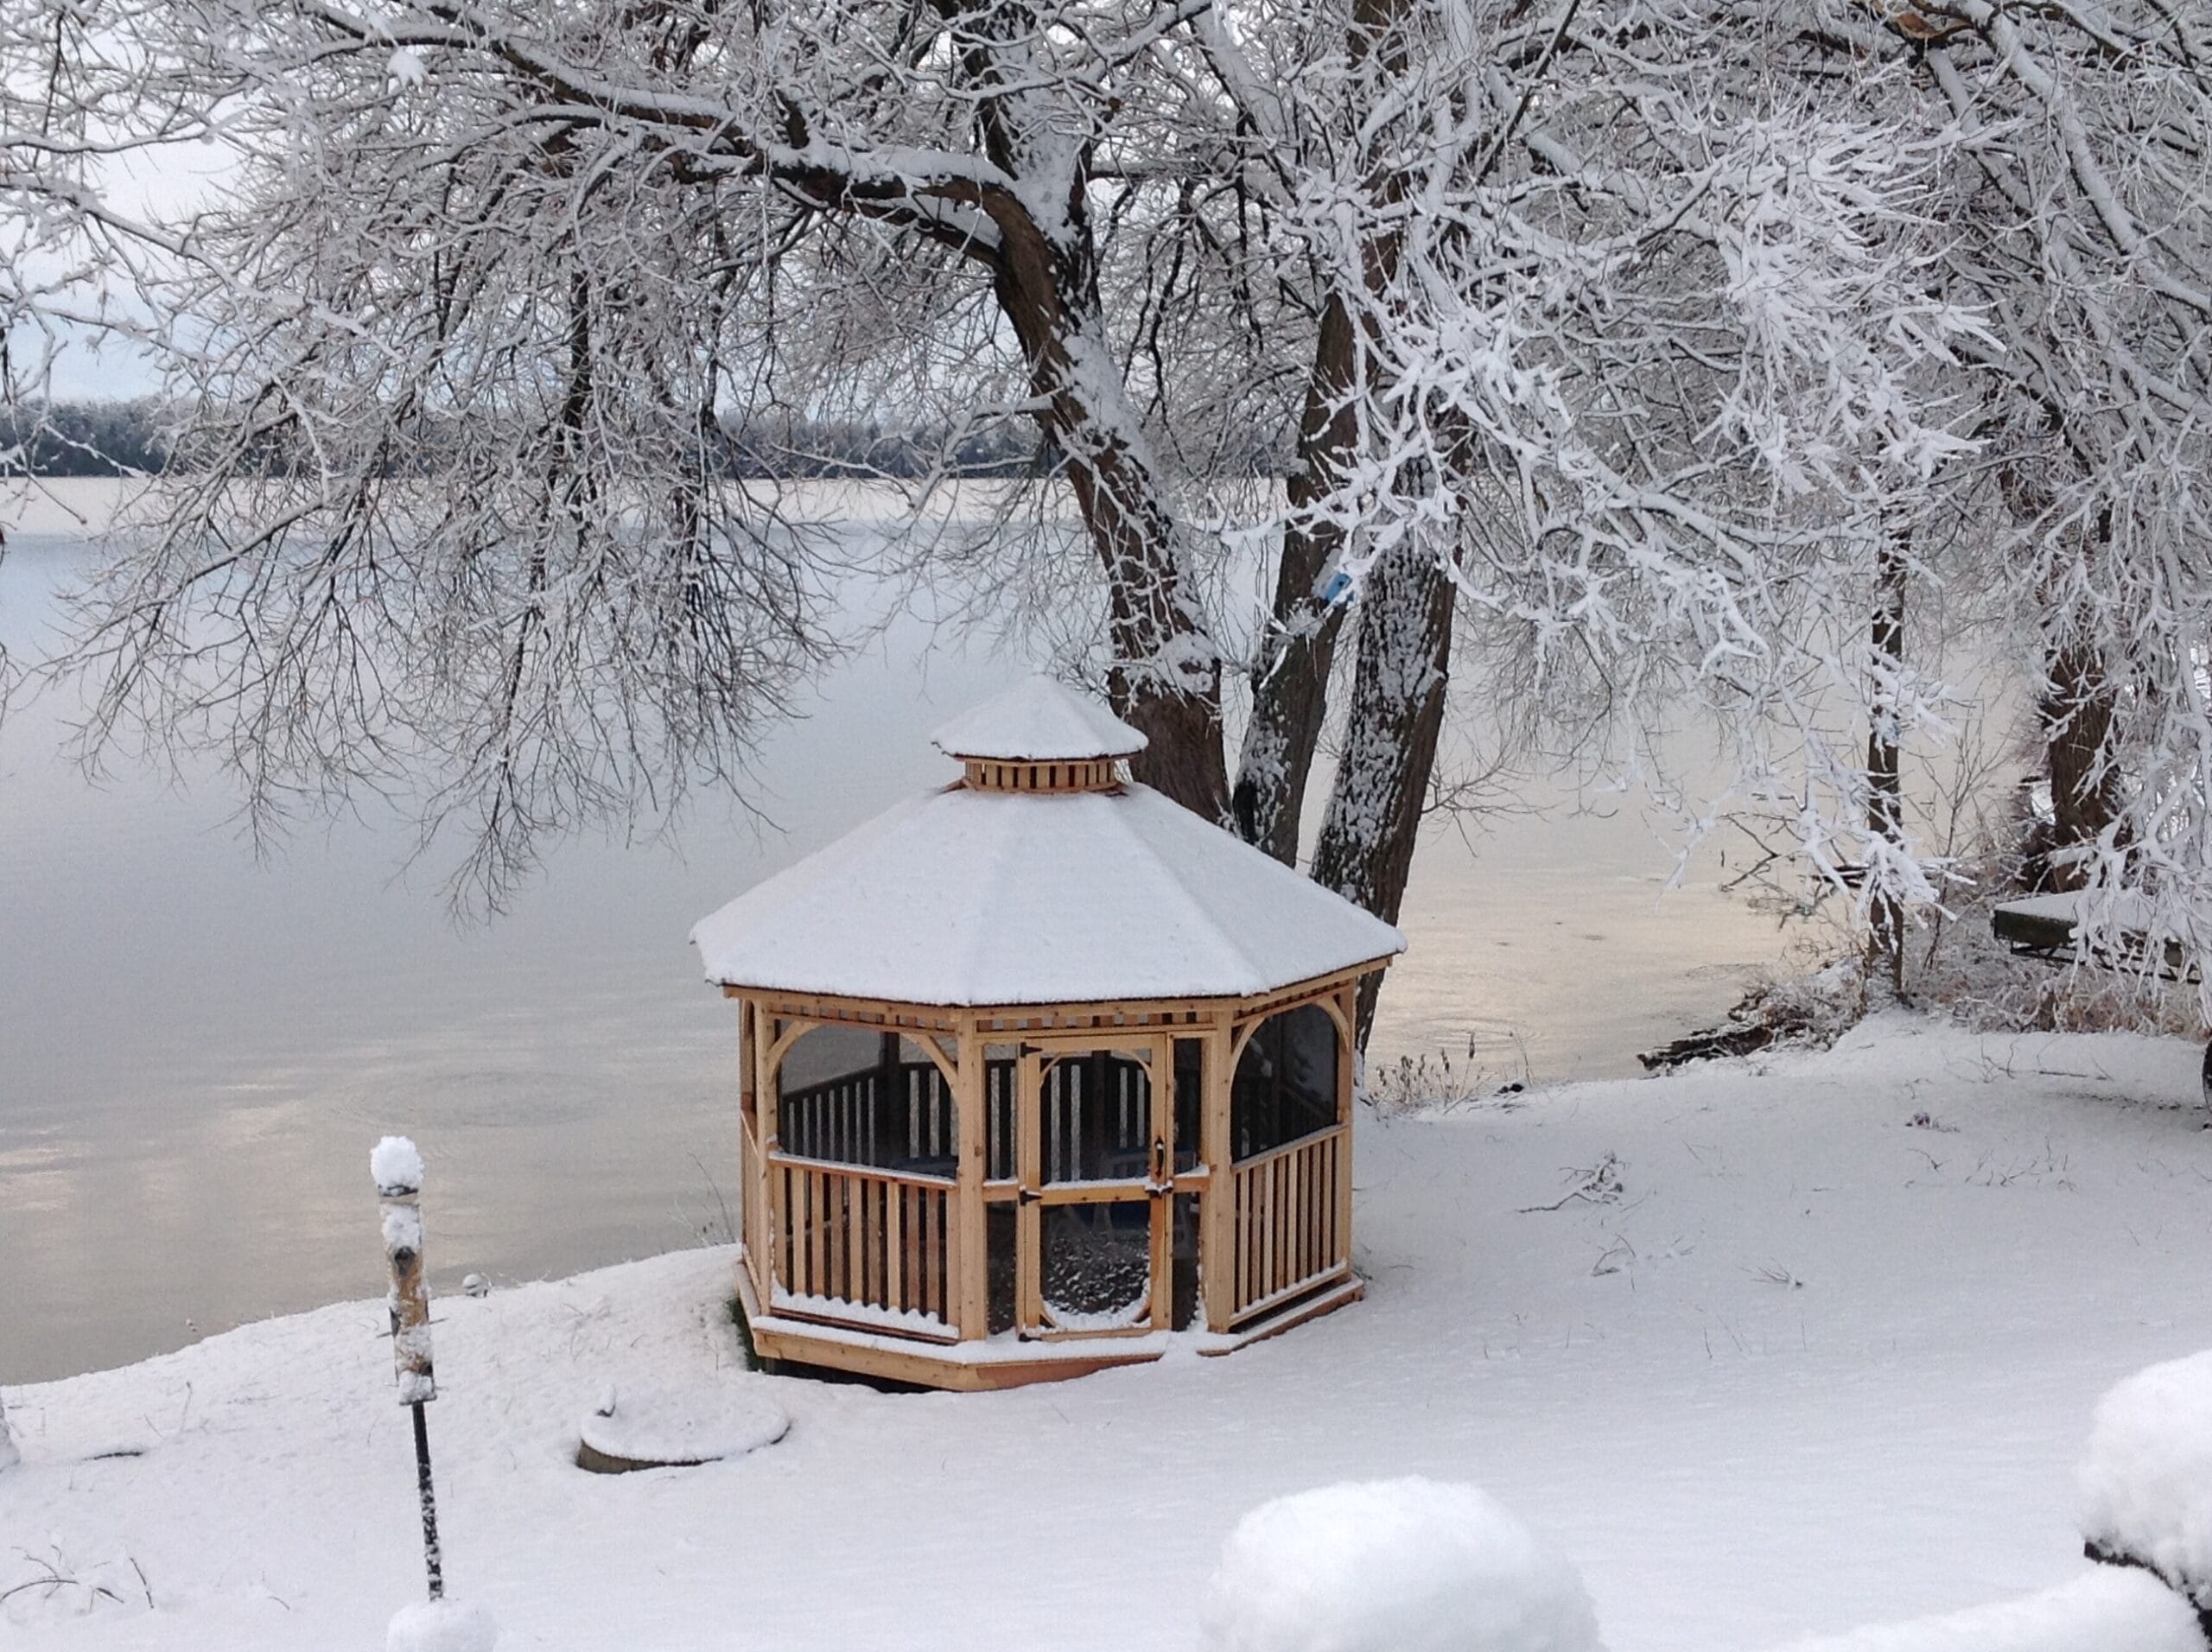
Think a gazebo is just for summer lounging? Think again. With the right setup, your gazebo can become one of the most versatile, multi-season structures in your backyard — useful for everything from movie nights to pop-up shops.

Whether you’re working with a permanent wooden gazebo or a portable canopy, here are 10 creative and practical ways to use your gazebo all year long.


🎬 1. Outdoor Movie Theater

Transform your gazebo into a cozy open-air theater by setting up a flat-screen TV, speakers, and a few lounge chairs or floor cushions. Want to go next-level? Add string lights and a projector screen for a magical movie night experience.

Tip: Use heavy-duty PVC sidewalls or weatherproof curtains to block out wind and keep the space warm.

Explore our Western Red Cedar Gazebo Kits for the perfect year-round entertainment space.


🚗 2. Temporary Shade Shelter for Your Vehicle

In hot summer months, a portable gazebo can double as a shaded carport. Set it up on your driveway to protect your vehicle from the sun’s harsh UV rays and keep it cool.


🌱 3. DIY Greenhouse Garden
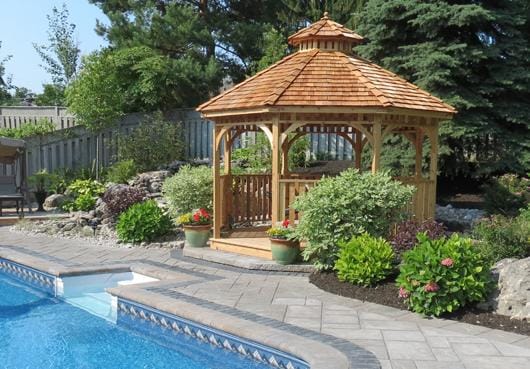
SetWidth530 1 bay12 racicot

Create a mini greenhouse in your gazebo for winter gardening. Add PVC or polycarbonate wall panels, a small space heater, and grow lights to cultivate cold-hardy vegetables like kale, lettuce, or herbs year-round.

Bonus: Check out our Raised Garden Beds for compact, soil-ready growing spaces.


🛍 4. Pop-Up Shop for Small Businesses

Have a handmade or local business? Use your gazebo as a temporary pop-up store at markets, community fairs, or parking lots. Just add signage, display racks, and don’t forget to check local permitting requirements.


💞 5. Host a Charity Drive

Set up your gazebo near a school, hospital, or community center to collect food, clothing, or donations for local charities. With the right decor and visibility, your gazebo becomes an inviting drop-off point that encourages participation.


📦 6. Temporary Storage Space


Renovating or fumigating your home? Use your gazebo as a makeshift storage area for boxes, furniture, or personal items. Add weatherproof covers or solid side panels to keep belongings protected from rain or snow.


🤝 7. Team Building Exercise at Work

Hosting a company event or retreat? A gazebo setup challenge is a fun team-building activity that fosters collaboration. Split teams into groups, give them a time limit, and award prizes for creativity or speed.

Bonus use: Set up the gazebo as a shaded snack station or breakout space during business events.


🎉 8. Birthday Party Centerpiece

Planning a backyard birthday for your kids? Use your gazebo as the main stage for puppet shows, magic acts, or crafts stations. Decorate with streamers and balloons, and let it double as a shaded snack or seating area.


🎁 9. Business Giveaways or Branded Gifts

If you run a local business, a branded gazebo makes an excellent promotional gift or vendor incentive. Print your logo on the canopy and offer it to loyal customers or use it as a prize in contests to increase visibility.


🏖 10. Shelter for Beach or Outdoor Events

Planning a beach day or outdoor picnic? A gazebo offers a wind-blocking, shaded retreat where guests can relax with blankets, drinks, and games. Perfect for chilly coastal evenings or mid-day sun protection.


Make the Most of Your Gazebo — Every Season

A gazebo isn’t just a summertime luxury — it’s a year-round investment that enhances your outdoor lifestyle, adds usable space, and opens the door to creative activities and business ideas.

Explore our full range of Western Red Cedar Gazebo Kits — all precision-cut, easy to assemble, and built to last in any season.

Read More

10 Easy DIY Backyard Projects to Transform Your Outdoor Space

BBQ Shelter Grill Gazebo Western Red Cedar Outdoor Living Today Banner 5

Have a spacious backyard but not sure what to do with it? You don’t need to be a master craftsman or spend a fortune to create a beautiful, functional outdoor space. These easy DIY backyard projects are budget-friendly, beginner-approved, and fun to complete over a weekend.

Whether you want to add flair, functionality, or just some personality to your backyard, here are 10 simple ideas to get you started.


🔥 1. Build Your Own Backyard Fire Pit

What’s a backyard without a cozy fire pit? With a bag of cement, 50 bricks, and a metal insert, you can build a custom fire pit that’s perfect for roasting marshmallows or hosting BBQ nights. Plenty of tutorials are available online — check out Lowe’s DIY fire pit guide for a solid beginner approach.

Want a fire pit space with coverage? Browse our cedar pergolas for a stylish overhead solution.


♻️ 2. Recycled Pallet Table and Chairs

Turn salvaged pallets or crates into rustic outdoor furniture. For a table:

  • Attach legs or use cement blocks for the base.

  • Add a shatter-resistant glass top for durability.
    For seating, use wooden cartons or stacked concrete blocks topped with outdoor cushions.


🌿 3. DIY Herb Garden Tower

Grow herbs like basil, mint, or rosemary in a stacked pot tower or repurpose old containers into planters. Arrange them in a terraced style, fill with soil, and enjoy fresh herbs just steps from your kitchen.

Looking for a raised solution? See our urban garden beds for compact patios and decks.


🍸 4. Outdoor Bar From Pallets

Create your own backyard bar using a few stained and sealed wood pallets. Stack them to form the bar base and top it with a smooth surface like butcher block or tile. Add hooks, shelves, and bar stools to complete the setup.


🔠 5. Scrabble Tile Floor Game

Make your backyard interactive with a giant scrabble board! Lay down square tiles or pavers in a grid, and create oversized scrabble letters for backyard games. It’s creative, fun, and a guaranteed conversation starter.


🎨 6. Mosaic Stepping Stones

Use broken tiles, marbles, or colored glass to make custom mosaic stepping stones. Arrange them in a non-stick cake pan, add concrete and mesh backing, and let dry. These make great decorative paths or garden borders.


✨ 7. Votive Candle Chandelier

Hang votive holders from a wooden X-frame using chain or twine, then place candles inside for a warm evening glow. Great for patios, pergolas, or suspended tree limbs — and easy to personalize.

For a centerpiece to hang it from, check out our cedar gazebo kits.


🚿 8. DIY Outdoor Shower

Beat the heat with a simple outdoor shower setup. All you need is:

  • A vertical pole to house plumbing

  • A showerhead

  • Two vinyl or bamboo privacy screens
    Set it up near your garden or pool for rinsing off without tracking water indoors.


🛠️ 9. Install Mosaic or Stepping Paths

Use leftover bricks, flagstones, or tile shards to create a winding garden path or patio inlay. It’s an easy way to define space, improve drainage, and give your yard a polished look without professional landscaping.


🏠 10. Build a DIY Shed

GGC63 Western Red Cedar 6x3 Garden Shed Cedar Metal Outdoor Living Today 2

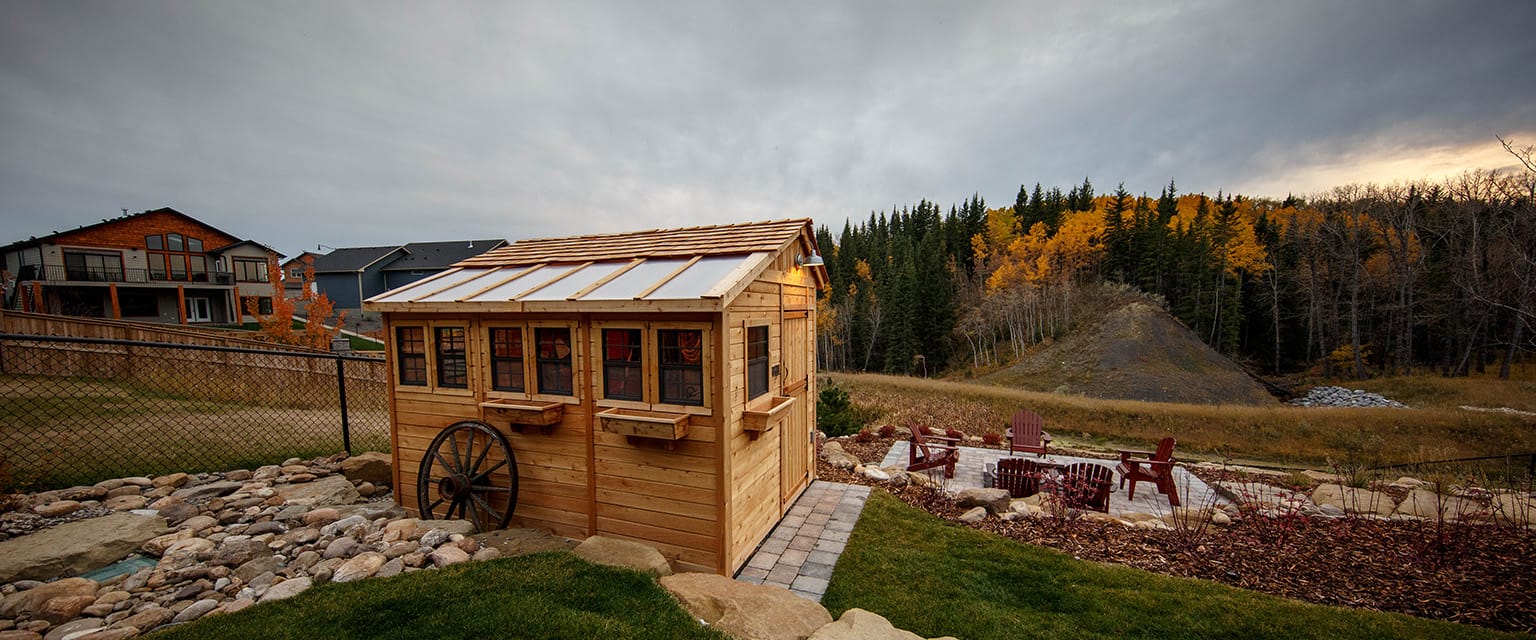
One of the most rewarding projects is building your own backyard shed. Whether you follow free online plans or order a pre-cut DIY shed kit, you’ll gain much-needed storage while adding structure to your yard. Bonus: you’ll save money and get bragging rights.

Need a low-effort option? Explore our pre-panelized Western Red Cedar Shed Kits here.


Ready to Get Started?

You don’t need a workshop full of tools or a huge budget to upgrade your backyard. With just a little time and creativity, these DIY outdoor projects can completely transform your space into a more usable, beautiful retreat.

Looking for quality materials or ready-to-assemble structures? Browse our full collection of outdoor products to complement your next project.

Read More

10 Stunning Pergola Design Ideas for Your Outdoor Space

BZ1216 Woronchak 2019 2

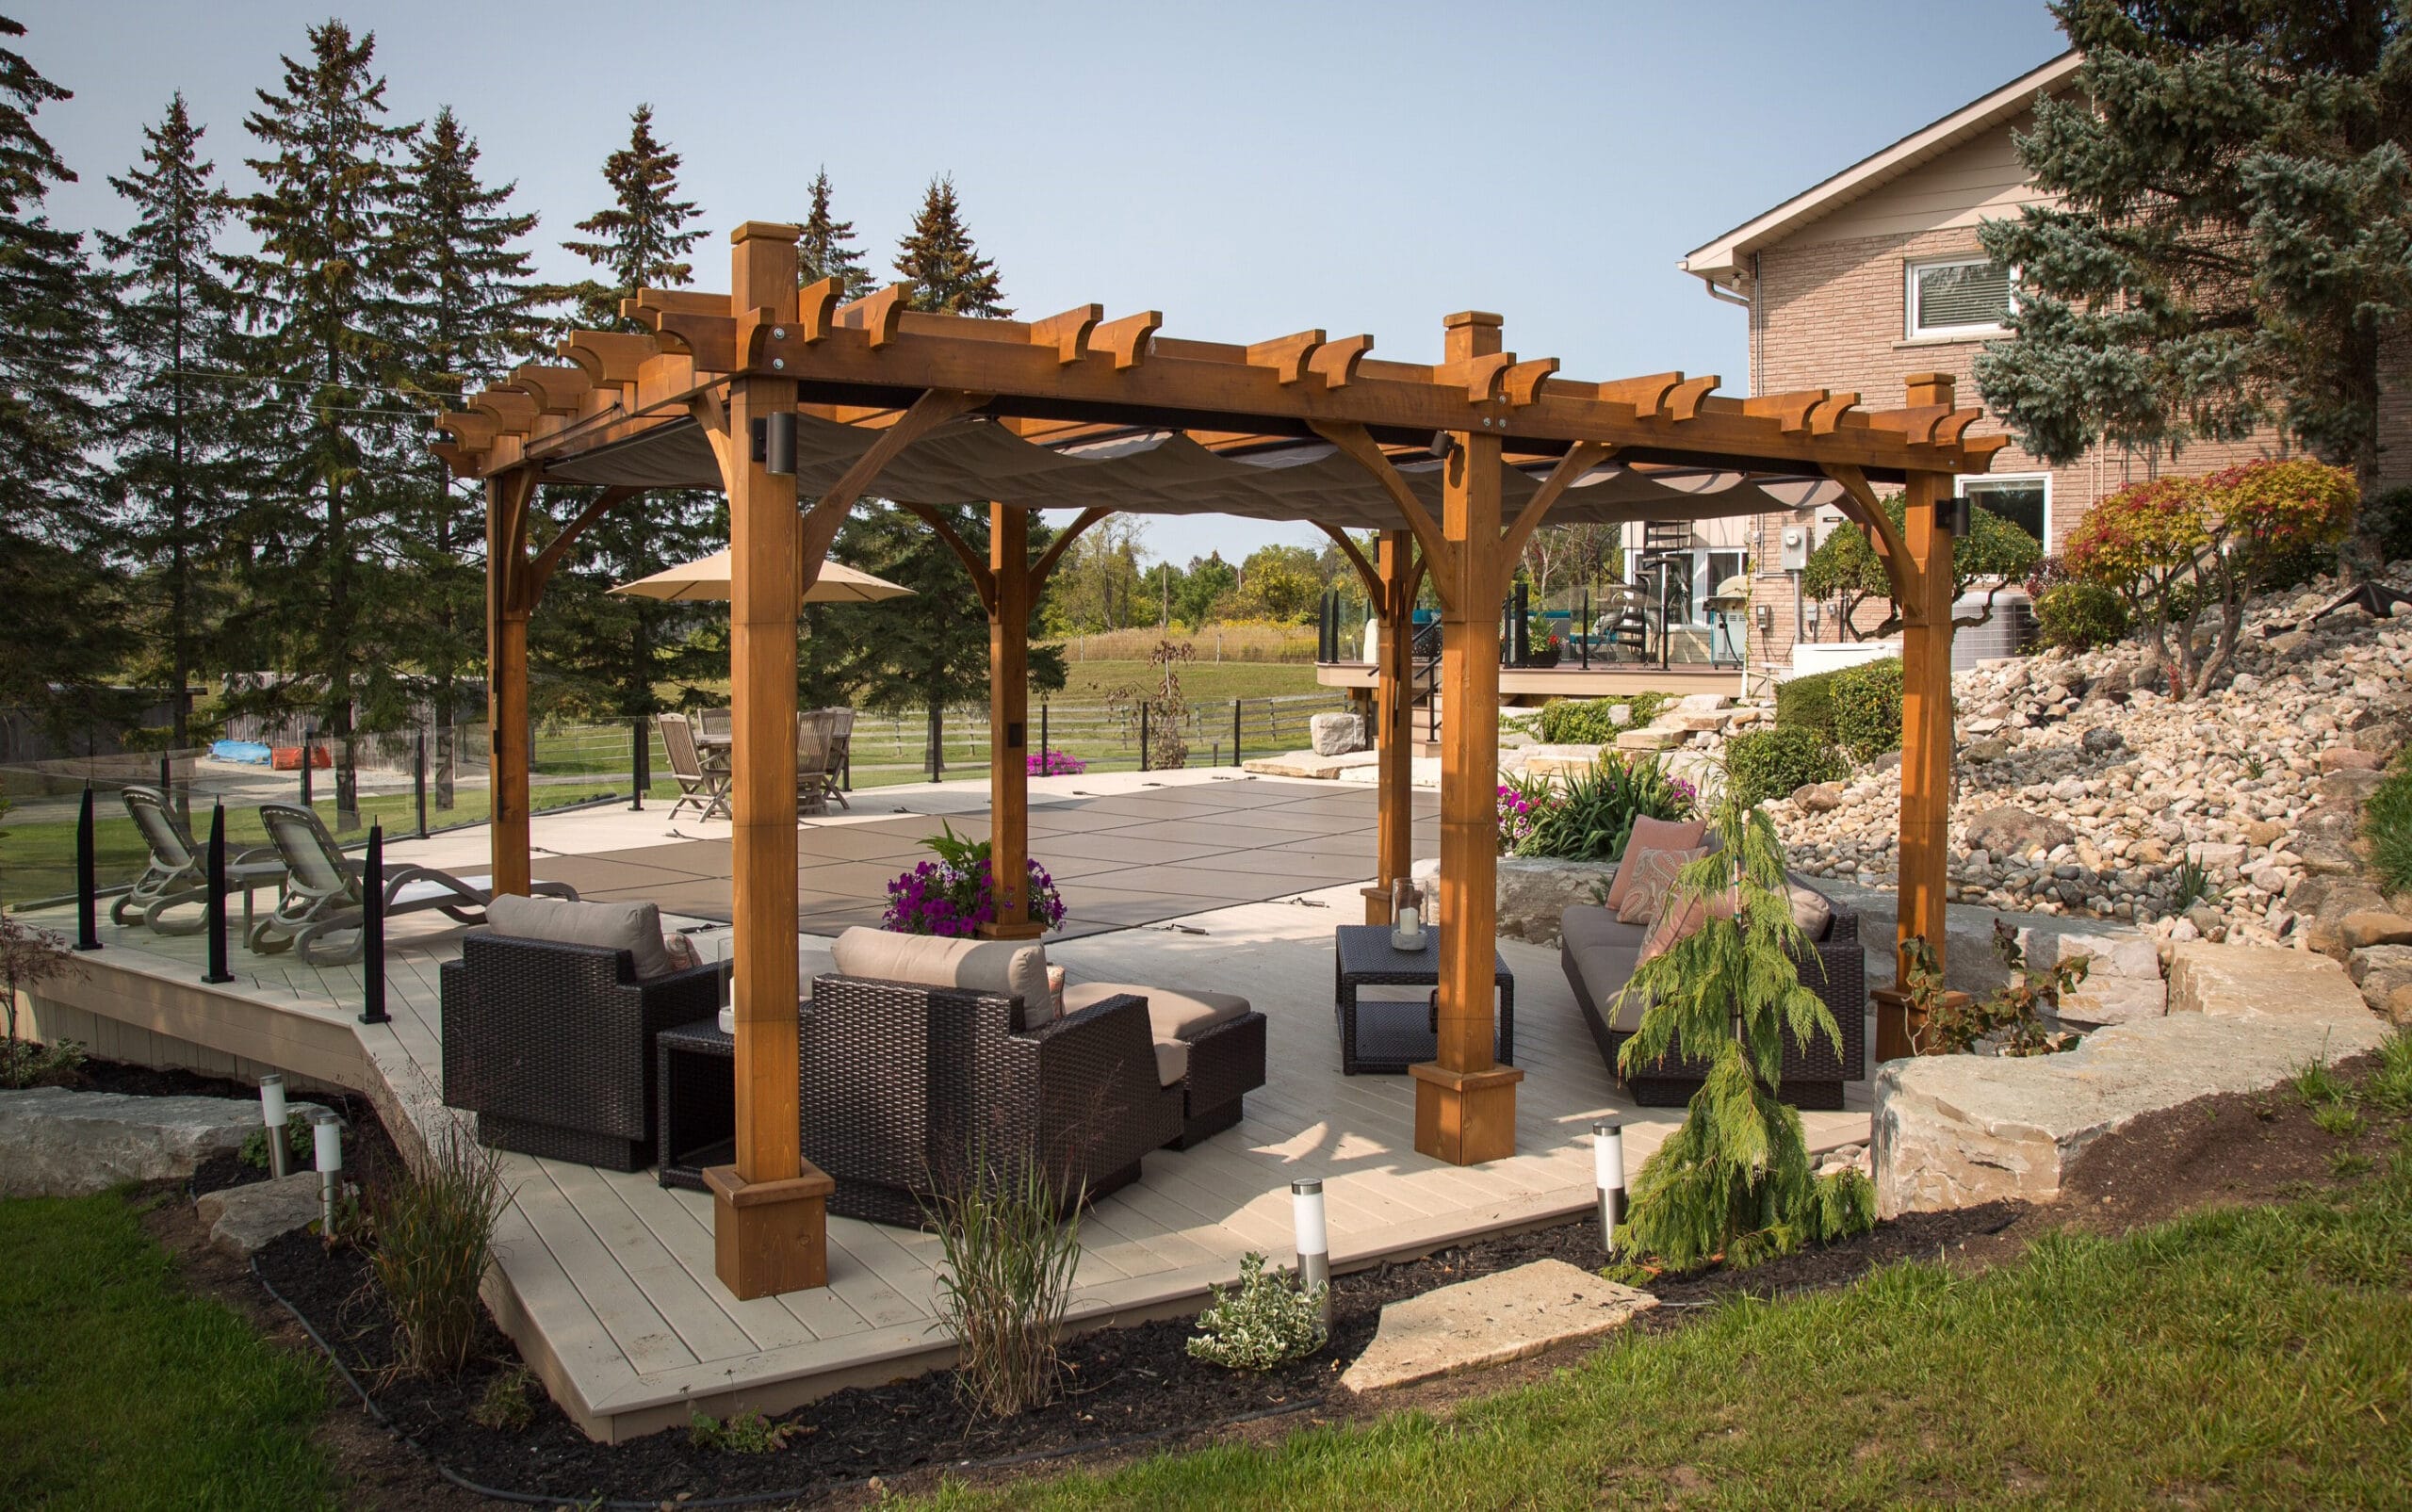
Looking to transform your garden or patio? A pergola is one of the most stylish and versatile additions you can make to your outdoor space. Whether you’re creating a cozy backyard escape, a shaded dining area, or an eye-catching walkway, there’s a pergola design for every space and style.

Here are 10 creative pergola ideas to inspire your next outdoor project — from rooftop retreats to poolside lounges.


🌿 1. Attached Pergolas

Attached pergolas connect directly to your home, extending your living space into the outdoors. Mount one outside your French doors or patio entrance to create a seamless indoor-outdoor flow, complete with natural ventilation and filtered sunlight.

Check out our attached cedar pergola kits for easy-to-install options.


🪴 2. Two-Tier Pergolas

A two-tier design adds height and elegance to your pergola. Layering the roof structure creates visual interest while allowing airflow and room for hanging plants or climbing vines. It’s a great way to make your garden structure feel grand and luxurious.


🌙 3. Curved Pergolas

Curved pergolas offer a softer, more intimate look than traditional straight-beam styles. Popular with basket-weave or deep-V lattice tops, these designs are ideal for gardens or patios where you want to balance openness with cozy seating areas.


🧱 4. Disconnected Pergolas

For expansive backyards, try placing disconnected pergolas along stone or gravel pathways. This creates charming outdoor zones — perfect for dining, lounging, or enjoying your garden in sections.


🪟 5. Over-the-Door or Window Pergolas

Small pergolas installed above windows or doors add architectural charm and provide space for flowering vines. Extend one over a large window and pair it with a bench or bistro set to create a cozy garden nook.


🛋 6. Extra-Large Pergolas

Have a large backyard? Consider an oversized pergola that functions as a full outdoor living room. Add a fire pit, furniture, string lights, and even an outdoor kitchen for a four-season gathering space.


🏊 7. Poolside Pergolas

BZ1216 BZ1212 Stafford 1

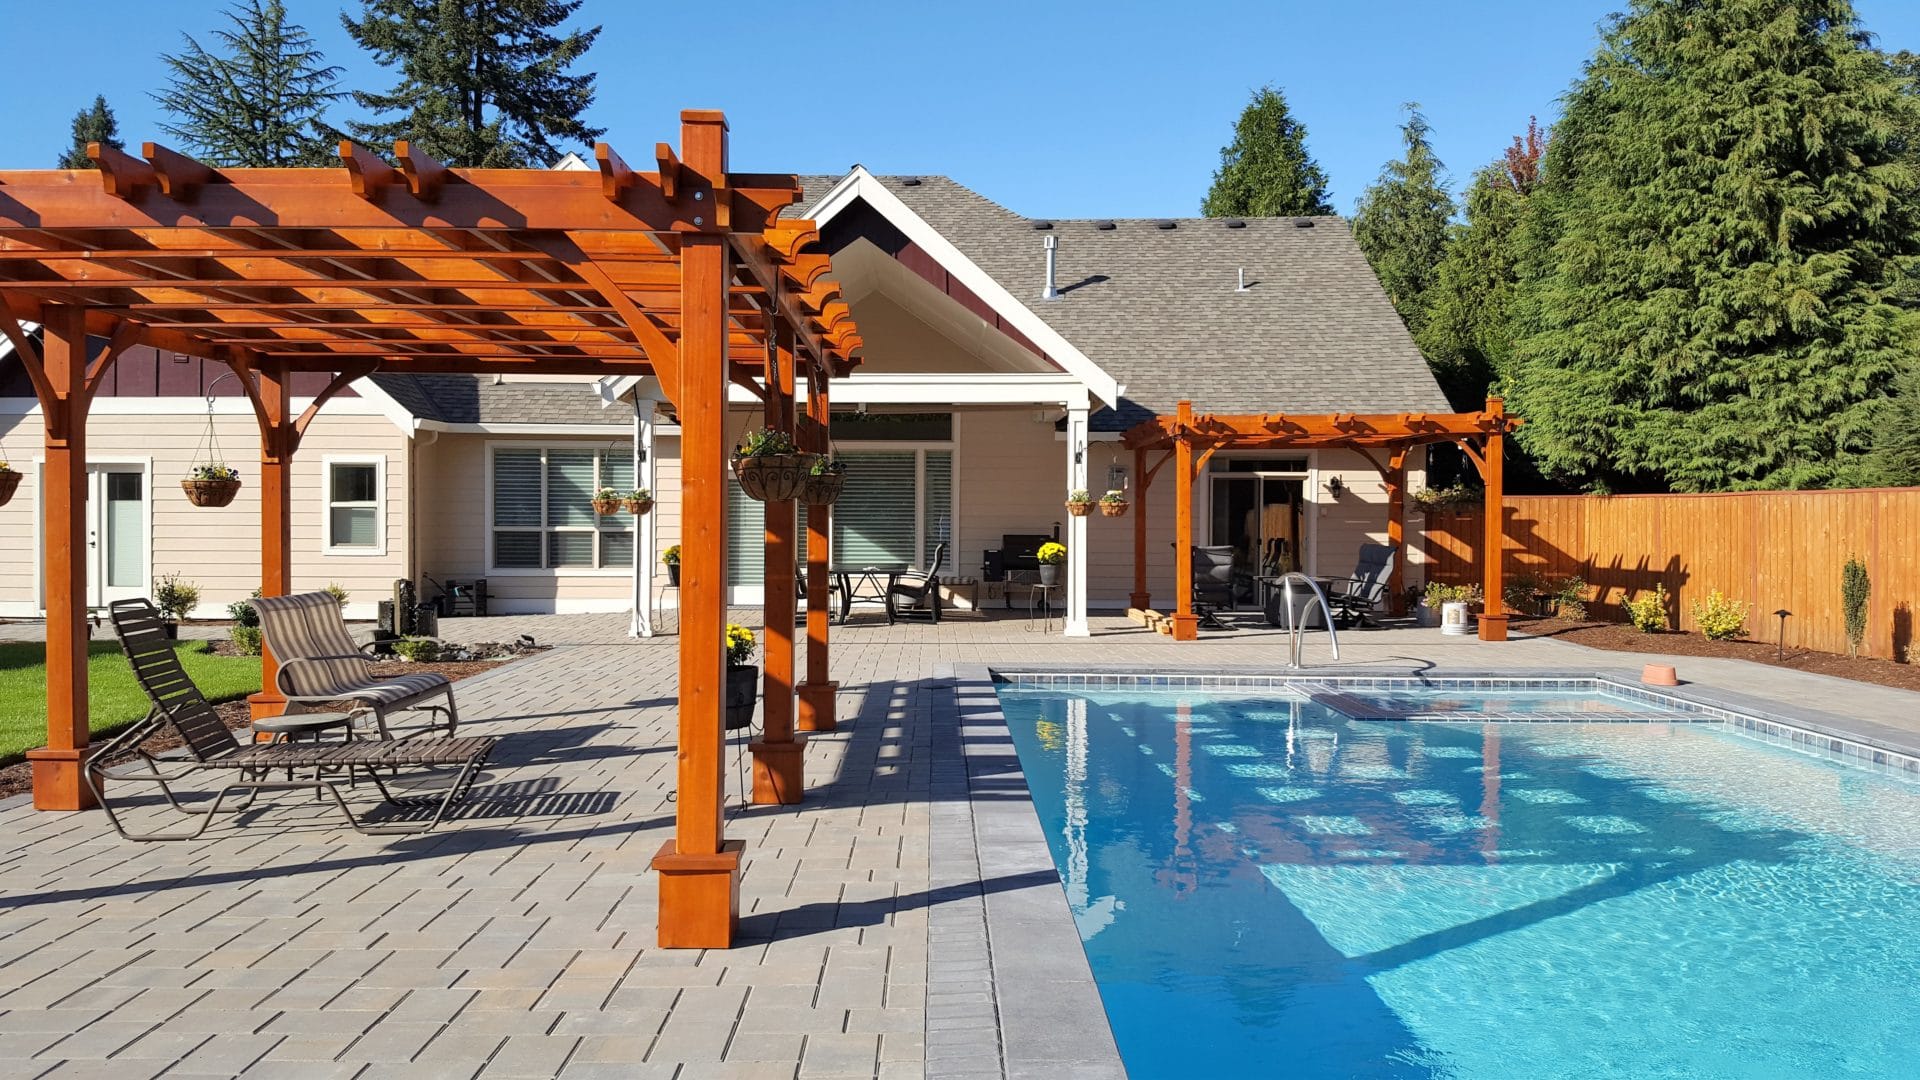
A pergola near the pool offers shade and luxury. Combine a pergola with a pool house design by incorporating tiled floors, outdoor showers, lounge seating, and storage. Cedar is ideal for humid environments and looks stunning beside water features.

Browse gazebos and pergola combos that elevate your pool area.


🏡 8. Pergola Walkways & Entryways

A pergola-covered path from your gate to your front door offers charm, shade, and structure. It’s a smart way to use lawn space when the backyard is limited — and creates a memorable first impression for guests.


🌇 9. Rooftop Garden Pergolas

No backyard? No problem. Lightweight pergolas can be installed on your rooftop or terrace. While aluminum and steel are common, eco-friendly options like bamboo or raffia are also available for a softer, more natural vibe.


🖤 10. Contemporary Pergolas

Modern pergolas go beyond wood beams. Popular contemporary pergola kits feature aluminum frames, vinyl-mesh panels, and retractable canopies. They’re low-maintenance, stylish, and come in a variety of sizes and finishes to suit your home.


Bring Your Vision to Life

Whether you’re drawn to classic cedar craftsmanship or sleek modern styles, pergolas offer the flexibility to match any outdoor aesthetic. At Outdoor Living Today, we offer a wide variety of Western Red Cedar Pergola Kits that are pre-cut, pre-drilled, and ready to assemble.

Explore more ideas in our Decorating Ideas hub or get support with setup via our Assembly Manuals.

Read More

How to Winterize Your Backyard: Tips for Protection & Seasonal Maintenance

WINTERWONDERLAND scaled

As the seasons shift and summer fades, it’s time to start thinking about how to winterize your backyard. From patio furniture to garden tools, taking steps now will not only protect your outdoor space during the colder months but also make reopening it in the spring much easier.

Whether you’re a gardening enthusiast or simply want to maintain your investment in outdoor living products, here’s a comprehensive guide to preparing your yard for winter.


🛠️ 1. Protect Your Grill & BBQ Station

If you use a portable grill or barbecue, bring it indoors to a garage, shed, or storage unit. Avoid storing propane tanks inside — keep them outdoors in an upright position, covered with a tarp or plastic bag to shield them from snow and moisture.

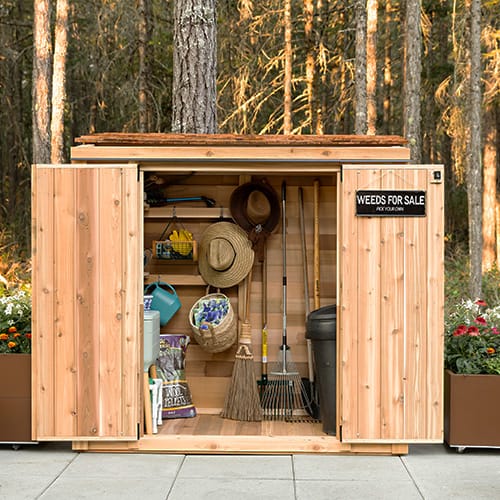
Need a place to store gear? Explore our Western Red Cedar Sheds — functional and built to last.


🌾 2. Store and Maintain Garden Tools

GGC63 Western Red Cedar 6x3 Garden Shed Cedar Metal Outdoor Living 6

Clean, sharpen, and store your hand tools to keep them rust-free:

  • Dip tools like spades or shears in sand mixed with motor oil to clean and lubricate them before storage.

  • Store in a dry place like your garage or cedar storage shed.


💧 3. Drain and Store Garden Hoses

Leaving hoses outdoors can shorten their lifespan. Even if drained, the cold can make hoses brittle and crack-prone.

  • Disconnect from spigots.

  • Drain all water.

  • Coil and store indoors — a shed is perfect for this.


🚜 4. Prep Your Lawn Mower for Storage

Avoid the spring rush by tuning up your mower at the end of the season:

  • Add a gasoline stabilizer to any remaining fuel.

  • Clean off grass and debris.

  • Store it in a dry, covered space.


🌱 5. Retire Potted Plants for the Season

Sadly, potted annuals won’t survive the freeze. Before the first frost:

  • Pull up and discard spent plants.

  • Empty soil to prevent freezing expansion.

  • Store terracotta and plastic pots in a shed, garage, or basement to prevent cracking.


🪑 6. Cover or Store Lawn Furniture

BZ1220WRC Blake 2

Here’s how to protect your patio and lawn furniture:

  • Plastic furniture: stack and store in a garage or shed.

  • Wrought iron or metal: OK to leave outdoors, but cover with vinyl covers or heavy-duty tarps.

  • Cushions: store indoors and wash them before storage to avoid staining and insects.

Want to elevate your outdoor furniture storage? Check out our accessories collection for smart solutions.


🏊 7. Winterize Your Swimming Pool

Proper winterization helps preserve equipment and keeps the pool clean for spring:

  • Balance water chemistry:
    • pH: 7.2–7.6
    • Alkalinity: 80–120 ppm
    • Calcium hardness: 180–220 ppm

  • Remove ladders, fittings, and accessories — store them in a shed.

  • Drain filters, chlorinators, and pumps.

  • Ensure chlorine is below 3.0 ppm before covering the pool tightly with a winter cover.


🐟 8. Prepare Garden Ponds

Winterizing a garden pond (especially with fish) requires care:

  • Turn off and remove pumps or filters exposed to freezing air.

  • Trim plants back to their root ball and remove from the pond.

  • Keep a small hole in the ice open using a pond heater or air pump — this allows oxygen in and harmful gases out.


Ready to Get Started?

A little time spent now can save you money and effort later. For the ultimate in storage, durability, and protection, explore our full line of Western Red Cedar Sheds — the perfect solution for storing tools, gear, and seasonal accessories.

Read More

10 Reasons to Choose Western Red Cedar for Your Pergola

BZ1220WRC 3 scaled 1

If you’re planning to build a wooden pergola, one of the most important decisions you’ll make is choosing the right material. Among all wood options available, Western Red Cedar stands out as the ultimate choice for outdoor living structures — offering natural durability, rich aesthetics, and incredible workability.

At Outdoor Living Today, we design and manufacture high-quality Western Red Cedar Pergola Kits for customers across North America. Here’s why cedar remains the gold standard for outdoor pergolas.


🌿 1. Naturally Durable & Weather Resistant

Western Red Cedar is prized for its natural resistance to decay, moisture, and outdoor elements. It performs exceptionally well in extreme weather conditions — from wet coastal climates to dry, sun-drenched backyards. This makes it a smart, long-term choice for pergolas, gazebos, and sheds.


🐜 2. Naturally Insect-Repellent

Cedar contains natural oils that act as a built-in insect deterrent, helping to keep termites and other pests at bay — no chemicals or treatments required. That’s one reason it has been used for centuries in fencing, outdoor siding, and even roofing.


🔁 3. Superior Dimensional Stability

Cedar is a hygroscopic wood, meaning it balances moisture with the surrounding environment. Unlike many softwoods that warp or crack over time, Western Red Cedar holds its shape through fluctuations in humidity and temperature.


🪶 4. Lightweight & Easy to Work With

BZ1216 BZ1212 Stafford 1

Western Red Cedar is one of the lightest softwoods used in outdoor construction, weighing in at about 21 lbs per cubic foot. This makes it easy to handle, transport, and install — especially helpful for DIY builders using our easy-to-assemble pergola kits.


🌡 5. Excellent Thermal Insulation

Thanks to its unique cellular structure, cedar naturally resists heat transfer. Your cedar pergola will stay cooler in summer, providing a shaded retreat, and won’t retain excessive heat like metal or brick structures do.


✨ 6. Beautiful Natural Appearance

Cedar offers timeless beauty with its rich grain patterns and reddish-brown hue. It can be left unstained to gracefully weather to a silvery grey, or stained to enhance its warm tone. It’s the ideal material for homeowners who value curb appeal and natural aesthetics.

Looking for style inspiration? Explore our curated Decorating Ideas for pergolas and garden spaces.


🌸 7. Fresh Natural Aroma

The signature cedar scent is both soothing and nostalgic. Its aromatic oils not only repel insects but also create a pleasant sensory experience — especially in cozy, enclosed spaces like pergolas or greenhouses.


🔇 8. Sound Dampening Qualities

SetWidth530 6 bz1216 buckner

Cedar has natural acoustic dampening properties, reducing noise transmission and echo. If you enjoy outdoor dining or hosting gatherings under your pergola, you’ll appreciate the added comfort and ambiance it offers.


🛠 9. Builder-Friendly

Cedar is easy to cut, screw, and drill without splintering, making it a favorite among DIYers and contractors alike. Need help assembling your kit? Download our assembly manuals or visit our FAQs for more support.


🧩 10. Design Flexibility

Whether you’re going for rustic charm or modern elegance, cedar gives you more freedom to customize. It handles intricate cuts and decorative touches with ease — perfect for creating pergolas that suit your vision.


Build It Better with Outdoor Living Today

At Outdoor Living Today, we offer a wide range of Western Red Cedar Pergola Kits that are precision-cut, panelized for easy assembly, and shipped right to your door. Plus, we offer warranty coverage and shipping support across North America.

Read More

How to Prepare Your Site Before Your Shed Arrives

SSGS812 OLt 3


Installing a new shed is an exciting project — but proper site preparation is key to a smooth installation and long-lasting durability. Whether you’re setting up a garden shed, workshop, or playhouse, following these steps before your shed arrives will save you time, effort, and costly mistakes.

✅ Step 1: Read Your Shed Assembly Manual

Before you start any work, carefully review your shed assembly instructions. Determine whether you’re comfortable tackling the build yourself or if you’d prefer to hire a professional contractor.

Pro Tip: Some regions require a building permit for shed installations. Always check with your local municipality or county for permitting requirements before you purchase your shed.


✅ Step 2: Clear and Prepare the Site

Make sure the area where your shed will go is clear of all debris — this includes grass, roots, rocks, and other obstacles. A clean site is essential for a level and stable foundation.

To ensure proper drainage:

  • The ground should slope away from the site in all directions (ideally 1/8″ per foot).

  • If needed, build up the soil in the center and grade it outwards.

  • Fill any low spots to avoid water pooling.

In areas with poor drainage, excavate 4–6 inches deep and lay down gravel or crushed rock to keep water from collecting beneath your shed.


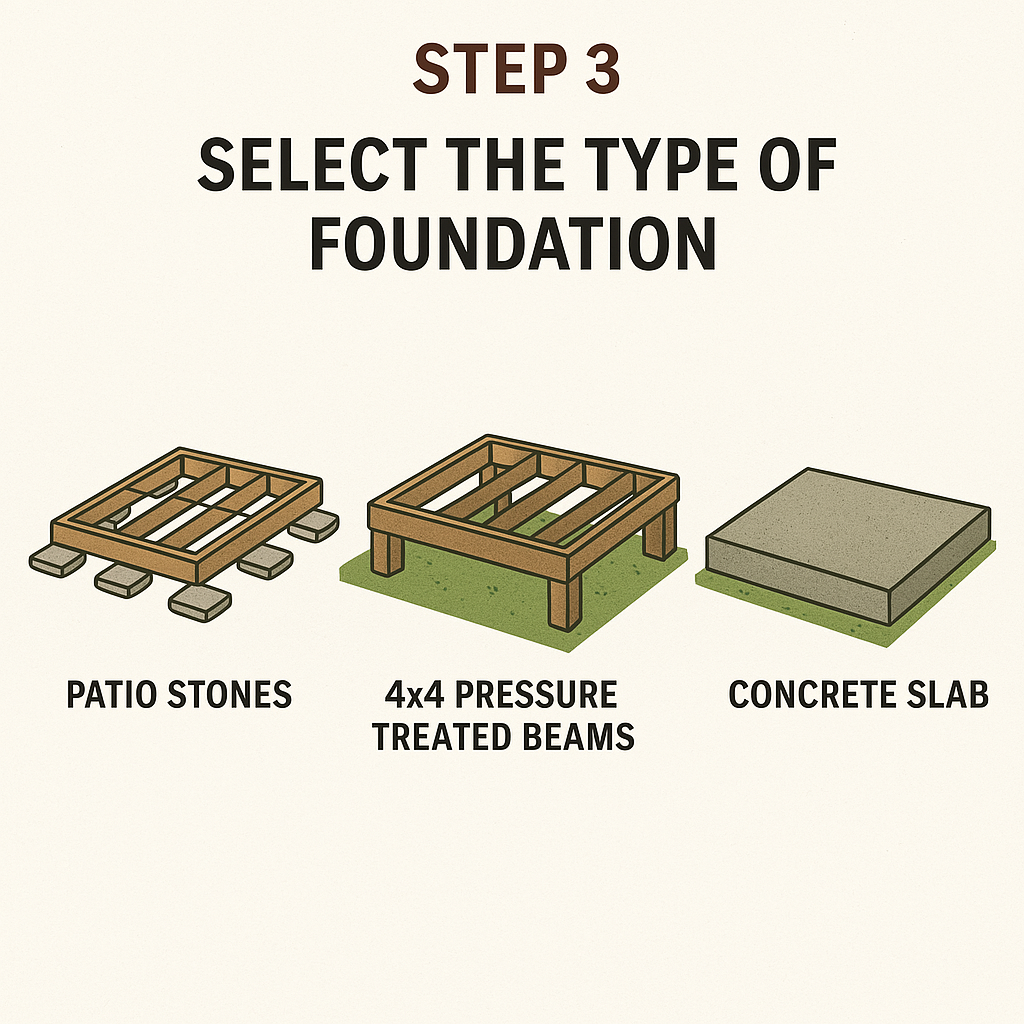
OLT How To Build A Foundation Graphic Steps 1

Choosing the Right Shed Foundation

The type of foundation you use will depend on your site conditions, budget, and shed model. Below are the three most common types of shed foundations we recommend at Outdoor Living Today.


🪨 1. Patio Stone Foundation

Ideal for well-draining, stable ground.

How to build it:

  • Excavate the area 4–6 inches deep and about 12 inches wider than your shed’s footprint.

  • Lay 1–2 inches of sand, then fill with 3–4 inches of gravel.

  • Use patio stones (round, square, or rectangular) placed under each floor runner — about 4–5 stones per runner.

  • Ensure everything is level before installation.

🔧 Most of our sheds come with built-in floors and runners, making patio stone foundations a quick and cost-effective solution.


🪵 2. 4×4 Pressure-Treated Beam Foundation

This is a more permanent option and works well for uneven or sloped yards.

Instructions:

  • Excavate and prepare the site as above.

  • Lay pressure-treated 4×4 beams perpendicular to the floor runners.

  • Use a long, straight 2×4 and a level to check your grade.

  • Drive ½” rebar through pre-drilled holes to anchor the beams into the ground.

  • Leave open ends for ventilation and cover with wire mesh to deter rodents.


🧱 3. Concrete Slab Foundation

Best for year-round durability and heavier structures like workshops or large storage sheds.

Basic steps:

  • Excavate the slab area to 6 inches deep.

  • Lay a 4-inch sub-base of crushed gravel.

  • Pour a 3–4 inch concrete slab over the gravel.

📐 For an 8’x12’ shed, you’ll need approximately 1 cubic yard of concrete.


Still Have Questions?

Whether you’re prepping for a DIY shed kit or a larger project, our team is here to help. For more details on shed foundations, building permits, or assembly tips:

📞 Call our Customer Support Line at 1-888-658-1658
🌐 Or visit www.outdoorlivingtoday.com for how-to guides, video tutorials, and inspiration.


Ready to Start Building?

Explore our full selection of Western Red Cedar Shed Kits — built to last, easy to assemble, and perfect for any backyard.

Read More

🪵 How to Apply a Stain to a Cedar Pergola or Gazebo: A Step-by-Step Guide

OLT 274 SitePartners JX0A5643

Western Red Cedar is prized for its rich color, natural durability, and ability to hold stain beautifully — thanks to its lack of pitch and resin. Whether you’ve just received your pergola or gazebo kit or are planning a backyard upgrade, applying a quality stain can protect your investment and bring out the natural charm of your cedar structure.

Here’s how to Stain to a Cedar Pergola right.


📦 Before You Build: Prepare Your Cedar for Staining

The best time to stain your Western Red Cedar Pergola or Gazebo is before installation. Why?

  • You can work comfortably at ground level.

  • You can stain all six sides of each board, offering complete protection from moisture and UV exposure.

  • It saves you the hassle of staining around joints and hardware later on.

Tip: Store your cedar parts in a dry, covered area, off the ground. Cedar should have around 15% moisture content for optimal stain absorption. If left exposed to the elements — even for a few days — the surface may become weathered and less receptive to stain.

Looking to get started on your project? Check out our full range of Western Red Cedar Pergola Kits and Gazebo Kits, proudly made in Canada using sustainably harvested wood.


🎨 Choosing the Right Stain for Cedar

Walk into any hardware store and you’ll find dozens of wood finishes. The key is to choose one that suits your aesthetic goals and offers long-term protection.

BZ1220WRC 3 1024x642 1

Most common types of stains:

TypeAppearanceProtectionBest For
TransparentLight tint, enhances natural colorLowA natural, subtle look
Semi-transparentAdds a soft tone while showing grainMediumPreserving cedar’s character
Solid colorOpaque, hides grainHighBold color or uniform finish

At Outdoor Living Today, we’ve tested numerous brands. Two we recommend:

  • Cabot’s Wood Toned Deck & Siding Stain – Cedar or Natural

  • Sikkens Cetol SRD – Cedar or Natural

Both offer excellent penetration, UV protection, and color retention — plus solid color versions if you’re after a painted look.


🧪 Test First — Avoid Regret Later

Don’t trust the sample swatch. Always test your stain on a spare piece or the inside of the post skirts (these are hidden once assembled). This ensures you love the final look before committing to the full structure.

Need additional guidance? Explore our Assembly Manuals & Support Resources for in-depth product guides.


🖌 Brush or Rag? Use Both for the Best Results

For even application and deep penetration, we recommend using both a natural bristle brush and a lint-free rag:

  • Brush: Ideal for end grains, notches, and corners. Helps push stain deep into the wood fibers.

  • Rag: Great for smoothing puddles, catching drips, and avoiding dark blotches.

Pro Tip: Work in small sections. Brush on the stain with one hand and follow with a rag in the other. This method helps develop a smooth, even finish with fewer lap marks.

Allow stain to dry for at least 24–48 hours before handling or assembling your pergola or gazebo.

Looking to enhance your build? Explore our Parts & Accessories like post skirts, privacy panels, louvered walls, and more.


🌿 Prefer the Natural Look? Let Cedar Age Gracefully

SetWidth530 2 bz1012wrc scameron

Not into staining? That’s okay! Western Red Cedar naturally weathers to a beautiful silver-grey patina over time. It’s a timeless, low-maintenance look that many homeowners love — especially for modern, minimalist outdoor spaces.

If you’re going au naturel, consider our durable Western Red Cedar Sheds, Greenhouses, or Raised Garden Beds — all crafted to last, stain or no stain.


🛠 Ready to Build?

A well-stained pergola not only lasts longer — it looks stunning for years to come. Whether you’re enhancing your backyard for outdoor dining, gardening, or relaxation, taking the time to finish your cedar kit properly pays off.

Still have questions? Browse our FAQs or learn more About Us and our mission to bring nature into your outdoor space.


🔗 Explore More From Outdoor Living Today

Read More