So, you order a product online, exciting! The carrier (UPS, FedEx, Postal Service, etc,) is going to deliver it and all is well that ends well! Well, sometimes it does, sometimes it doesn’t. Taking time to research the company’s shipping and delivery conditions is the key to a good buying experience.
If the instructions are unclear always call the company and ask. Having placed, paid, and shipped the order does not guarantee transit times or delivery to your actual location, where on your property the order will be placed, or who and how it will get off the truck.
If you live in a remote area or even a small street, imagine yourselves driving in a large truck getting to your location, and delivering the order within a given 15-20 minute timeline. The important questions to ask are: Is the transit time guaranteed? Do carriers call before small package deliveries? Where on my property will the carrier deliver my package? How will it get off the carrier truck? How do I check for damages? Who is responsible for damages?
Most freight companies set an internal goal to achieve their stated transit times and strive to get it there in the allotted time. They will tell you that they can deliver a certain size package within so many days from point A to point B. There are different levels of service depending on the urgency of the delivery and have various price tags attached to those services. Most often that works out. But, even if you have paid for the fastest service, bear in mind that transit times are never 100% guaranteed.
Weather, Customs or destination location challenges can always delay transportation and delivery and your money paid or lost contractor times will not by reimbursed. Before ordering, check the transit services offered with the seller, discuss a realistic delivery date and most importantly order with plenty of time to spare!
The seller should offer a tracking number for your shipment which can be tracked online and you can find out when the actual delivery will occur. These types of carriers do not usually call before they deliver. Either way, make sure you offer the phone number you can best be reached at, at the time of ordering your product. This way if the driver runs into any problems they can reach you immediately and get further instructions.
Most often courier deliveries will be made right to the door, porch or garage. Make sure you have a clear path for the truck and driver to manoeuver your package onto your property. Be aware what day your shipment will arrive and expect it to be at your door the day you come home.
Many of us order items online and expect them to be ‘just delivered’. Unfortunately, not every delivery is the same. Even though your order is accepted and shipped, the driver may not be able to get it right to your front door.
The obligation to deliver can quickly end if the driver cannot even get onto your street. Keep your tracking number and the carrier’s phone number on hand and check with the shipping company if there are any restrictions if you don’t see your parcel at your door on the day of the delivery.
Upon receiving it, be sure to check all the address labels and confirm that the shipment was truly intended for you. Count the parcels and make sure you received all the packages included with your shipment. Most often it will say Box 1 of something. Walk around the packages, check for corner damages, dents, rips and most of all all the staples and tape still secured tightly to the package. Turn the package over and repeat.
Take pictures, make notes, and copy down the tracking number. In case of damages, call the carrier, give them the tracking number on the boxes, and advise them that you have found damages. Call the seller next and advise them of the same, offer them pictures, and ask them what the next step is.
That is a good question to ask when placing an order. Every carrier has a different shipping agreement and insurance values with the seller. A good seller will require the notification of damage and take care of the claims process themselves. You should be sent replacement parts or a new product free of charge as you have done your due diligence.
Now you have done your due diligence in receiving the product. You open it, excited to enjoy and realize the contents is damaged. Call the seller and tell them what happened. If it is a reputable company, they will do their utmost to rectify the situation.
While spring is the time to plant and summer is the time to grow, fall is the time to prepare. As your plants begin to wind down and cooler temperatures take over, now’s your opportunity to set your garden up for long-term success. With the right fall gardening strategy, your spring planting will be easier—and more productive.
Begin by walking through your garden and making detailed observations:
Look for bare soil patches that may need soil amendments
Identify overgrown plants that require dividing
Tag herbs that should be moved indoors
Note bulbs to dig up and store before the frost hits
This inspection gives you a game plan for fall garden prep and prevents surprises next season.
Herbs like rosemary, mint, and lavender won’t survive frost. Move potted herbs into a protected spot like a sunny porch or south-facing windowsill to extend your harvest. Bonus: you’ll have fresh herbs handy all winter long.
Fall is the ideal time to boost your soil. Add organic fertilizers like:
Compost
Manure
Mulch
Use a garden fork to turn these into the soil. This ensures nutrients are absorbed throughout the winter, improving soil structure and microbial activity. This step reduces spring workload and results in better blooms and harvests.
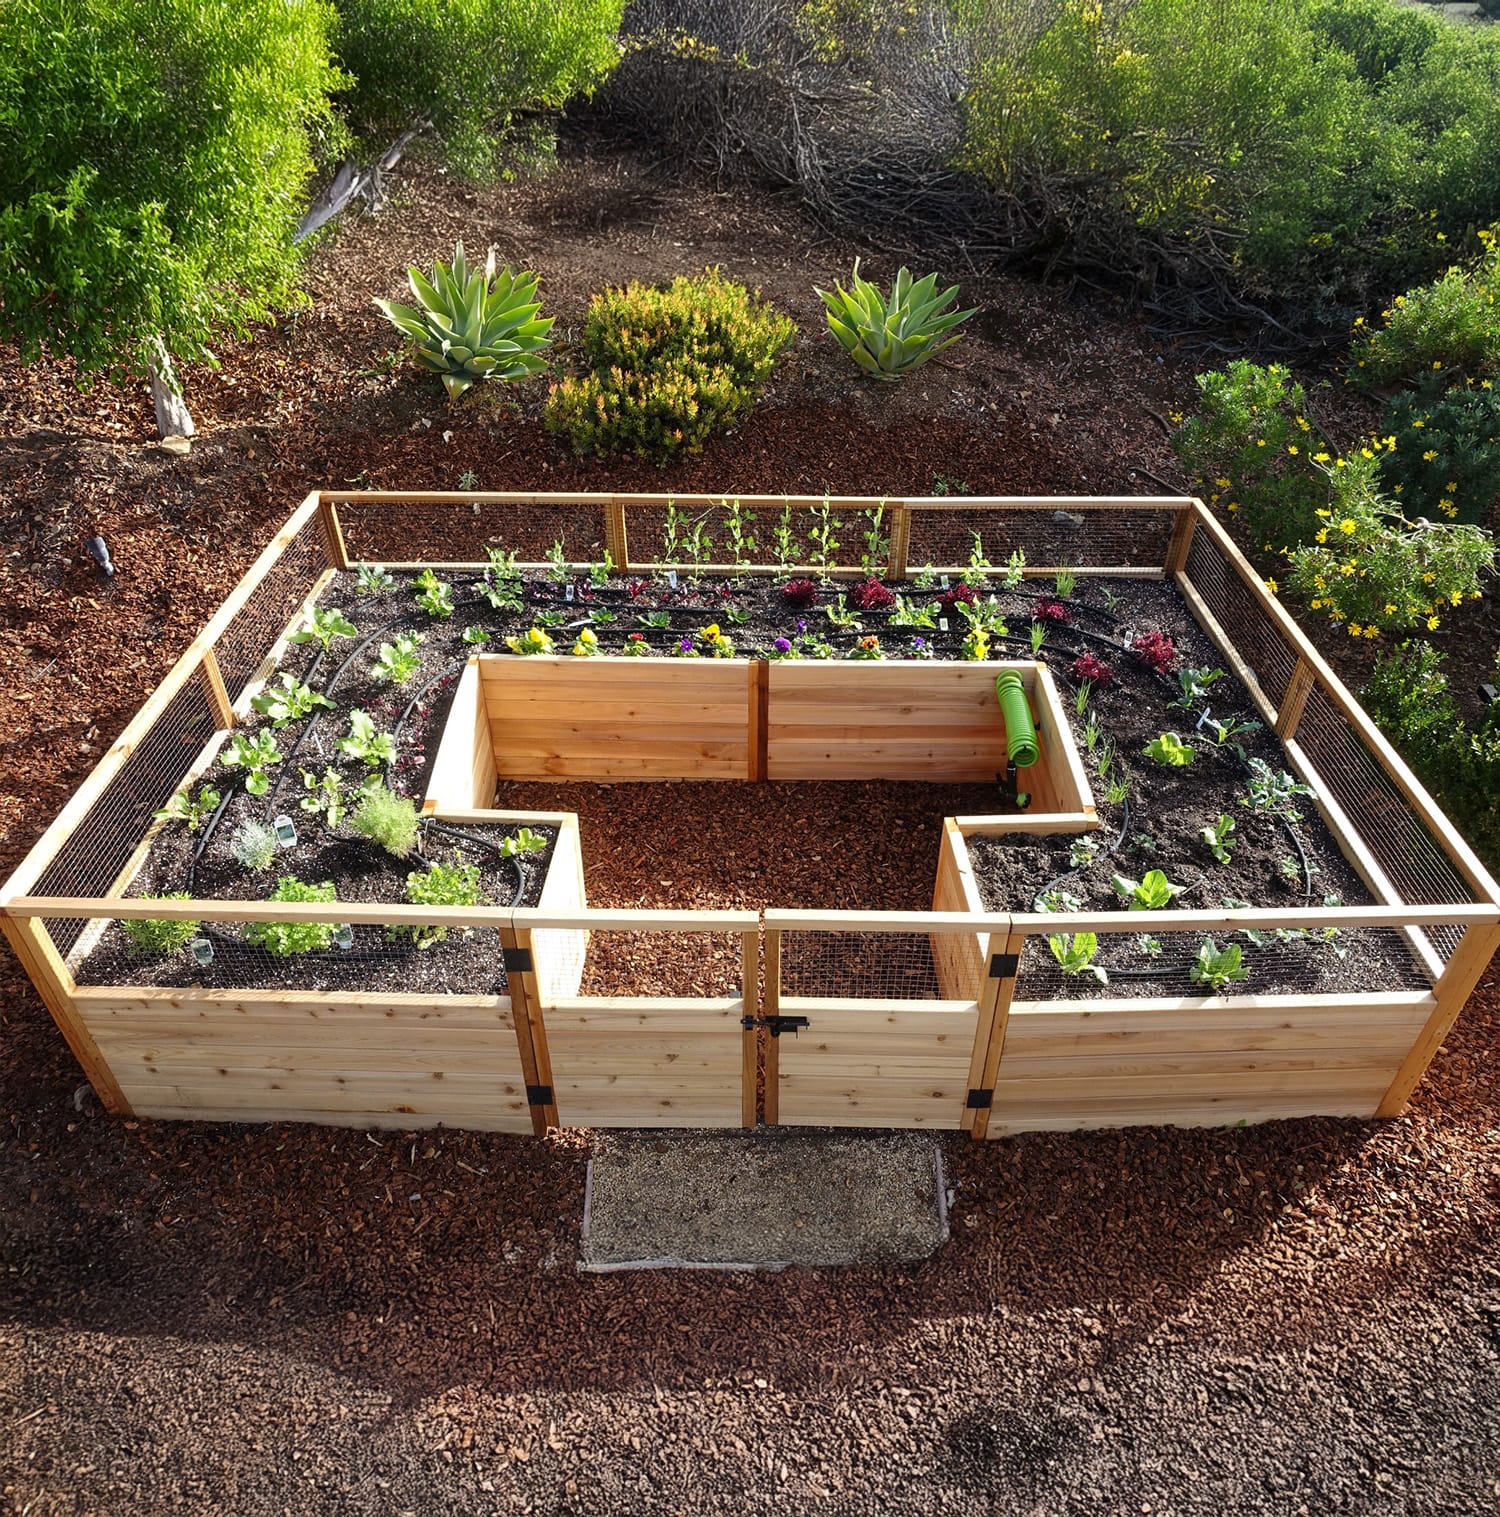
For larger areas like a kitchen garden:
Till the soil to remove roots and weeds
Add amendments generously
Till again to incorporate nutrients deeply
Tilling in fall is easier and more effective than waiting for soggy spring conditions.
Weeds don’t rest. Apply a fall weed killer to your lawn to stop seeds dropped during summer from sprouting in spring.
Pet tip: If you use chemical weed killers, keep pets inside for a few hours until the product settles into the soil.
If you’re growing heirloom varieties, now is the time to save seeds:
Allow a few flowers or fruits to fully mature or dry on the plant
Harvest and soak fruit in water to remove pulp
Dry and label seeds before storing in a cool, dry place
This preserves your favorite plants and saves money on seeds next year.
Avoid cracked barrels! Drain and clean out your rainwater storage system before the first frost. Detach pipes and tubes, and let it fully dry to prevent winter damage.
Too much mulch near stems and trunks can lead to mold and mildew during cool, damp fall conditions. Gently clear mulch away from:
Shrubs
Perennials
Tree bases
This reduces moisture traps and promotes healthier plants.
Check all perennials for signs of disease:
Look for black spots, wilting, or rot
Prune affected areas or remove the plant entirely to prevent spread
Don’t compost diseased plants—dispose of them in the trash to protect your garden.
Fall is a great time to inspect tree limbs:
Look for cracks, rot, or hollow areas
Schedule safe removal of unstable branches
This protects your home, pets, and people from falling limbs during storms or snow.
A well-prepared fall garden sets the stage for a low-maintenance, high-yield spring. By completing these fall garden tasks now, you’re making sure your soil is nourished, your tools are ready, and your plants are protected.
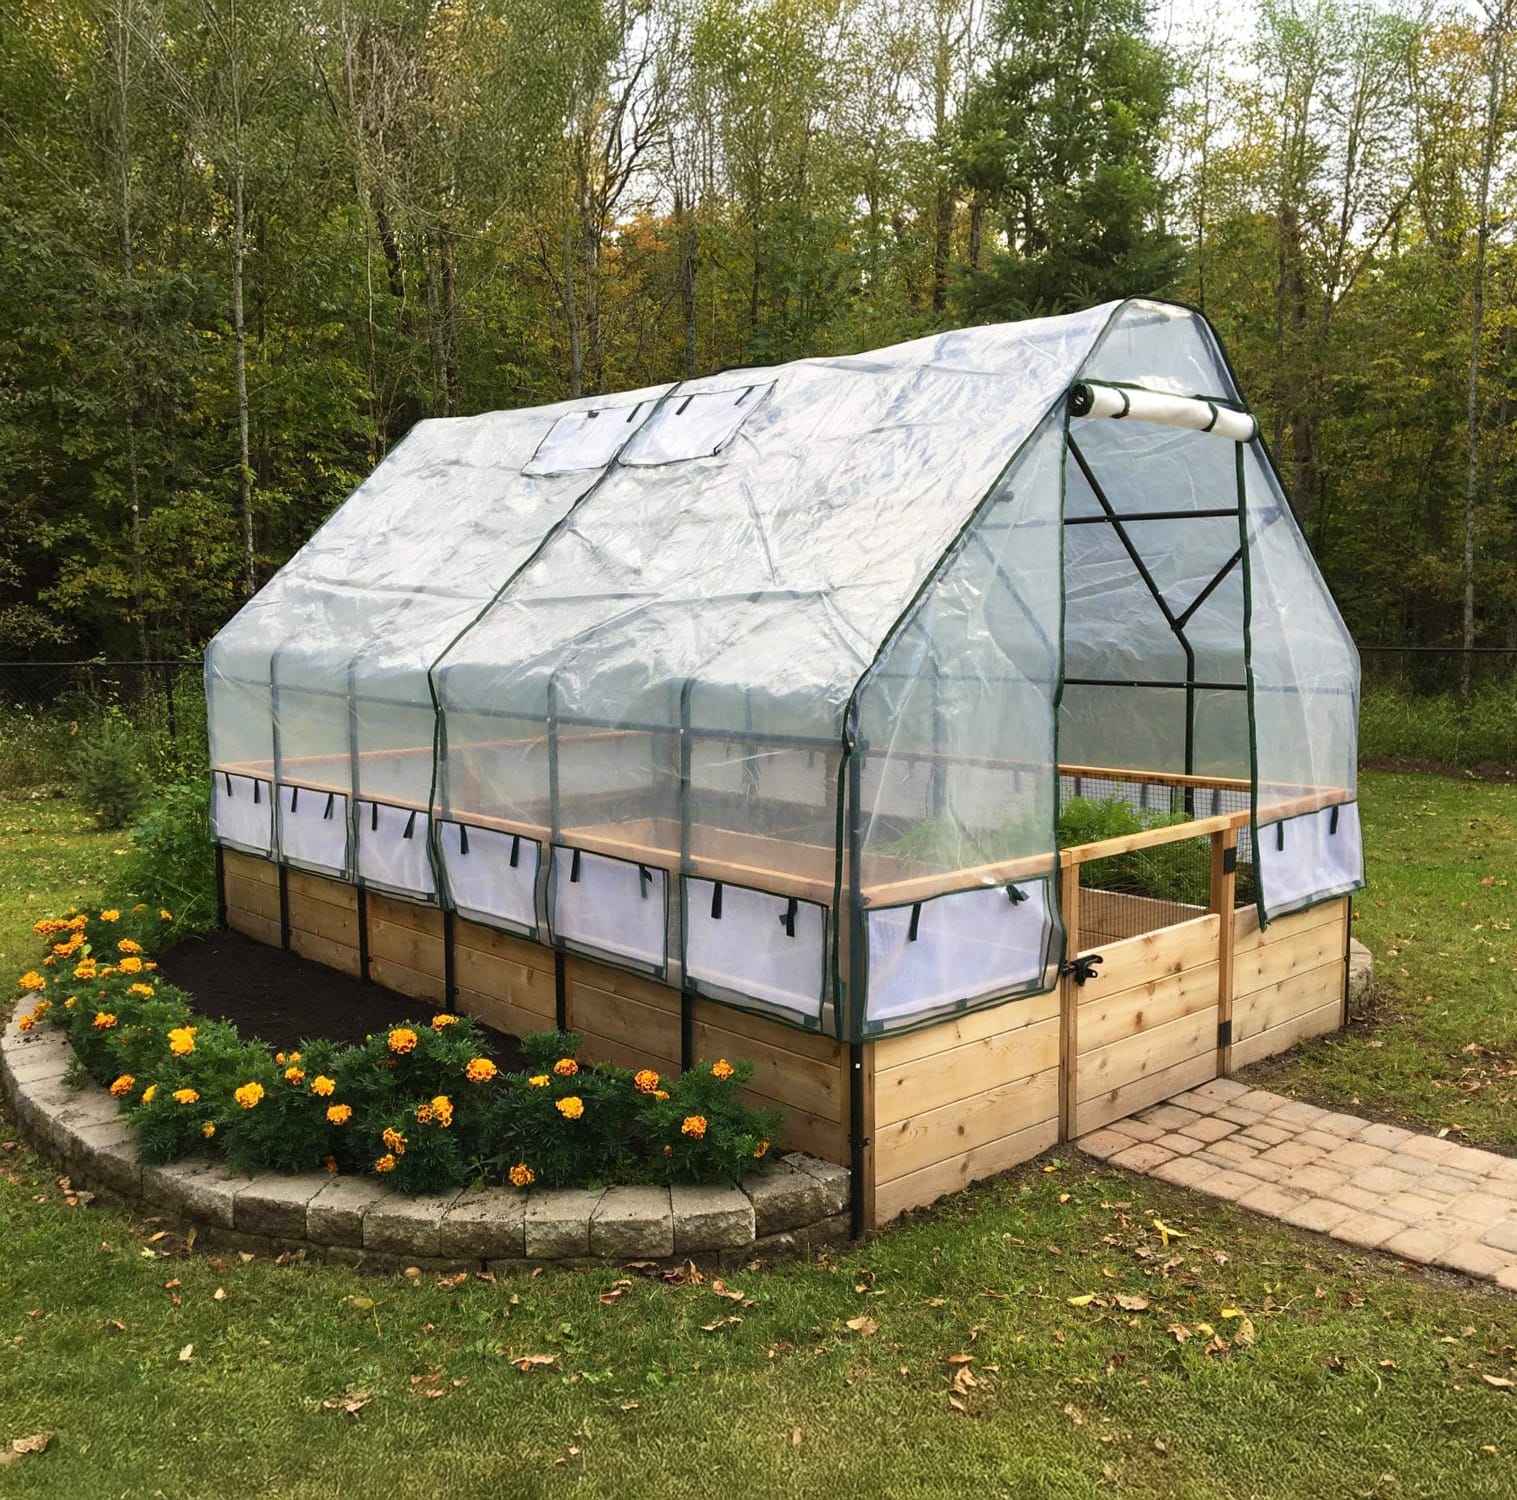
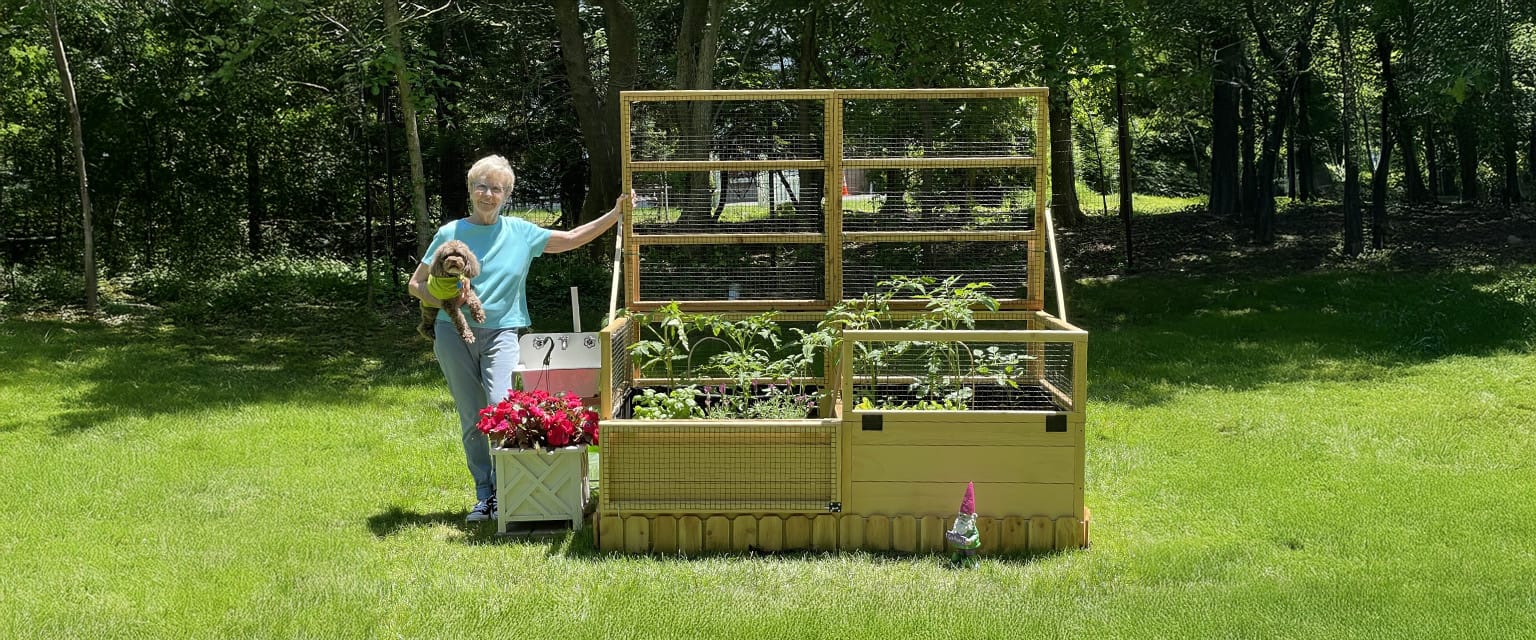
Explore tools and cedar garden kits to simplify your fall prep: Shop Now
Want more backyard gardening tips? Browse our blog for seasonal advice, or contact us directly for help creating your ideal outdoor space with Outdoor Living Today.
Spending time in the garden doesn’t have to end at sunset. With the right outdoor lighting setup, you can enjoy your backyard well into the evening. Whether it’s quiet family time or a lively get-together with friends, garden lighting adds safety, mood, and functionality.
Candle lanterns are a timeless and affordable way to add glow to your garden. Choose scented candles with citronella oil to keep bugs at bay while creating a cozy atmosphere. Place them in:
Glass holders to protect the flame from wind
Colored or frosted lanterns for a whimsical touch
Hanging rope lanterns from branches or hooks for a fairy-tale effect
Their flickering flames create beautiful shadows and drama, making your garden come alive at night.
Battery-powered lights are perfect for areas where hardwiring isn’t practical. Place them in:
Arbors and trellises
Remote corners of the yard
Pathway edges for safer navigation
They’re especially useful in larger backyards where you only need occasional illumination in certain areas.
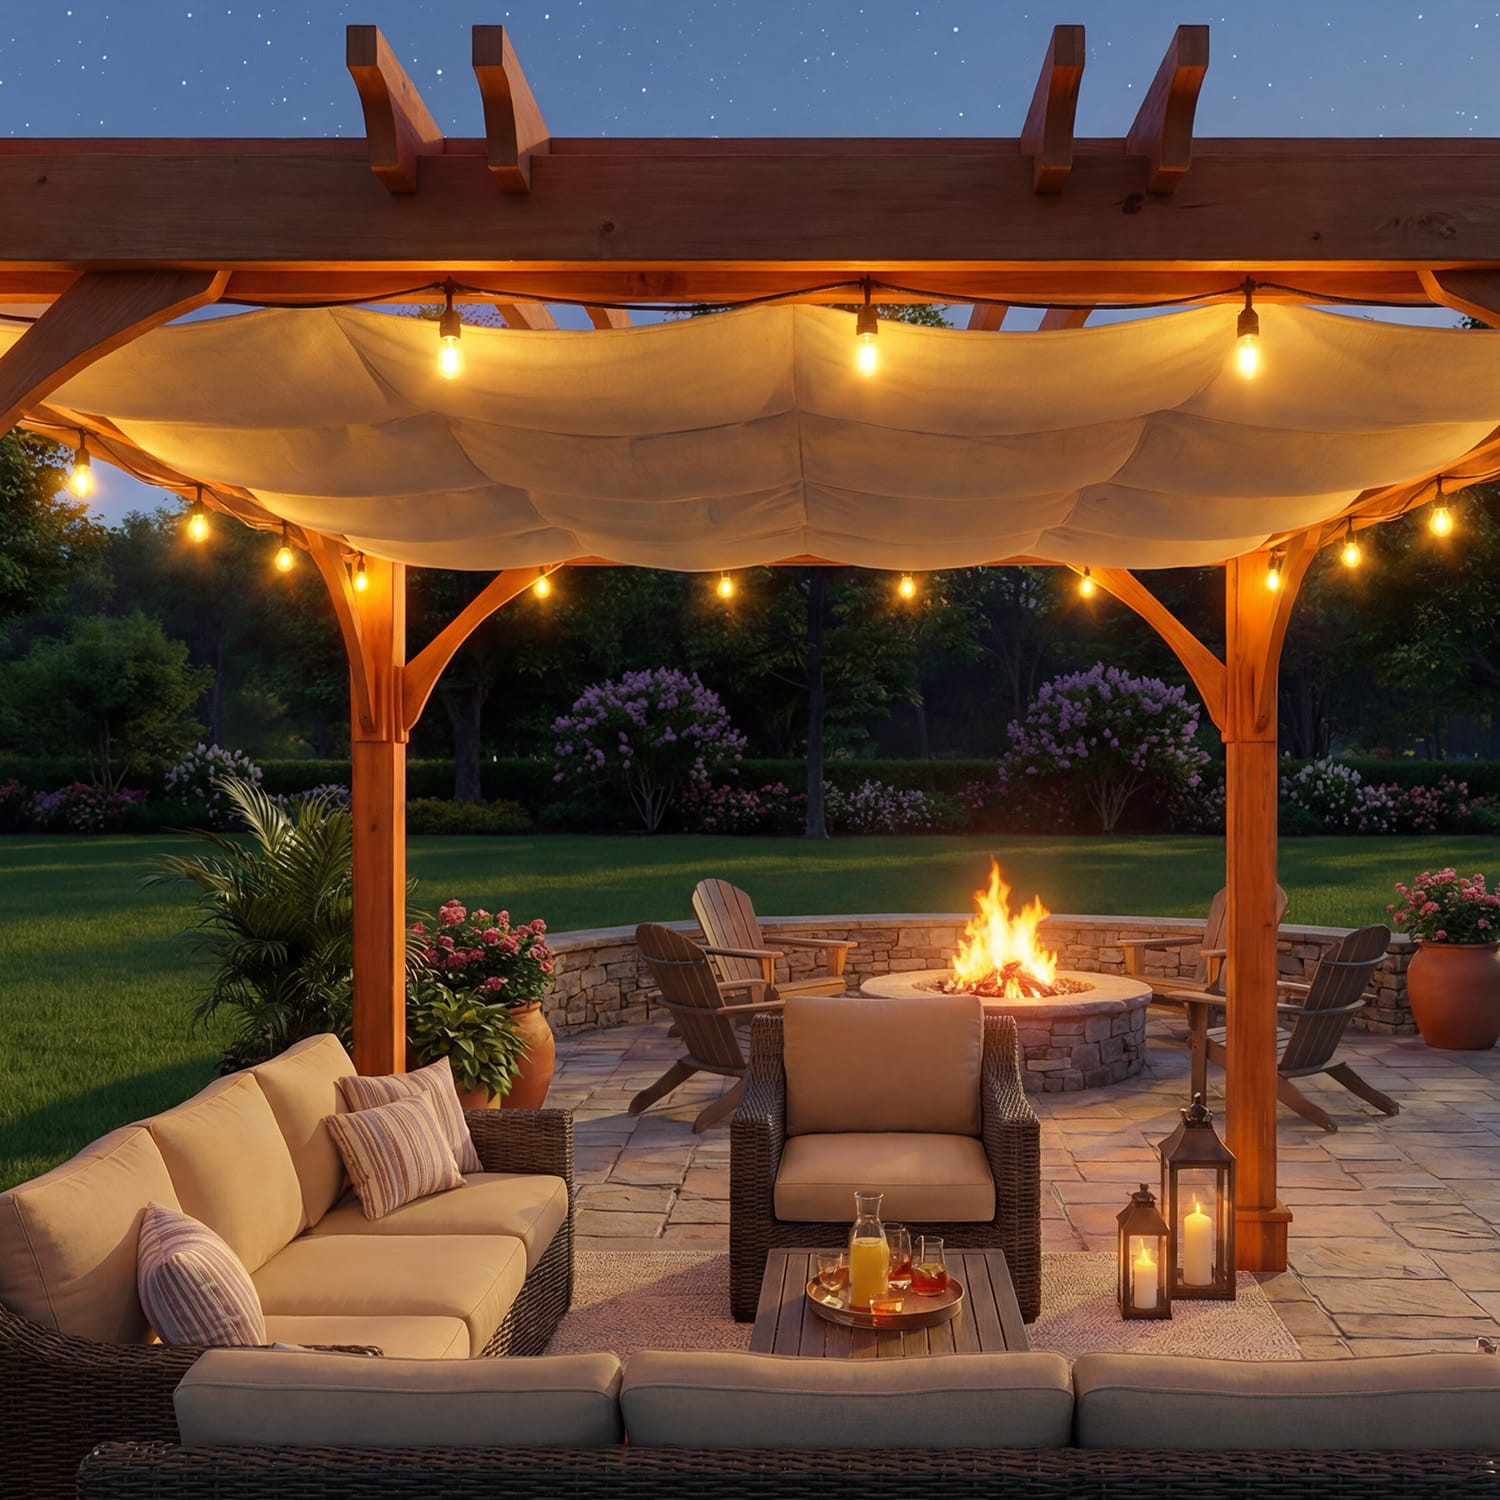
Outdoor string lights are a must-have for dining areas, patios, or pergolas. Draped overhead or along fences, they provide ample ambient light while adding charm and character to any evening gathering.
Tip: Use warm white bulbs for a cozy feel or colorful LEDs for a party-ready vibe.
Just like indoor lighting, outdoor spaces benefit from layered lighting. Consider:
Task lighting over barbecues and food prep areas
Pendant or hanging lights over outdoor dining tables
Step or post lights along paths and stairs
Choose lights with weather-resistant finishes and dimmer capabilities to adapt to various occasions.
Use spotlights or floodlights to showcase:
Trees and shrubs
Water features like fountains or ponds
Garden sculptures or focal points
Colored LED landscape lighting can create stunning effects and emphasize your garden’s best features after dark.
Got a pool or waterfall? Install submersible lights to create shimmer and motion in water at night. Be sure these installations are handled by a certified electrician, especially when local electrical codes apply.
Blend functional and ambient lighting around patios and decks with:
Recessed lights in stairs or deck boards
Wall sconces near doors or seating areas
Dimmer-enabled string lights or sconces for mood flexibility
Your deck or patio can double as a living room when properly lit, offering another reason to stay outside longer.
Whether you’re looking to create a romantic atmosphere, keep your walkways safe, or host nighttime dinners with friends, garden lighting brings beauty and practicality together. With a thoughtful blend of lanterns, string lights, and landscape fixtures, you can enjoy your outdoor space long after sunset—no matter the season.
Remember how magical it was to have a secret fort as a kid? That cozy hideout where only you and your closest friends were allowed? Forts spark a sense of adventure, creativity, and freedom—and your child can experience all that and more with a backyard fort playhouse.
Whether you build one from scratch or opt for a ready-to-assemble kit, an outdoor playhouse gives kids their own space to dream, play, and grow.
Outdoor playhouses offer much more than just fun. They foster:
Imaginative play
Creative thinking
Independent exploration
Social bonding with friends and siblings
From defending a castle to hosting a tea party, the stories kids tell in their forts become the foundation of lifelong memories.
Before building or buying your playhouse, consider these key elements:
Forts should feel snug and secure. A smaller footprint (room for 2-3 kids) creates a better hideout atmosphere. Include a door, a few small windows, and low walls for safety and visibility.
Let your child help decorate their new space. Add a DIY flag, soft rug, cozy chair, or storage trunk that doubles as a bench. Glow sticks or battery-powered lights add a warm, mysterious vibe. Make sure everything is durable enough to withstand the elements.
Want to up the mystery? Install a secret entrance behind shrubs or trees, or create a crawlspace tunnel with a low door that only kids can access.
While plastic or vinyl structures exist, wooden playhouses are ideal for outdoor settings. Cedar, especially Western Red Cedar, is the top choice because:
It’s naturally resistant to rot and decay
It smells wonderful and repels pests
It blends beautifully into natural surroundings
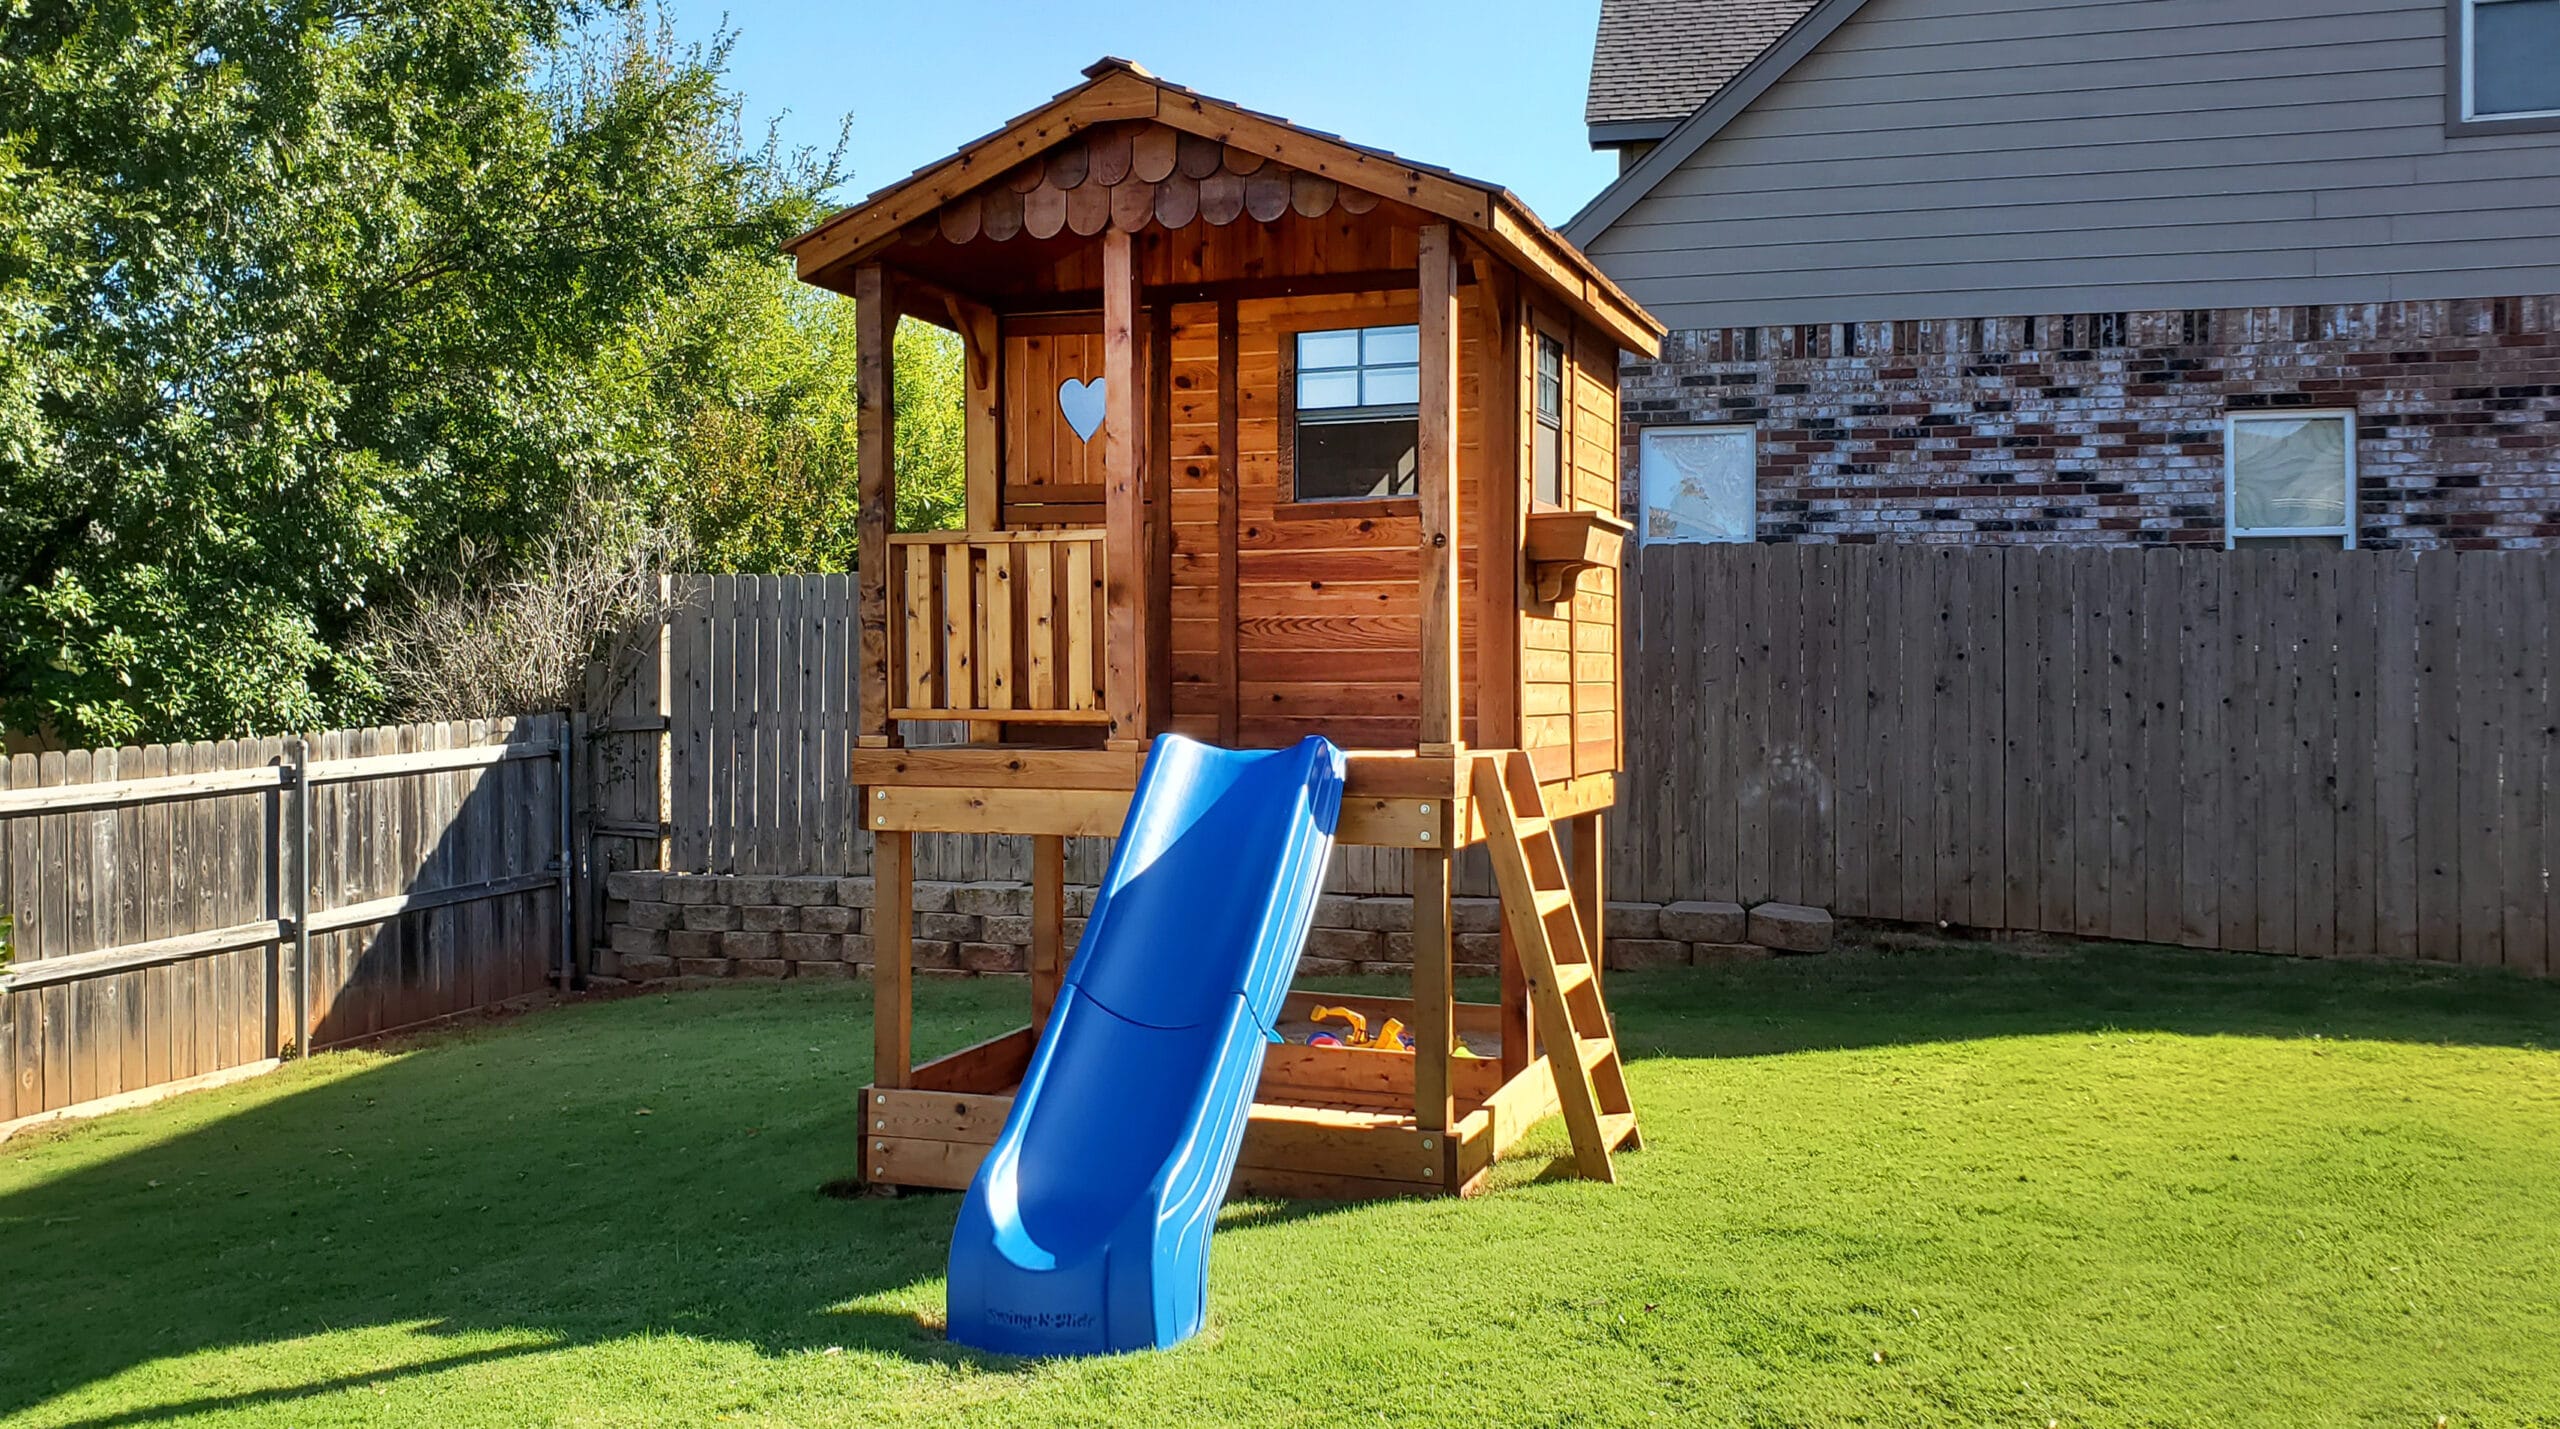
You can build your own fort using pallets or timber, or choose a pre-designed playhouse kit from Outdoor Living Today made from high-quality cedar.
Want to build it yourself? Here’s a basic plan using wooden pallets:
Lay down 1–2 pallets for the floor (use OSB for a smoother surface)
Stand other pallets vertically to create walls, then screw into the base
Sand down splinters for child safety
Build the roof frame with 2x4s and galvanized panels for waterproofing
Add fun accessories like flags, glow sticks, or toy storage bins
This is a great weekend project for parents and kids to tackle together!
Option | Pros | Cons |
---|---|---|
DIY From Scratch | Custom design, creative bonding experience | Requires tools, skills |
Professional Build | Perfect fit and pro finish | Expensive |
Cedar Kit (Best Value) | Easy assembly, comes with all hardware | Less customization |
Our recommendation: choose a cedar kit if you want something fast, sturdy, and child-friendly. Browse our playhouse kits for durable options that ship across North America.
An outdoor fort playhouse is more than just a structure—it’s a space for growth, storytelling, and freedom. Whether they’re hiding from dragons, reading a book in solitude, or dreaming up their next big idea, your child will benefit immensely from having their own space outside.
Add some shrubs around the fort for privacy, or let climbing plants create a natural green curtain. Whatever you do, just make it theirs.
Ready to give your child a magical backyard escape?
Explore Outdoor Living Today’s wooden playhouse kits and let the adventure begin!