How to Build a Level Base for Your Shed: Step-by-Step Guide

OLT How To Build A Foundation Graphic Steps 2

If you’re building a garden or storage shed, the single most important step is preparing a solid, level base. Even if your yard looks flat, assuming it’s level can lead to major headaches down the road. From wobbly workbenches to crooked walls, an uneven foundation impacts everything that comes after.

In this guide, we’ll walk you through how to create a strong shed foundation using crushed stone and pressure-treated wood.

Why Leveling Matters


A level base ensures your shed walls, doors, and especially roof panels align properly during assembly. Many DIYers discover too late that an off-kilter base causes misaligned screw holes, unstable framing, and frustrating gaps during roof installation.

And beyond aesthetics, if you plan to install a workbench, shelving, or any equipment, you’ll need it sitting perfectly level—not tilted like a funhouse.

Step 1: Mark and Measure Your Shed Footprint

OLT How To Build A Foundation Graphic Steps 8

Start by choosing your shed’s final position. Consider:

  • Sun exposure

  • Drainage

  • Obstruction of views or light

Use four wooden stakes to mark out a slightly larger footprint than the shed base. This ensures enough room for installation and airflow.

Step 2: Identify Your High Corner

Use a long 2×4 and spirit level to determine which corner of your base is the highest point. Tap the stake in until it’s 4-6” above ground. This will be your reference height for the other corners.

Measure down from this point to determine how much soil needs to be excavated from the remaining corners to make the base level. Strip turf and excavate to 3″ depth minimum (ideally 3″ to 5″).

Step 3: Add and Compact Crushed Stone

Lay down a weed barrier, then spread crushed aggregate (crushed stone with fine dust). Rake it as level as possible.

To compact it:

  • Rent a vibrating plate compactor or

  • Use a 25 lb hand tamper to pound the stone flat

Keep checking your levels between corners using your 2×4 and spirit level. Add or remove stone as needed until the entire base is flat and compact.

Step 4: Add Pressure-Treated Wood Timbers

OLT How To Build A Foundation Graphic Steps 8 1

Lay 4×4 pressure-treated timbers perpendicular to your planned shed floor joists. These elevate the shed for better air circulation and help prevent water damage. Ensure the wood sits flush and level across the stone base.

Tip: Use stainless steel or aluminum fasteners to prevent staining or corrosion.

Step 5: Maintain Dryness for Longevity

Moisture is the main cause of wood decay. Crushed stone allows water to drain, and elevating your shed with pressure-treated wood adds another layer of protection. Together, they dramatically extend the life of your shed.

Summary

Building a proper shed foundation takes time, but it prevents costly errors and repairs later. A few key tools and steps ensure a long-lasting, stable base:

  • Mark your site carefully

  • Level it out thoroughly

  • Compact crushed stone

  • Add pressure-treated support timbers

With these steps, you’ll have a rock-solid base for whatever you build on top—from garden sheds to backyard studios.


Read More

12 Affordable Ways to Personalize Your Pergola or Gazebo
B. Baker 10x16 Cedar Pergola Kit 2 scaled 1

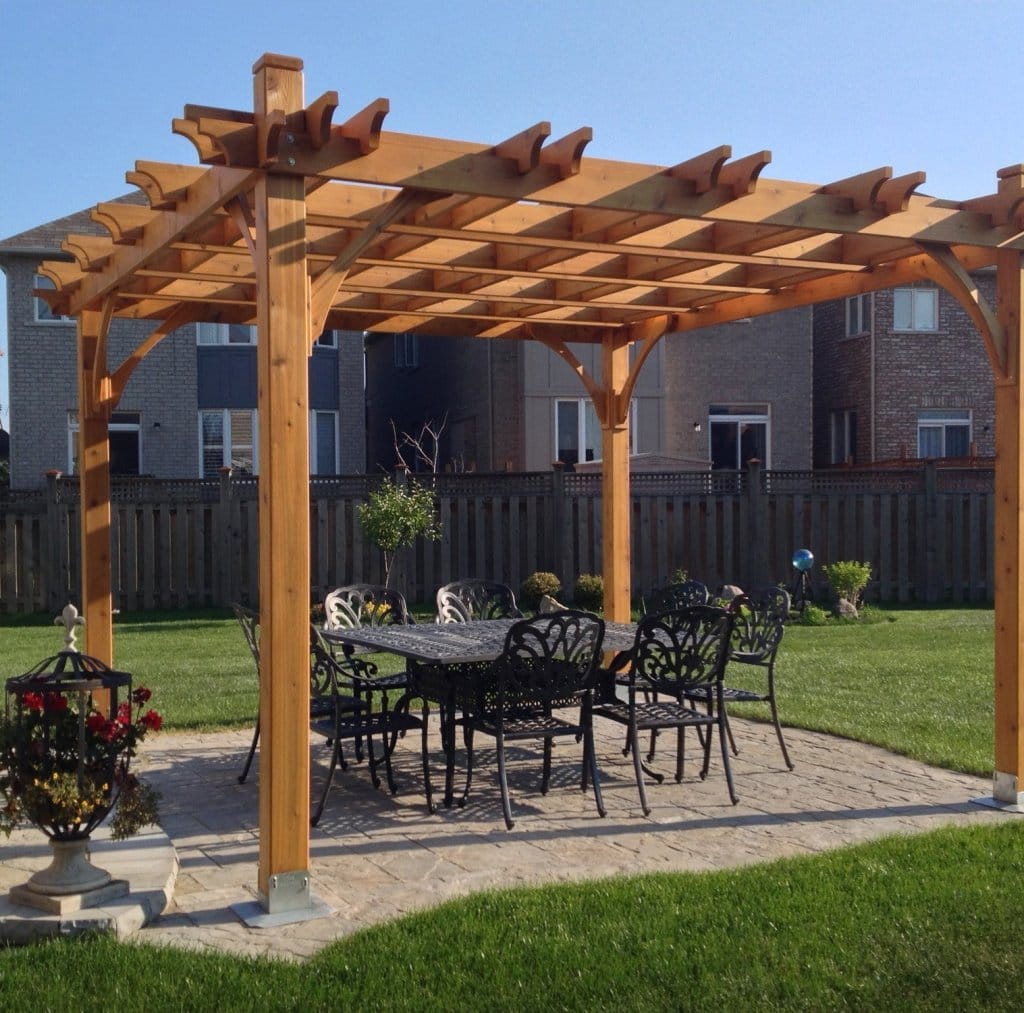
When it comes to building a pergola or gazebo, there’s a wide range of options to suit any style and budget — from classic Western Red Cedar pergolas to sleek vinyl and metal structures. Whether you’re looking for added comfort, shade, or visual appeal, there are countless cost-effective ways to personalize your pergola or gazebo and make it a centerpiece of your outdoor space.

1. Add Some Furniture

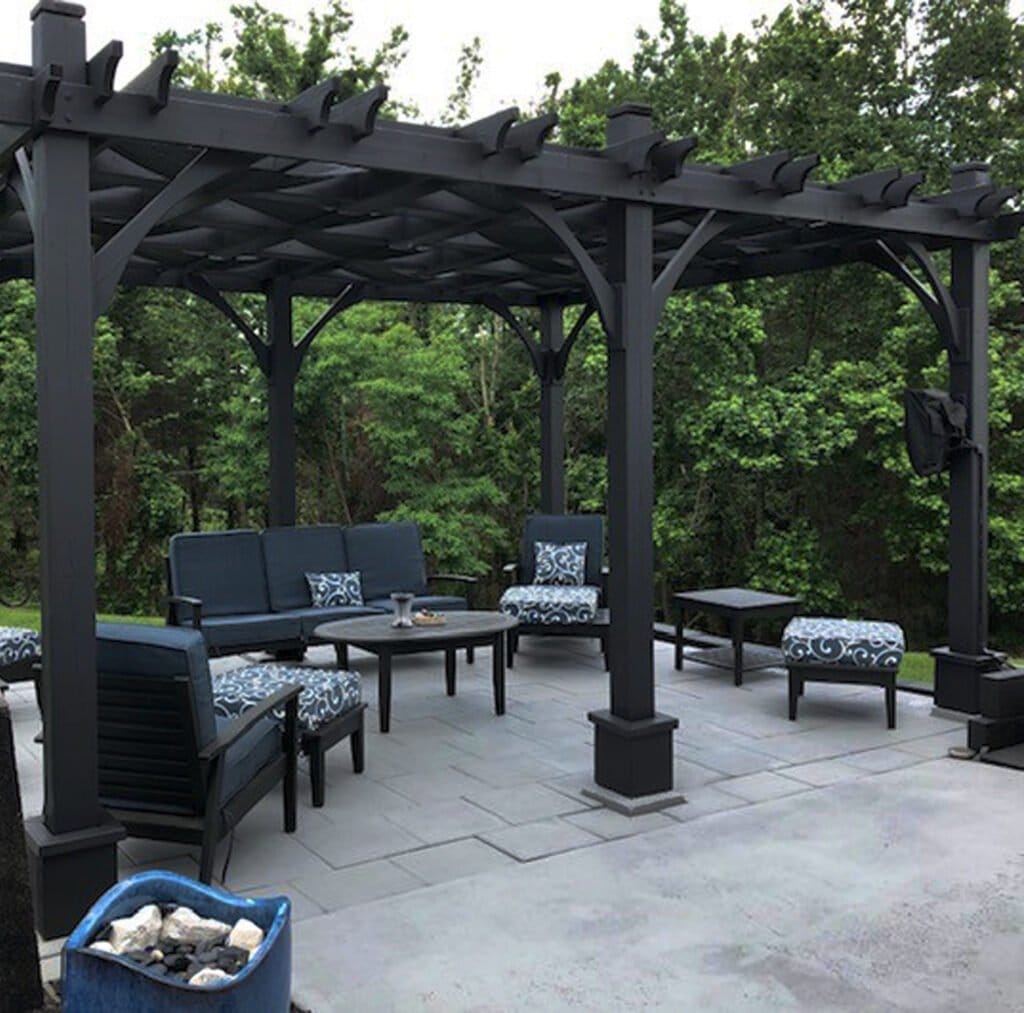
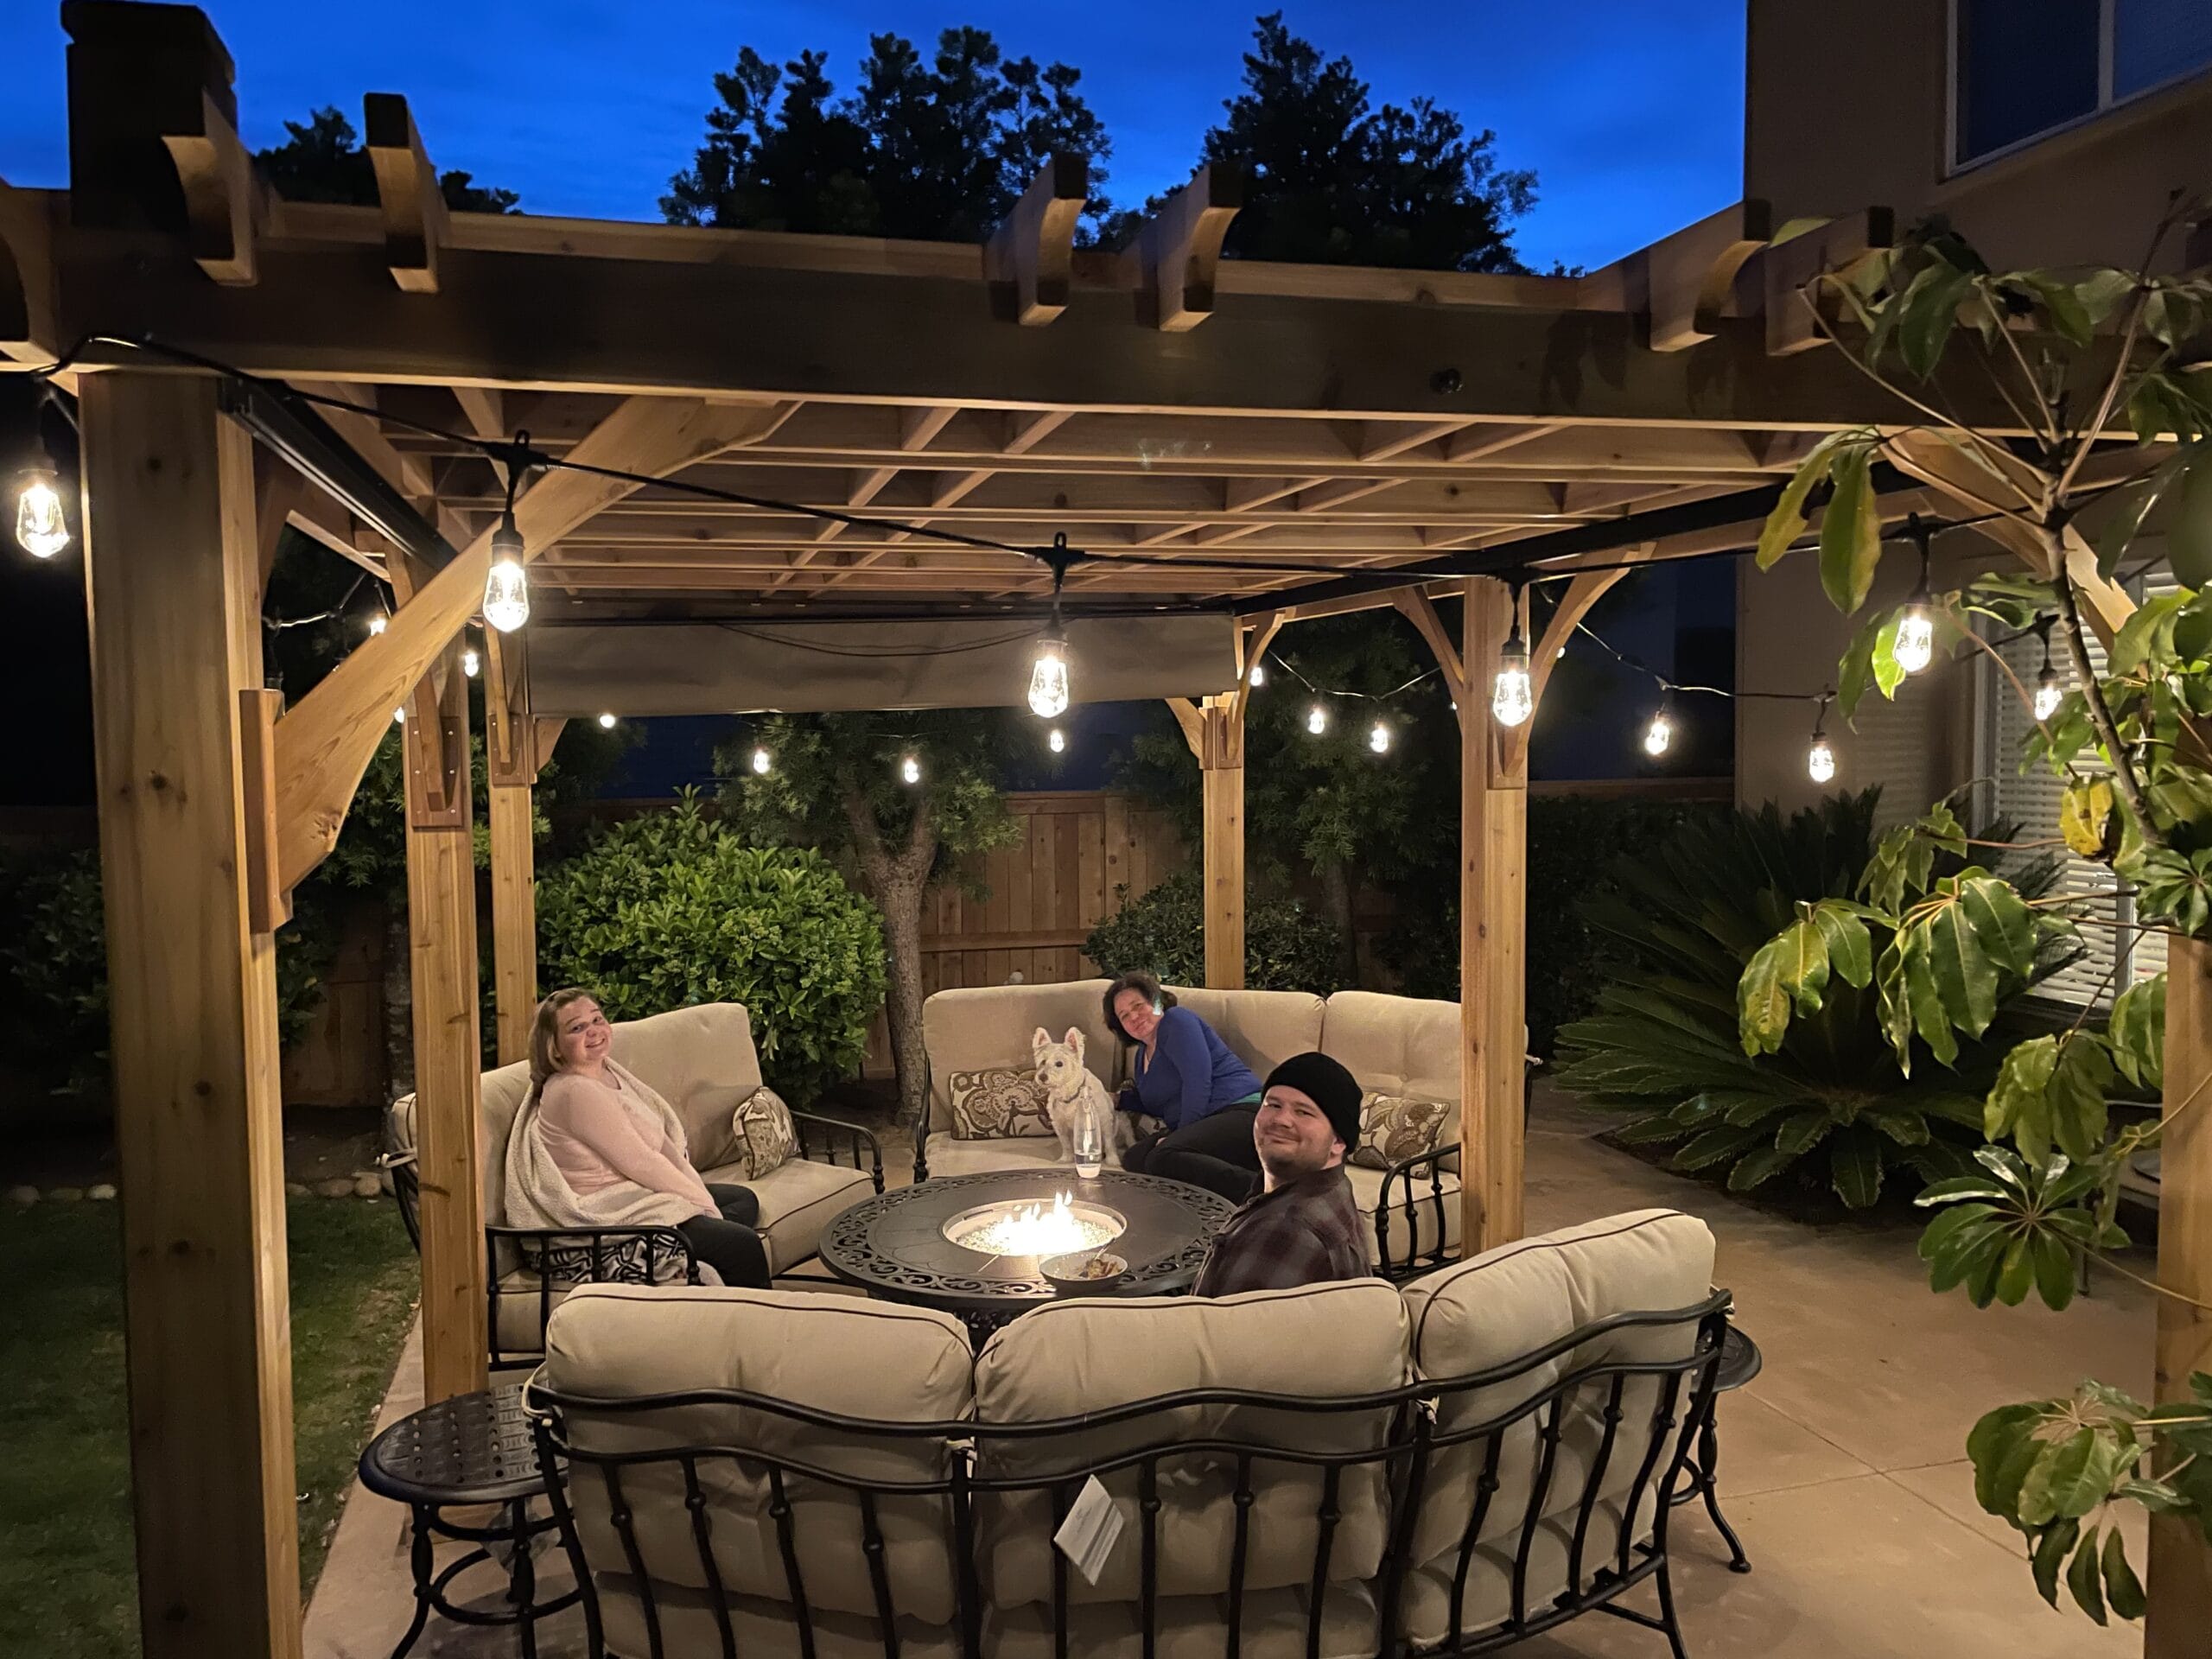
Turn your pergola-covered space into a cozy seating area with a patio table, chairs, or even a hammock. Painting the furniture to match the tone of your pergola adds a thoughtful touch, while placing a hot tub underneath can transform it into the ultimate relaxation zone.

2. Add Extra Rafters or Joists

Most pergola kits come with essential rafters or joists, offering partial shade. But if you want more coverage or support for hanging baskets or climbing plants, consider adding extra joist beams. This customization adds functionality and visual interest.

3. Erect Trellis or Lattice

Trellis or lattice panels can be installed on one or more sides to create a “garden room” feel. Ideal for climbing plants like roses, clematis, or honeysuckle, lattice also provides privacy and shade. Be sure to use durable 1/2- to 1-inch thick wood, and pre-drill holes to avoid splitting.

4. Close One End for Added Privacy

While pergolas are often open-air structures, adding a lattice wall or solid panel to one or two sides offers both privacy and a decorative touch. It softens the lines of the structure and enhances its room-like feel.

5. Include Colorful Flowers

Introduce vibrancy with flowering plants like sweet alyssum, marguerite daisies, or spider flowers. Whether they climb up a lattice or sit in pots around the base, flowers bring warmth and seasonal beauty to your pergola.
OLT 68378af1 a62e 40fb a60b a2418e53ebe2

6. Opt for All-Season Use

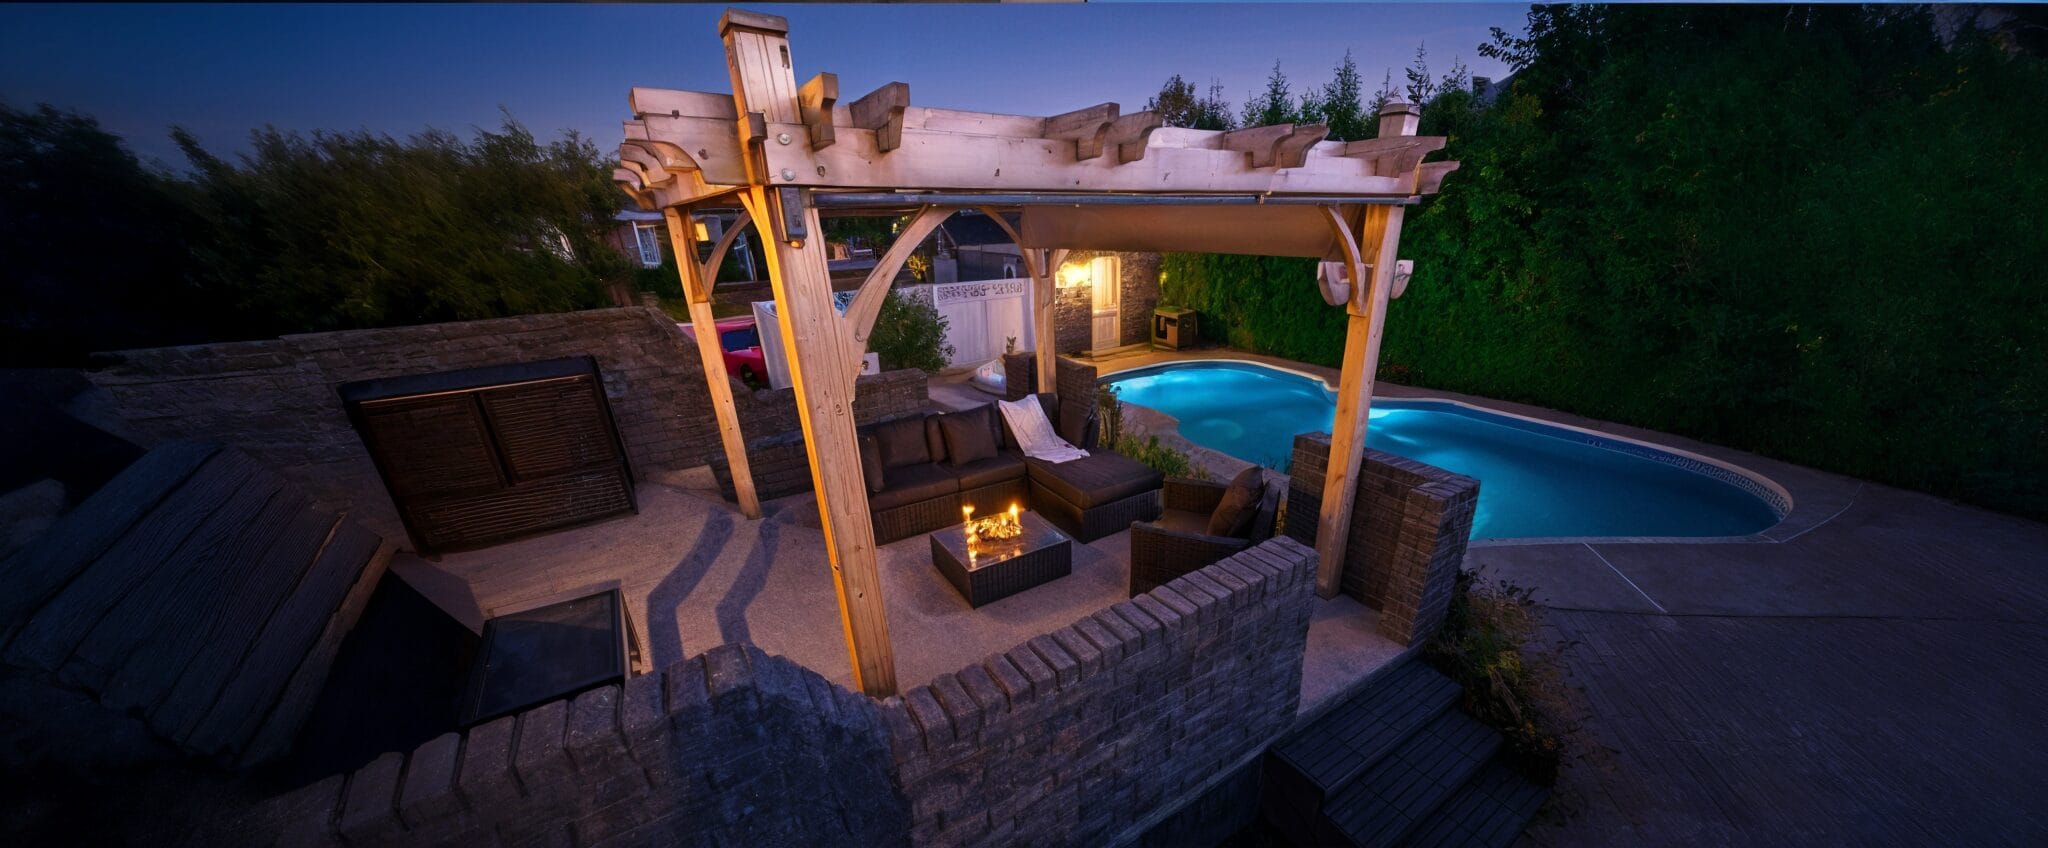
Protect your pergola with a solid polycarbonate roof or retractable canopy. These additions allow you to enjoy your outdoor space through rain, snow, or scorching sun — extending usability year-round.

7. Swing Seating Pergolas

Add a built-in swing beneath your pergola for a fun and relaxing touch. Perfect for two people, swing seating makes the space more dynamic and provides a great spot to unwind.

8. Hanging Seats from the Rafters

Replace standard seating with hanging cushioned chairs to create a laid-back, breezy vibe. Hanging seats add movement and charm, making the pergola feel more like a retreat.gaz screen 1024x1013 1
9. Match Pergola to Your Deck

Stain your pergola to match the deck it stands on to create a cohesive look. Add potted plants and soft seating for a secluded, calming vibe that feels like a natural extension of your home.

10. Paint for a Bright Finish

Choose a classic white or go bold with color. Painting your pergola can give it a refreshed look that aligns with your backyard’s style. For cedar pergolas, use an acrylic, non-toxic paint that won’t harm nearby plants.

11. Install Glass Blocks for Privacy

Want a unique twist? Sporadically placed glass blocks provide privacy and visual interest while letting light through. Pairing wood and glass creates a stunning modern contrast.

12. Mix Function with Fun

Add pillows, fairy lights, or outdoor curtains to complete your pergola personalization. These finishing touches offer comfort, style, and charm for entertaining or unwinding outdoors.


At Outdoor Living Today, we offer premium cedar pergola kits that are easy to assemble and ready to personalize. Whether you’re looking for shade, structure, or a statement piece, our customizable backyard structures are built to last.

Read More

How to Maintain Your Outdoor Pergola and Keep It Looking Beautiful Year-Round

1212 3

An outdoor pergola is a stylish open-air structure perfect for creating shade and adding ambiance to your backyard. Whether covered in climbing vines or paired with retractable canopies, pergolas made of wood, vinyl, plastic, or metal require regular care to maintain their appearance and structural integrity. Here’s a complete guide on how to properly maintain your pergola and ensure it lasts for many years.


1. Hose It Down Regularly

Regardless of your pergola’s material, the first step in maintenance is a thorough rinse. Use a high-pressure hose to remove surface dirt, pollen, or debris. Start at the top and work your way downward. Be sure to clear the area of furniture and décor to avoid damage during the process.

2. Clean with the Right Tools

Choose a bristle brush and a suitable cleaner for your pergola’s material:

  • Wood: Use a wood-safe cleaner and remove any peeling paint or splinters.

  • Metal: Scrub away any rust buildup using a wire or bristle brush.

  • Vinyl: Follow manufacturer guidelines—usually, mild detergent works well. Use a toothbrush to reach tight corners or areas around hardware.

3. Remove Mildew and Rust Stains

Combat mildew with a mix of one cup of oxygen bleach and one gallon of water. Apply this solution after the initial rinse and let it sit until the mildew stains begin to fade. Rinse again thoroughly with soap and water.

If you notice black or brown rust stains from fasteners, consider replacing corroded hardware with stainless steel or aluminum options.

4. Rinse Thoroughly

After applying cleaning solutions, rinse again using a hose to remove all residue. Check for spots that may need a second round of cleaning and repeat as necessary.

5. Touch-Up and Repair Damage

1212a 1

Use a touch-up or repair kit to fix cuts, dings, or gouges. Wood or metal putty can patch small damage, and many vinyl pergolas include specialized kits for surface restoration. Sand down any rough spots before refinishing.

6. Seal and Stain for Longevity

If you have a cedar pergola, you’ll notice it gradually turns from a rich reddish tone to a silvery gray. To preserve its original hue:

  • Clean thoroughly

  • Apply a translucent oil-based wood stain for cedar

  • Let it dry and then seal Reapply stain and sealant every other year to maintain appearance and protection.

7. Address Fasteners and Loose Hardware

Inspect all fasteners and replace any that show corrosion. Use rust-resistant stainless steel or aluminum. Tighten loose bolts and screws to keep the structure secure.

8. Paint for Added Protection

1216 5
1216 5

In hot, dry climates, UV rays can cause wood pergolas to crack and fade. Apply a durable, heat-resistant exterior paint for long-term protection and aesthetic appeal.

9. Trim Vines and Greenery

While creeping vines add beauty and shade, overgrowth can increase the pergola’s weight load. Trim vines a few times a year to reduce stress on the frame. They’ll grow back quickly and stay healthy with regular care.


Conclusion With proper maintenance, your outdoor pergola can remain an attractive and functional centerpiece in your backyard for years. Regular cleaning, careful inspection, and minor seasonal upkeep can prevent costly repairs and preserve the pergola’s beauty and strength.

Read More